
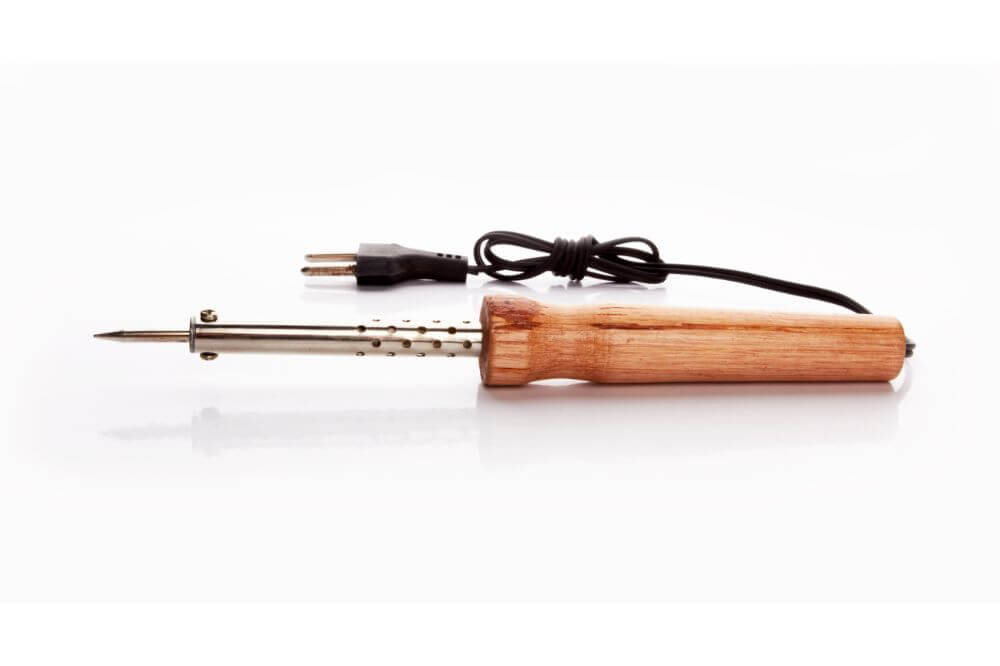
The soldering iron is, without a doubt, among the most crucial tools among DIY enthusiasts and professionals alike. Because of this, even the slightest damage to it requires you to take steps to get it back in excellent working condition.
But where should you start? This is most likely the question passing in your head at the moment if you find yourself in such a situation.
If this is the case, you’re in luck, as in this article is a comprehensive article on the steps to follow when repairing your soldering iron. Consequently, you’ll have it back in excellent condition as it can capably heat the element and transfer heat to its tip.
Items You’ll Need
- Spanner wrench
- Replacement heating element
- Steel brush
- Needle-nosed pliers
- Wire cutters
How Does The Soldering Iron Heating Element Wiring Work?
Before you can know how to fix a damaged soldering iron, it’s vital first to understand how it works. Soldering irons incorporate two components inside, that is, a temperature adjustment control and a heating element. The heating elopement wiring has a cylindrical design and is an excellent choice for prolonged use.
You’ll also find a thermal shutdown feature incorporated in other costlier soldering iron models. With such models, the soldering iron coil wire gets switched off once it reaches a particular temperature.
As you use your soldering iron and notice the RED indicator LED isn’t working, this is a sign it has stopped working. Once you see this, proceed to start fixing your destroyed soldiering iron.

Steps To Fixing The Soldering Iron
1. Determine What Has Caused Your Soldiering Iron To Stop Working
There are numerous reasons as to why your soldering iron might have stopped working. You should thus make sure to factor all these before starting your repair.
One of the first tests you need to do is confirming the wires on your soldering iron’s plug are working. When doing this test, you’ll need to use a multitester or any other suitable method. If your outlet is still working correctly and you can’t detect any disconnection on the wires from your soldering iron’s plug, this means the filament needs to be replaced.
2. Disassemble The Soldering Iron
Once you’ve identified the exact issue with your soldering iron, you should now start disassembling it. The steps to follow when doing this are:
- Loosening the holding nut and taking off the heat shield.
- Taking off the tip as well as the tip platform.
- Loosening and taking off the plastic nut. If your soldering iron has a type 2 handle such as the B016, loosen and take off the handle grip.
- If there’s a shock absorber, take off a minimum of two clips, thereby freeing the cord.
- Grab the cord’s bottom and push the handle upwards to show the printed circuit board (PCB).
Filament Replacement
If the destroyed part is the heating element on your soldering iron, these parts need to be replaced. When removing this part, you’ll need to twist its trunk and handle it in opposite directions to open up your soldering iron.
After doing this, you should now proceed to remove the filament. The steps to follow when doing this will depend on the kind of soldering iron you own. If you have a model that incorporates screws on its filament, start by unscrewing it. But as you do this, make sure to be very cautious since the screws of other soldering irons over time develop rust due to being metallic and the heat generated by the soldering iron.
You should remove the filament using cutter pliers to cut the filament’s terminal, which is fixed to your soldering iron’s wires. Once you do this, attach the new filament to the wires you’ve taken off the old and destroyed filament terminal. When doing this, you should use tapes or electric tapes designed to withstand extremely high temperatures covering sections of the filament terminals connected to the soldering wires. Doing this is crucial to prevent any short circuit.
PCB Replacement
If your filament is in excellent working condition, this means the PCB is what needs to be replaced. The steps to follow when doing this are:
- Confirm the wiring connections on the PCB, and ideally, you should take several pictures.
- Desolder the wires and detach the heating element.
- Install the new heating element by lacing it through the new springs and pushing it downwards until it touches the PCB “goalpost.”
- Solder these wired connections, and ideally, you should use lead-free solder since this is what the manufacturer used originally.
Reassemble Your Soldering Iron
Once you’re done doing the replacements, the next thing to do is reassembling your soldering iron to confirm if it’s now working. The steps to follow when doing this are:
- Take hold of the cord and pull the board into its original position. As you do this, ensure to align the slots in the handle to the PCB.
- Slide down the plastic nut and start stiffening everything.
- Insert the tip platform inside the plastic nut, with the flange facing upwards. As you do this, slide the tip above the heating element since it should be positioned on the flange.
- Using pliers, slide back the heat shield and nut back over and fasten it down.
- If need be, you can re-clip the smoke absorber line into its handle.
Test Your Soldering Iron
Once you’re done with these steps, you should now test your soldering iron to confirm that it’s working.
Conclusion
Repairing a defective soldering iron isn’t quite as complicated as you might think. However, this is something that many people dread since it looks somewhat sophistictated and intimidating. If you also had such reservations, reading through this article has proved you wrong.
By following the steps mentioned above, you can now repair a destroyed soldering iron back to working condition regardless of whether it’s the heating element or the destroyed tip. As a result, you’ll be able to get back to your soldering iron back to normal functionality, thereby not affective your productivity in whichever task you’re using it.
