The last few decades have seen the increased use of 3D printers across different industries all over the world. However, many are still yet to clearly understand how 3D printing or additive manufacturing works.
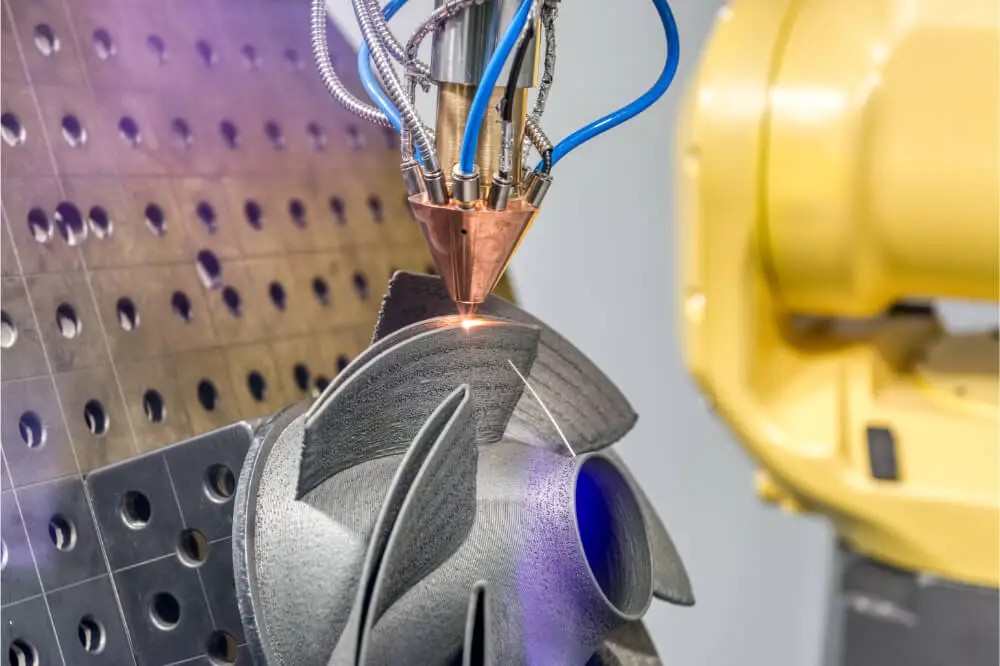
The process of additive manufacturing entails laying down successive layers of materials until you make the desired object. All the layers are seen to be a finely sliced cross-section of an object.
Therefore, the process followed during 3D printing is completely the opposite of that followed during subtractive manufacturing. If you still don’t grasp how 3D printers work, you’re in luck. Here’s a detailed guide on everything you need to know about the operation of a 3D printer.
Explanation On How A 3D Printer Works
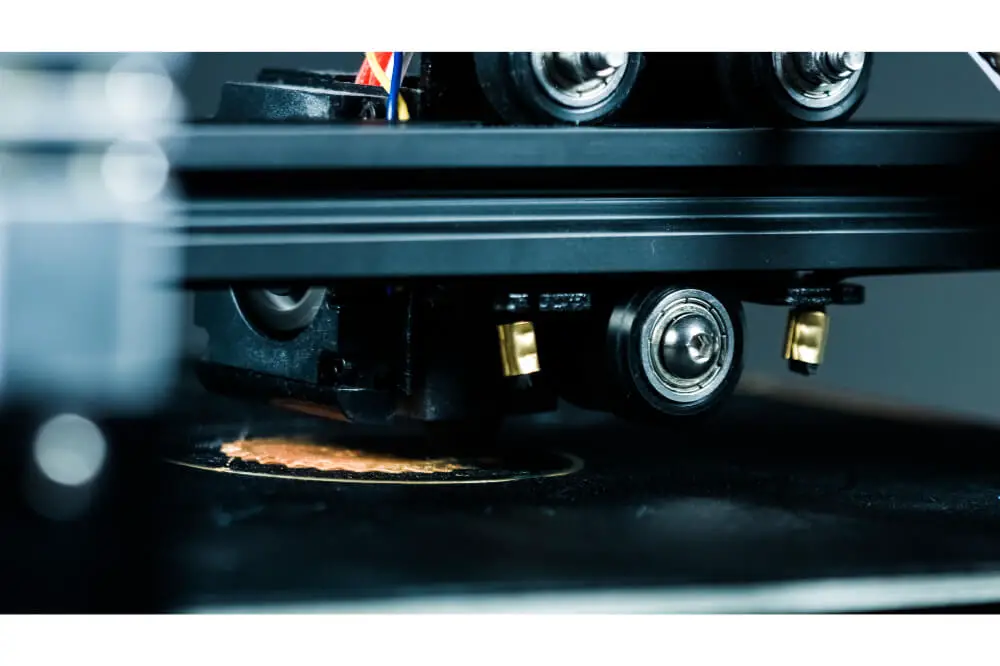
Once you’re done with the modeling and sliding of the 3D object, the next step is starting the printing process. The steps to follow when doing this are generally the same as the traditional inkjet printer, where the nozzle moves back-and-forth as it dispenses the plastic-like polymer or wax one layer by another. After the layers have been added
The layers need to be given time to dry before proceeding to the next step. Usually, 3D printers will go ahead and add essentially thousands or hundreds of 2D prints over each other to subsequently create a 3D object. You can use different materials when making a 3D-dimensional object, including:
- Flexible Filaments: This filament generates prints that are tough but bendable. They can be used in the printing of anything, from phone covers to wristwatches.
- Carbon Fiber Filaments: While this filament is very lightweight, it can be used to make objects that require it to be robust.
- Acrylonitrile butadiene styrene (ABS): You can use this filament when making plastic material that capably resists breaking and is simple to shape. This is the same material used in the making of LEGOs.
- Wood Filament: It’s a filament that consists of a mixture of polymer glue that’s been mixed with finely-ground wood powder. You can use it when printing objects that resemble wood and can either look darker or lighter deepening on the 3D printer’s temperature.
- Conductive Filament: Whereas these printable materials are at the moment still at an experimental stage, you should consider using them to print electric circuits without using wires. These unique traits make it an excellent material for wearable technology.

Steps To Follow When Using Your 3D Printer
Regardless of the approach you choose to use when using your 3D printer; the printing process is usually similar. Here are the steps you should follow when using your 3D printer to make an object.
Step 1: CAD (computer-aided design)
You should start by designing a 3D model with a CAD software. This software also might give you some hints on what to expect when it comes to the final product’s structural integrity. It does this with the use of scientific data on specific materials to make simulations of an object’s behavior under particular settings.
Step 2: Transformation To STL
The next step should be converting a CAD drawing into an STL format, with STL standing for standard tessellation language. The STL file format development was done in 1987 to be used by stereolithography apparatus (SLA) machines. Today, most of the 3D printers may either use not only the STL files or other proprietary file kinds, for example, ObjDF developed by Objet Geometries and ZPR created by Z Corporation.
Step 3: Transfer To A STL File Manipulation And An AM Machine
You now need to copy the STL file to your computer that’s controlling the 3D printer. Here, you can choose the orientation and size of printing. When doing this, the steps to follow would be the same as those ones observed when setting up a 2D printout to print two-sided or in portrait versus landscape positioning.
Step 4: Setup The Machine
All machines have unique requirements that determine what to do when making preparations to start a fresh print job. Some of these requirements are refilling the binders, polymers, plus other consumables needed by your 3D printer. Moreover, it entails inserting a tray that acts as the foundation or adding materials to create temporary water-soluble supports.
Step 5: Building Your 3D Object.
You now need to let your 3D printer start printing, and the building process, in most cases, is automatic. The standard thickness of the layers is around 0.1 mm thick, but it can also be thicker or thinner. This process might take several hours or days, and this depends on the machine, object size, and materials used. It’s vital to continuously keep checking on your 3D printer to confirm there aren’t any errors.
Step 6: Take Out The 3D Object
Once the building of the 3D printed item or, in some instances, numerous objects is complete, take them out of the machine. While doing this, it’s recommended to observe safety precautions to safeguard yourself from any injury. Some useful safety measures to observe include wearing gloves that offer you protection from harmful chemicals or hot surfaces.
Step 7: Post Processing
With most 3D printers, you need to do some degree of post-processing when printing a 3D object. This usually entails bathing the printed item or brushing off the remaining powder to eliminate the water-soluble supports. However, you’ll need to be very cautious when doing this because your new 3D print is still fragile because certain materials take some time to cool down. If you don’t, there’s a likelihood that your 3D printed object might fall apart or break.
Step 8: Start To Use Your 3D Printed Object
Once the freshly printed 3D object is cool and firm enough, you should now feel free to start using it.
Conclusion
Are you also looking to start partaking in the printing of 3D objects? If so, understanding how the 3D printer works is essential since you can now know what needs to get done to ensure the product is of exceptional quality. This is what this detailed guide has just done in detail, and you should now go ahead and embark on your 3D printing journey.

