
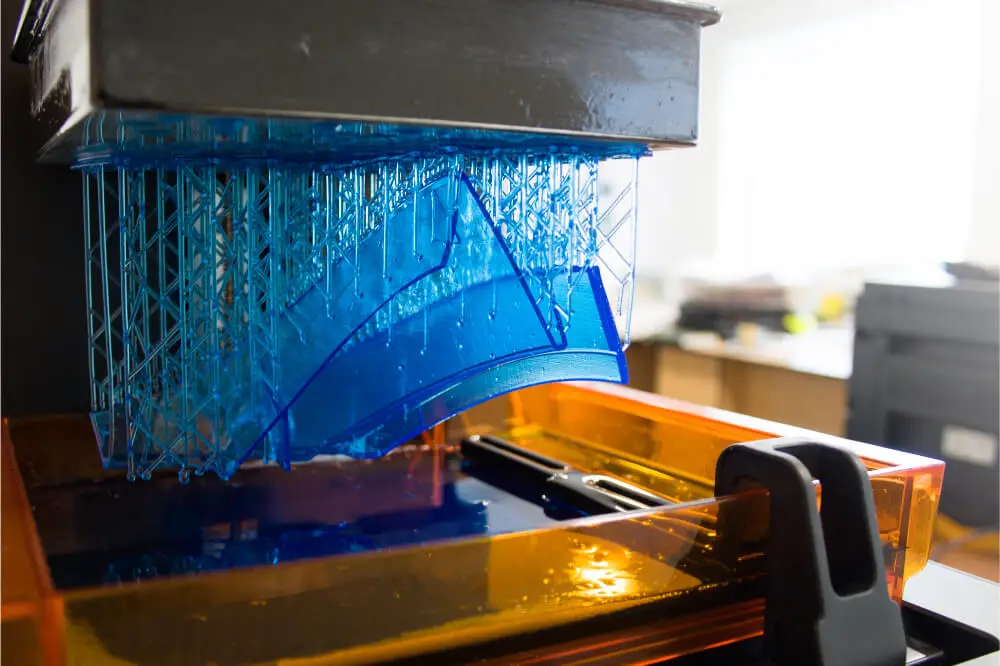
For most people, using 3D printers can be complicated, especially when it comes to printing overhangs. This is usually the case when you are new to 3D printing, but this is something even the more experienced designers find challenging. The reason this happens is that when printing overhangs, you’re attempting to go against gravity, without needing to use support structures.
Therefore, how best can you print a 3D overhang? If this is a question you’ve been asking yourself, you’ve come to the right place. Once you learn how to print overhangs, you’ll be able to understand objects that have a more complex design, thereby not limiting your creativity.
What Are Overhangs?
Before you even get to know the steps to follow when making 3D print overhangs, it’s best first to understand what they’re. 3D print overhangs are best described as geometric shapes in the 3D model, which bulge outwards and past the previous layer. The overhangs usually get no direct support; hence 3D printing to be a lot more complicated.
With that said, overhangs are still tolerable and can have an angle that reaches 45 degrees. However, anything past this angle brings up problems such as hanging filament strands, delamination, sagging, curling, or collapsing, consequently affecting the entire quality of your 3D print. This happens because each new layer has a reduced amount of the previous layer to create a firm bond, causing the 3D print to be of inferior quality.
It’s due to such challenges that most designers opt to print overhangs over 45 degrees. Nonetheless, if you don’t want to curtail your designs and creativity, observing the 45-degree rule isn’t always a great solution.
Here’s an overview of several tricks you can use to design 3D prints with overhangs that are greater than 45 degrees.
Tips To Better Design 3D Overhangs
Several useful tips can help you print 3D overhangs with ease, including:
Change Your Slicer Settings
One of the most vital things you need to do is adjust your slicer settings and use the lowest thickness layer possible. This is an effective technique when printing hard 3D overhangs since a reduced quantity of material gets deposited every time your print head passes. As a result, this reduced mass translates to faster cooling times.
After you’re done, the next thing to do is change the shell perimeters or settings. By doing this, it’ll look as though you’re doing the printing from inside out as opposed to outside in. This allows you to provide support from the topmost layer to the layer below while printing.

Fine-Tune Your 3D Printer
Another technique you employ to print overhangs greater than 45 degrees is by fine-tuning your 3D printer’s performance to ensure it functions reliably and well. The steps you need to follow when doing this are building the plate, leveling the bed, cleaning the nozzle plus examining the crannies and nooks to make sure your 3D printer is at its optimal performance.
If you want to take this a step further, calibrate your 3D printer and subsequently do the appropriate routine maintenance to achieve the most precise build space. Once you’re done, proceed to print a calibration for this item. By doing this, you’ll be able to test your 3D printer’s capabilities and confirm whether achieving a 3D printing overhang is possible.
Lower Your Print Speed
If you want to achieve angles greater than 45 degrees, rapid cooling is vital. This is because lowering print speed allows you to fasten the process of essential cooling. Usually, the slower your print head speed, the longer the duration needed for the material to be printed to the object from the print nozzle. Moreover, a slower print speed also means the layer cooling fan takes a longer time directing airflow over a particular part of the 3D object.
After setting your 3D printer to the desired settings, you can go ahead and print a calibration object. This object enables you to test your settings before proceeding to start the process of printing it.
Use A Chamfer
A chamfer refers to a minor slope added to the model to get rid of any extreme overhang. Incorporating the chamfer allows you to not go against the 45-degree rule as it enables turning angles greater than 45 degrees to 45 degrees or less.
For instance, an edge that curves upwards will start to show an extreme overhang angle that slowly tapers off. If this does happen, you need to replace a part of this curve with one straight edge known as a chamfer at a 45-degree angle. By doing this, the extreme overhang will be eliminated.
Nonetheless, you need to know that using a chamfer interferes with your 3D print’s integrity. Therefore, its use might not always be a great solution to dealing with 3D printing overhangs.
Anchor Your 3D Print
An excellent technique of printing overhangs is by taking more time to design a model that comes integrated with hidden supports. This leads to an object that has support, yet it doesn’t look obvious that the design has any. An example of this is best seen on the “Venus Victrix” by Antonio Canova.
In this design, the pillow offers the right arm with support, whereas the side underneath the left leg is provided support by the folds of the toga. This unique design essentially makes the support structures appear almost “invisible” to the naked eye.
Print In Multiple Pieces
When printing a 3D object with many overhanging features, it’s recommended to print them as separate pieces. While doing this, you still need to remember a lower number of overhang features makes the final print to look less exciting.
Therefore, this strategy will only be useful if the overhanging features are flat and simple. However, some designs don’t allow the splitting of a model since you aren’t allowed to do any edit outside of the scaling.
The shortcoming of this technique is your left will a lot of post-processing work. Therefore, you’ll need to glue the separate pieces together and hide the split by smoothing the surface. How best you can achieve this depends on your crafting expertise.
Conclusion
The printing of overhangs is one of the most challenging things you’ll have to deal with as a 3D enthusiast. However, incorporating them allows you to achieve excellent designs that wouldn’t have been unattainable with the standard designs.
Therefore, when you want to print a 3D object with overhangs greater than 45 degrees, make sure to incorporate the tips mentioned above.