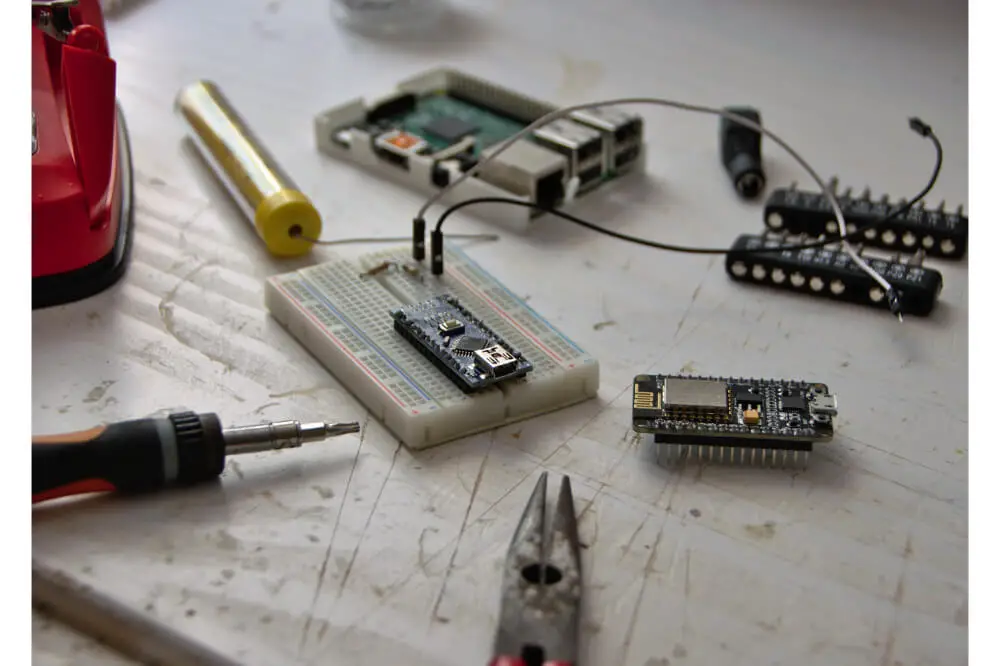
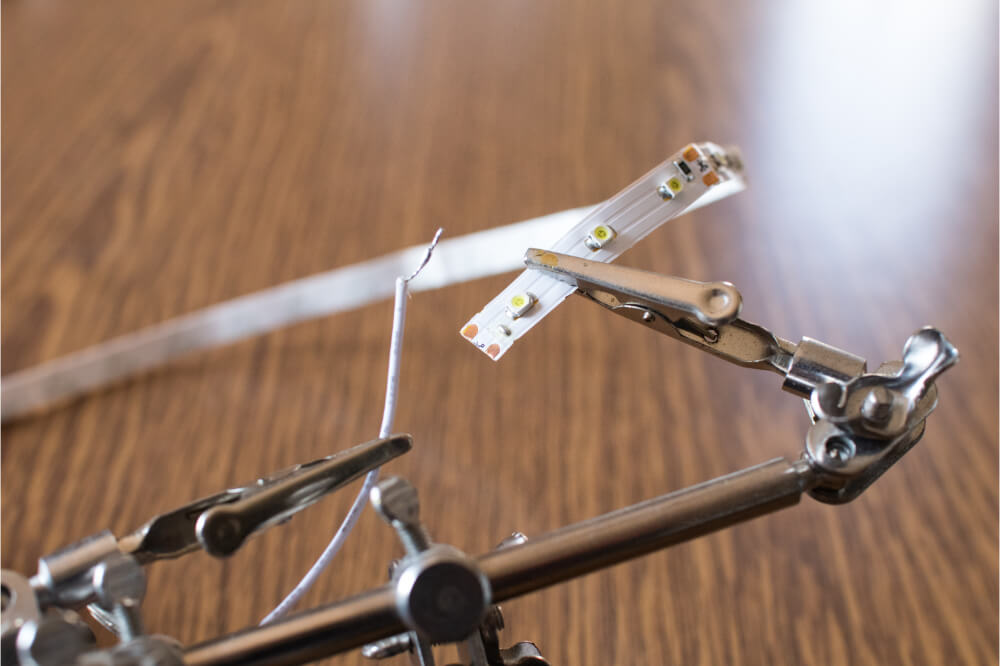
Connecting LED strips to your Raspberry Pi can be a bit challenging, especially for beginners. It may require some modifications to an amplifier’s circuitry if you do not want to blow up your Pi.
In other instances, you may need to build your driver using transistors. However, you can use some simple methods, such as the ones we will describe below.
In our article, we will show you how to connect an LED strip to Raspberry Pi. We will share with you two methods, and you can choose which the easier option for you is.
Let’s dive into it.

Ways to Connect an LED Strip to Raspberry Pi
Method 1: Using MOSFET and PiGPIO
You will need the following materials:
- Three-pin RGB LED strip with one pin for the 12-volt DC
- A breadboard – this is where you will plug all the components
- Jumper cables that you will use for the relevant connections. Ensure it has male and female wires
- 3 N-Channel MOSFETs with a maximum voltage of 343 V
- A power supply
- Power jack
- Relevant software on your Raspberry Pi. For this tutorial, we will use PiGPIO. Take advantage of raspberry forums such as https://www.raspberrypi.org/forums/viewtopic.php?f…For tips on the configuration of the Pi and GPIO.
MOSFET Installation
Think about the MOSFET as the switch that will control the LED strip. You control it via the Gate input.
In the case that low voltage is flowing, the MOSFET takes on the role of a large resistor. The LED strip will, therefore, not light up.
If you apply voltage, the MOSFET allows the current to flow through, and the LED will light up.
Your Gate voltage must not exceed 3.3 volts. When you have the Raspberry Pi, it controls the speed with which the MOSFET turns on and off. Your LED strip will therefore seem brighter or darker.
Depending on how you set one of the three individual colors that the MOSFET controls, you’ll get varying brightness or darkness levels. Note that every MOSFET controls one color.
Your MOSFET has three pins that you need to be aware of; the Gate pin, Drain Pin, and the Source Pin.
- Take all the three MOSFETS and connect them to the breadboard.
- Plug in the Source pins to the breadboard ground bus
LED Strip Connection
- Connect each MOSFETs Drain pin to a color on the LED strip.
- Connect the 12 volts LED strip cable to the breadboard
Raspberry Pi connection
For every color on the LED strip, you need one Raspberry Pi GPIO pin.
- Connect the Raspberry Pi and breadboard ground bus using one of the Raspberry ground pins
- When connecting the GPIO, take note of the Corresponding color connections on the Raspberry Pi:-
- Red goes with GPIO17.
- Green goes with GPIO22.
- Blue goes with GPIO24.
Securing the Power Source
Connect the power jack so that you have a stable power supply to your unit. You will need two separate connections for the LED strip and Raspberry Pi.
Take the following steps:
- Connect the wires to the voltage contact and ground bus on the breadboard
- Connect the power supply to the power jack
- Now plug in the whole set-up into the socket.
Testing the Set-up
Use the PiGPIO to test whether your set-up is working. Determine what range of color brightness you want and then use the following commands:-
- Start the PiGPIO using the sudo pigpiod
- For the LED strip, set them as follows:-
- Red use the command pigs p 17 255 (red pin 17)
- Yellow use pigs p 22 128 (green pin 22)
- Purple use pigs p 24 128 (blue pin 24)
With this set-up, the brightness range is from 0 to 255. For the yellow and purple from the above, you will need the set the brightness to about 50%.
If the test set-up works, then you have been successful in connecting your Raspberry Pi to your LED strips.
Method 2: Using RGB Signal Amplifier
You will need the following materials:
- RGB signal amplifier
- Male and female jumper cables
- PiGPIO software on your Raspberry Pi
The advantage of using the RGB signal amplifier is that everything is basically plug-and -play.
For under $6, you can buy the amplifier from platforms such as Amazon.
Even if you opt for a different amplifier, be careful about the one you buy. Some of the amplifiers, for example, connect the input and output pin. If you try and set it up to your Pi, it will irreparably damage it. In some cases, it may even blow up.
You will also need to download the relevant software on your Raspberry Pi. For the purposes of this set-up, we will use PiGPIO.
The process is as simple as:
- Using the male and female jumper lead, connect +5V Pi pin to the 12V amp input. Take note of the male and female jumper leads when connecting.
- Decide which GPIO pins you want to use; for the purposes of this tutorial, we will use 4, 5, and 6).
- Connect to the three inputs on the amp using the jumper leads. The inputs you will be plugging them to are R, G, and B.
- Connect your LED to the amp, using one of the connectors that come as part of the amp package.
Testing the Connection
Use the same steps as above to test the connection. The plug-and-play set-up is easy to use and convenient, especially for beginners. You will also find a lot of information online, such as the one we have put above to help you with some configurations.
Final Thoughts
We have shared with you two methods of how to connect an LED strip to Raspberry Pi. The steps are straightforward, and with the right equipment, your set-ups should be complete in a short time.
For beginners, we would suggest that you take the time to learn the different components of your Raspberry Pi. It also helps learning to identify potential electrical flaw areas that could damage your equipment.
Otherwise, go ahead and use our tutorial above to help you connect your LED strip to your Pi.

