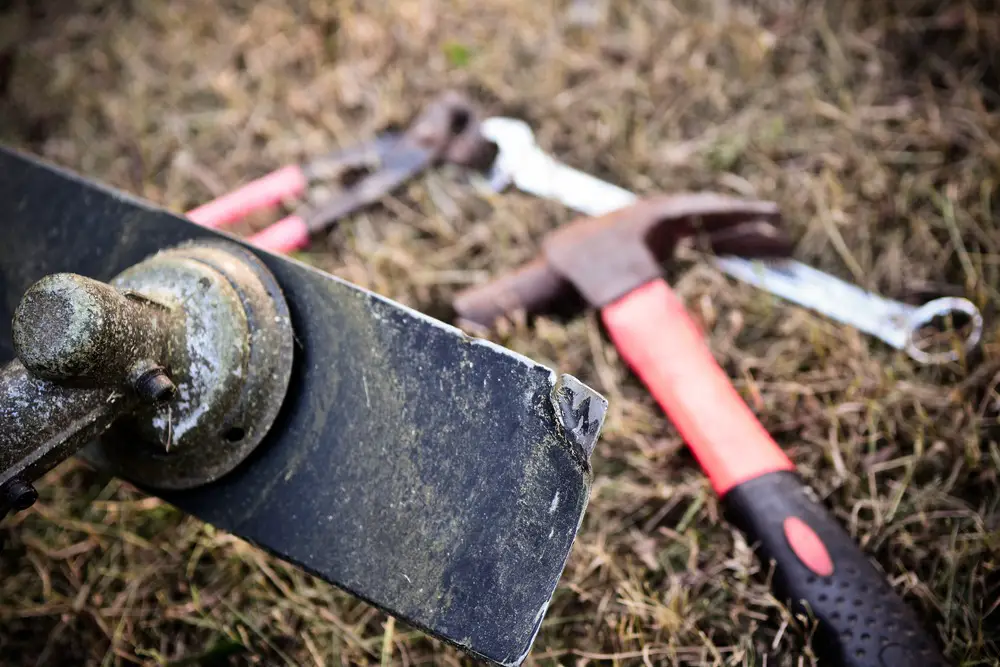
Lawnmowers develop curls, nicks, and dings as a result of hitting branches and rocks. They make the blade dull and blunt, and if used to cut grass, leaves it susceptible to disease. Homeowners use different items to sharpen the blade.
A metal file is ideal for occasional quick fixes, but if the blade is damaged, then it needs to be sharpened on a bench grinder. A bench grinder is fast and effective and restores the original sharpness of the blade.
Here’s a guide to help you through the process:
Wear Protective Gear
Before you start working on the lawnmower, wear gloves, long sleeves, and eye protection glasses. Bench grinders produce sparks and tiny pieces of debris when used at high speeds, which can cause injury if you are not wearing protective gear.
Prepare the Blade for Sharpening
A lawnmower can cause severe injury if it starts when working on it. As such, it is essential to disconnect it from the power source and remove the battery. The spark plug is disconnected by removing the prominent wire in front or on the side of the lawnmower engine from the metal mounting.
Access the Blades
To access the blades turn the mower on its side. Be sure to turn the equipment carefully to avoid spilling engine oil into the air filter or carburetor. You can prevent this by turning the machine, so it faces upwards instead of downwards.
You Might Like: Bench Grinders For Sharpening Blades
Modern lawn mowers have the air filter and carburetor fitted in a plastic casing at the side of the engine. The manual should guide you. Alternatively, pour out the oil in a separate container or run the mower until it is out of gas. It is also an excellent opportunity to check and change the oil.
Note the Sides of the Blade
Most homeowners re-install the blade upside-down after sharpening it. The blade won’t cut grass in such a position regardless of its sharpness. Make bold markings on edge using spray paint or a marker pen to make it easy to re-install it correctly.
Removing the Blade
Blades have a bolt screwed at the center and can be difficult to remove using a wrench. As such, you need to immobilize the blade before unscrewing the bolt.
You can do this by placing a firm piece of wood between the blade and the mower’s deck as you loosen the bolt. Since some mowers come with a reverse threaded nut that keeps the blade fastened onto the spindle, be sure to take note of the placement and orientation of the plates or space washers.
Prepare the Blade for Sharpening
The blade is likely to have grass clippings stuck hence the need to clean it off. If it is slightly dirty, use a dry rag to clean it. However, it has accumulated lots of grime; you may need to hose it with mildly soapy water. Dry it with a cloth once you finish.
Sharpening the Blade
Clamp the blade firmly on the working surface. Be sure to secure the blade in a way that makes it convenient to work on it. You may allow it to stick out over the edge of the workbench so you can work on it while sitting down.
When sharpening, move the blade back and forth against the wheel of the bench grinder. Also, you need to maintain the original shape of the blade’s bevel.
Cooling the Blade
The intense friction between the blade and the grinder produces heat. This heat weakens or warps the blade hence the need to dip the blade frequently in water. Also, wipe the blade dry before sharpening it again.
Maintenance Tips
Sharpen the Blade Twice Every Mowing Season
If using the blade frequently, you need to sharpen it regularly. Sharpen it twice every mowing season or more if using it more regularly.
Related: Sharpen Your Mower Blades With These Bench Grinders
Balance the Blade
If the blade is out of balance, the mower may start vibrating abnormally. Additionally, the internal parts might get damaged hence the need to restore its original position. A balancer comes in handy for this task. If you don’t have one, place the blade on a wooden dowel and find out if one side tilts higher than the other. File the opposite side and test again until the blade lies flat.
Replace the Blade
If the blade has extreme wear and tear, loss of sturdiness, or huge cracks, it might be an excellent time to replace it.


