
If you are looking to add intelligence to most electronic projects, Arduino is a valid enough inclusion. The Arduino boards are affordable, flexible, and can be diversified based on the type of project you are designing. Such and many more capabilities of this platform is among the reasons why it has grown in popularity.
And over the years, project designers have had to struggle with boards that delivered in a particular area but failed completely in another. However, the Arduino Pro Mini 5v comes with the needed features and at a relatively low price.
Moreover, the board is compact enough to fit in any project, even in the ones that lack extraction possibilities. Here, we are going to look at how to program Arduino Pro Mini 5v and understand how this mechanism works.
About Arduino Mini 5v
If unaware, the Arduino Pro Mini is a small Arduino board that’s based on ATmega328P or Microcontroller. But it features similar connectivity and functionality found in other Arduino boards. The Pro Mini’s small size and flexible nature makes it one of the most preferable boards, especially by advanced users.
And due to its small size nature, the Arduino Pro Mini is mainly used in compact size projects. Additionally, the Arduino Pro Mini can run on multiple platforms because it’s organized using the brand’s Integrated Development Environment (IDE).
The Arduino Pro Mini is available in both 5v and 3.3v only, and you can select between either of the two depending on your application. But with so much information concerning the Arduino Pro Mini, the question of how to program it still remains a constant consideration.
Well, there are viable steps taken to program this board. However, there is some level of understanding required before indulging in the task ahead.
And before even starting the learning process, you should know that the Arduino Pro Mini lacks the following things:
- A serial interface chip- The drawback about the Arduino Pro Mini not having a serial interface chip is that you won’t be able to save on power consumption and other costs
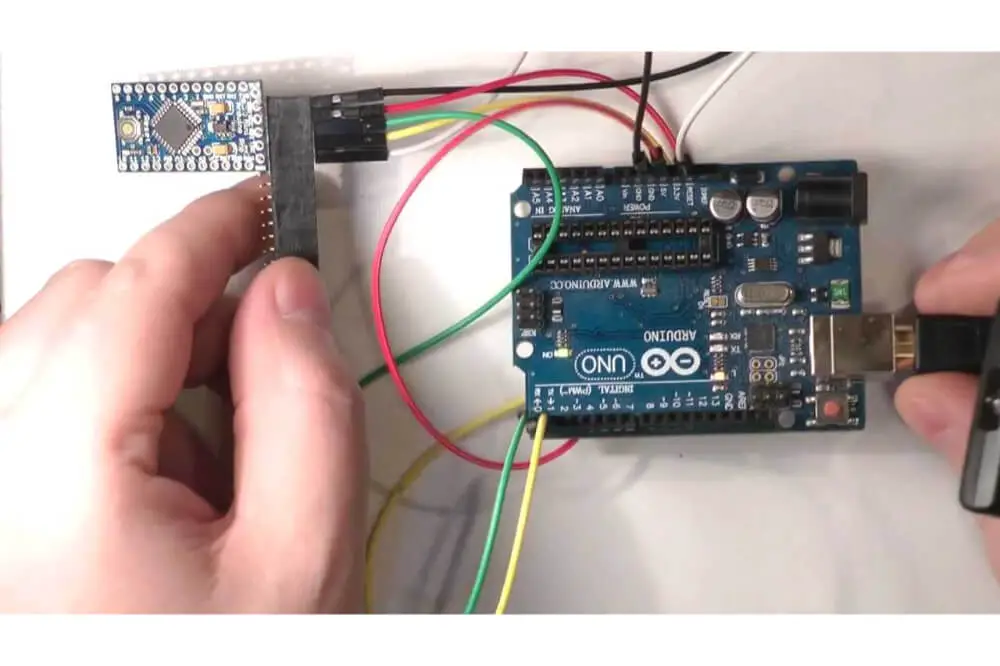
- USB connector- the lack of an actual connector means that you don’t have any place to plugin, and you’ll need a USB to TTL cable.
However, be sure to check on compatibility of these connectors with your operating system before purchasing any.

The Programming Phase
The Arduino Pro Mini 5v can be programmed using the Arduino Integrated Development Environment, popularly known as the IDE.
Besides the IDE, the Arduino Web Editor can also be used and allows you to upload sketches and write the code from a web browser, mostly Google Chrome to any Arduino Board.
The following are the steps to follow when programming the Arduino Pro Mini 5v. But first of all, you’ll need to open the sketch or code written in the Arduino software.
And because the Pro Mini comes in two variations, you’ll have to select the port and the type of board you want to work with – in this case it’s the 5v Pro Mini board.
Because the ATmega328p microcontroller is applicable in the Arduino Pro Mini, you will select the Processor as ATmega328p and start selecting and setting your preferences. Here are the steps to follow:
Step 1 – In the first step, you have to choose between the 3.3v and 5v versions of the Arduino board. Make sure you choose the 5v version of the Arduino Pro Mini version because that’s what we want to program. Additionally, you can also choose the board type at this point.
Step 2 – After choosing both the type version of the Pro Mini, you can now upload and run/operate the written sketch or code.
Step 3 – Once the run and compilation of the sketch or code, the RX and TX lights sitting on the Arduino board will start flashing after a few seconds.
Finally, a ‘Done Uploading’ message will appear on the status bar to indicate the code is successfully uploaded. And at this point, you will have successfully programmed your Arduino Mini 5v.
Key Advantages of Arduino Pro Mini
As mentioned earlier, the Arduino Pro Mini was primarily designed to be embedded in projects. That is, the aim was to never extract it from its sitting once the instructed directives were programmed into the board.
Additionally, this board comes in two versions and we just learnt how to program the Arduino Pro Mini 5v version. The other one is the 3.3v and this comes in handy, as you won’t need any level shifter to interface to this version’s parts. The board is fairly affordable, which appeals to all levels of creators.
In a nutshell, the Arduino Pro Mini board was designed based on cost, embed ability, and form factor. The only drawbacks concerning this device are the lack of the following add-ons:
- The Built-in programmer
- Shield
- and the USB port
Besides that, this device manages to fulfill its purpose quite right. Additionally, it uses Arduino’s Integrated Development Environment (IDE), meaning it has the capacity to diversify on multiple projects. Therefore, it would be more beneficial if advanced makers with substantial experience, knowledge, and skills concerning the platform got a chance to use it.
Otherwise, beginners would also find it useful for minor projects and it would fulfill some duties so long as they follow the right instructions. But for the Arduino Pro Mini to exhibit its full potentials, it will require professional makers to use it accordingly.
Final Thoughts
As we have seen above, the Arduino Mini 5v is a favorite for advanced users, but also to anyone else looking for Arduino boards. Its flexibility and small size make people fall in love with it. Its ability to run on multiple platforms also makes it ideal to users.
Programming your Arduino Mini 5v is not complicated and you will just need to follow the simple steps highlighted in this article. You will be ready to go and enjoy the impressive abilities of this gadget.