Light surrounds us and plays a big part in enabling us to carry out our daily routines with ease. It also helps us maintain warmth and is used to generate solar energy. Therefore, it’s apparent that it does play a vital role in our day-to-day routine.
But how can you measure the light intensity? You’ll need to use Light-dependent resistors or LDRs, which are also known as Photoresistors. These components work by changing their resistors to electricity, depending on the quantity of electricity it gets.
This means that this two-terminal gadget resists the flow of electricity in the circuit, reducing resistance depending on how much light it receives. If you’re hoping to use LDR’s unique properties and use it in an Arduino LDR sensor project, here’s a detailed guide on the steps you should follow.
How Does LDR Function?
The LDR system works by sensing the light intensity in its environment, and you can cheaply buy it online or at a local electronics store. Upon connecting it to a 5V VCC, it produces an analog voltage of varying magnitude directly proportional to the light intensity input. The LDR will work by generating a greater voltage when the light intensity is higher.
Because the LDR produces an analog voltage, you’ll need to connect it to Arduino’s analog input pin. Consequently, the Arduino, which features an in-built analog-to-digital converter (ADC), will convert the analog voltage between 0 to 5V into a digital value ranging between 0 to 1023. If there’s sufficient light on the surface or surroundings, the LDR’s converted values reading through the Arduino will be ranging between 800 to 1023.
After that, you should then program the Arduino to switch to a relay. Consequently, this will switch on the light bulb when there’s low light intensity, and you can do this by covering the LDR’s surface with an object. As a result, the digital values will start reading rangers greater than usual.

Arduino LDR Sensor Connections
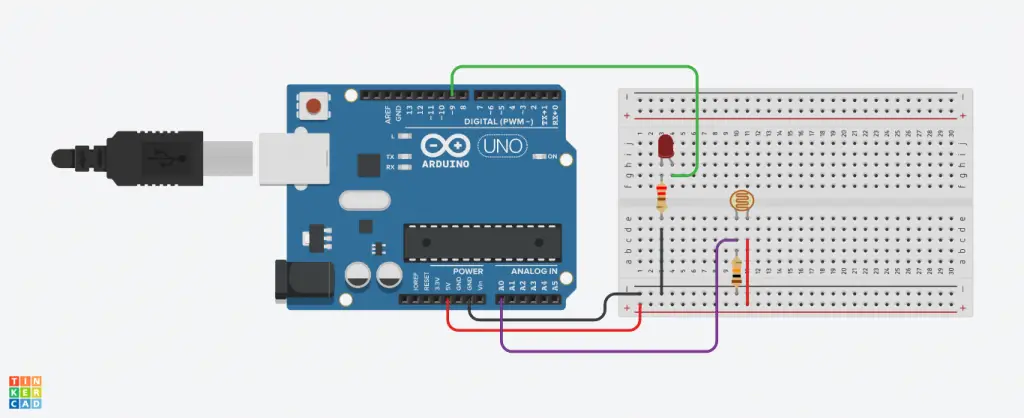
You should start by connecting the LDR to the Arduino’s analog input pin 0 using a voltage divider configuration. When doing this, make sure that one of the LDR legs is connected to the Arduino’s 5V VCC. Follow this up by connecting the other analog pin on the Arduino. Furthermore, you’re required to connect a 10K resistor to the exact leg and ground it.
But before you can even start this test, there are several useful items needed, including:
- An LDR
- Light Emitting Diode (LED)
- A breadboard
- USB cable for uploading code to your Arduino
- 220 Ohm resistor required by the LED and 10K for making a voltage divider
- Connecting wires
Testing The Arduino LDR Sensor Code
Now that you’ve connected your Arduino to the LDR, the next thing is checking the values being generated by the LDR through the Arduino. For this to be done, you’ll need to use an Arduino connected via a USB cable to your PC. After doing this, you should open the Arduino IDE and paste the code below and then upload it to the Arduino.
int sensorPin = A0;// choose an input pin for LDR
int sensorValue = 0;// This is a variable used in storing the value being produced by the sensor
void setup() {
Serial.begin(9600);// This code sets the serial port for communication
}
void () {
sensorValue = analogRead(sensorPin);// It reads the value generated by the sensor
Serial.printIn(sensorValue);// This prints onto the screen the values being produced by the sensor
delay(100);
}
Once you’ve uploaded the code, click the button labeled “Serial monitor” on the Arduino IDE. After this, a new window will show the different printed values that will show up on the screen. The next thing to do is to block the sensor’s surface from light to test it and see the values the serial monitor is displaying.
Connect The Relay To The Arduino
The relay is an electromagnetic switch that allows you to switch ON/OFF when operating on AC/DC. A HIGH voltage supply (5V) that the Arduino generates switches on the relay, but it remains switched off in all other cases.
For this particular project, we’ll be using the 5V single-pole double-throw (SPDT) relay. You should connect one of the relay coil’s terminals to the Arduino digital pin while connecting the other to the ground. Moreover, you should follow this up by connecting the light bulb too.
Before you even switch on the power, make sure to do proper calculations. It would be best for you to consult a more experienced person or read in-depth guides on relay connection to an appliance if you’re experiencing any difficulty.
Once you’ve correctly connected the Arduino, the next thing is testing it by uploading a final code onto it.
In the final program, we’ll set the threshold light value at 700, but this differs depending on the project you’re undertaking. It’s crucial to determine the precise value when the light bulb will switch on exactly. You’ll be able to determine this after doing several tests.
Usually, the light bulb will be switched on by the Arduino through the relay anytime the light intensity goes below 700. In contrast, the light bulb turns off when the light intensity is over 700.
Connect the components! 🙂

Should You Opt For A Photodiode?
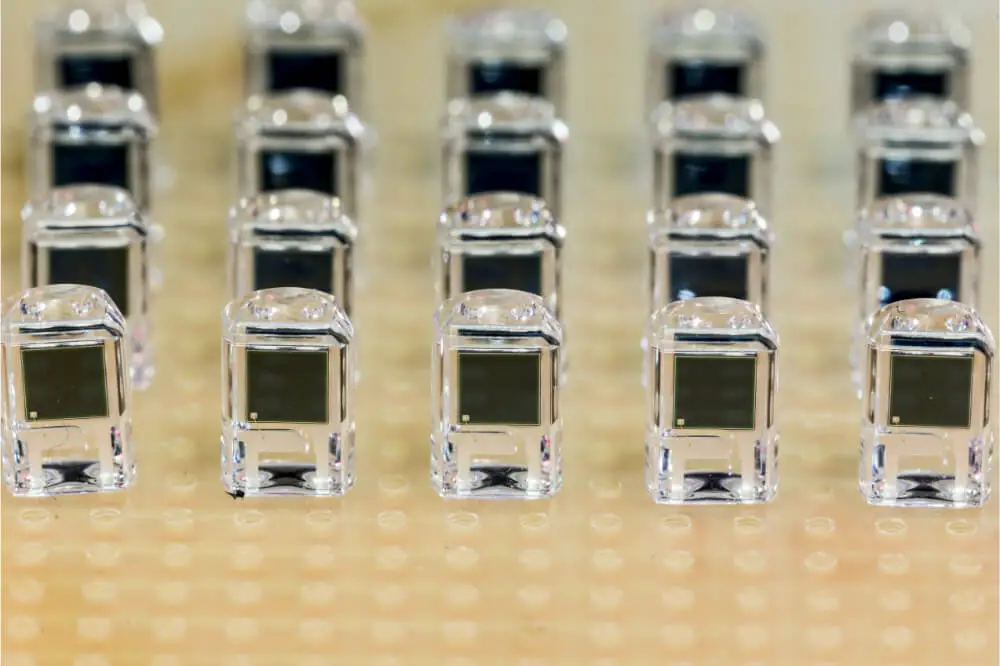
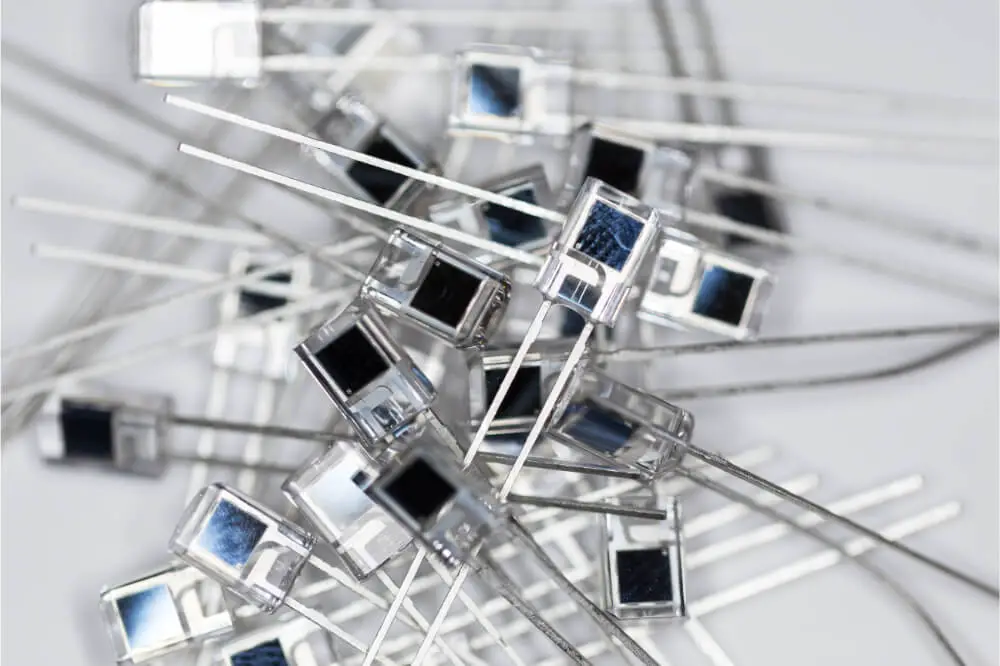
You can also opt to use the photodiode for detecting light. This might be deemed necessary due to the difficulty conducting experiments with Arduino since it’s designed like a surface-mount gadget like the VEMD5510CF. Therefore, you’ll need to have advanced soldering skills if you can’t find a printed circuit board for it.
The other option you’ve got is the BPW83 component designed with a through-hole and for sensing light in the infrared spectrum.
Conclusion
If learning how to use LDR sensors is something that you were hoping to know, reading through an in-depth guide has provided all the needed insights on what to do. Thus, you can now freely go ahead and try it out and eventually get to understand that this process isn’t as complicated as you might have previously thought.

