
Different materials…
When you are working in 3D printing you will find that the different materials that can be printed require different printers to get the job done right. The right tools for the job makes everything simple, smoother and easier.
Not every 3D printer can print polycarbonate. Yet it can be a very popular material to print with as some grades are as clear as glass, become almost bulletproof, and have other practical applications.
To find out which printer you need to print polycarbonate, just continue to read our article. It has the information you need to make full use of this material for your needs.

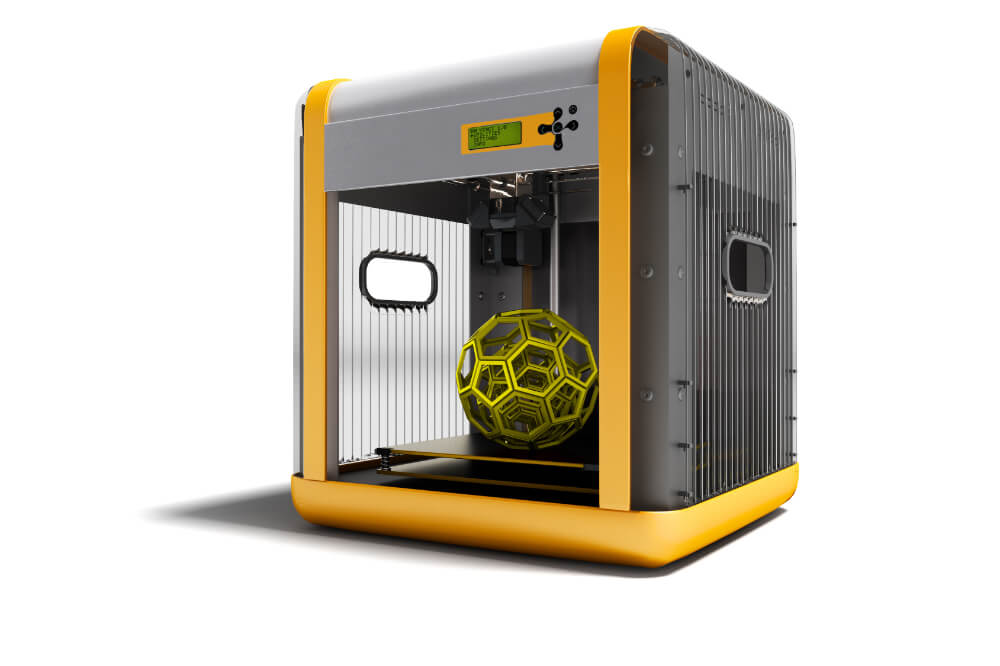
What type of 3D printer should you use?
Tests were made using three different printers, the Ultimaker 3, Raise3D N2 and the Lulzbot TAZ 6, with the last one producing the best print of them all. You can purchase these three printers if you are working with polycarbonate, PC, or find one that meets the following requirements:
- A printer that comes with an enclosed heated bed that can reach 80 to 120 C (190 to 270 degrees F).
- Has a build surface using one of the following: PEI, Glue Stick, or commercial adhesive.
- The printer needs to reach between 260 to 310 degrees C (550 to 650 degrees F) and have all metal hot ends.
- A part cooling fan is not required.
Pros and cons of building with polycarbonate
Before you get started using this material or rushing out to buy that type of printer, you should get the full story first. That comes from reading the pros and cons of working with a PC.
Pros:
- It is impact resistant material.
- Has a high heat resistance.
- Is naturally transparent no additives needed.
- Can bend without breaking.
Cons:
- Needs high printer temperatures to melt and flow.
- May warp on you if you are not careful.
- Can ooze on you during the print process.
- Absorbs moisture from the air affecting the quality of your print.
Some PC printing guides to make quality prints
PC can be a challenge to work with as it comes with some built in difficulties that affect the quality of the print. Here are some tips to help guide your work and make it more successful:
| # | Tip | Description |
|---|---|---|
| 1. | Use the right build surface | PEI is the best surface to use as some adhesives and glue sticks break down at the high temperatures required to print with a PC. BuildTak can permanently stick to PC and warp the print |
| 2. | Make adjustments to your settings | Low cooling fan speeds coupled with high temperatures can create stringing and oozing. Adjust the retraction distance & speed to solve this issue. Coasting can be done as well if you have that option |
| 3. | Customize the first layer | Warping is a constant danger when printing with a PC that is why doing a custom first layer helps. You can use100to 150% height, 12 to 150% width and a 15 to 30% speed along with printing 30 degrees hotter all on the first layer to avoid warping |
| 4. | Smooth top layers | Print at about 50% speed to avoid drooping at the upper layers. Try using a minimum of 4 top layers to get the print smooth |
| 5. | Calibrate your bridge settings | High temperatures will affect your bridging efforts. Try using 40% bridging speed multiplier, 120% bridging extrusion multiplier, 25% fan speed as a starting point |
Some professional tips when working with PC
Getting help from the pros comes in handy and helps turn you into a professional PC object builder.
- If you see overheating, drooping curling taking place, try setting your fan speed to 0% for the first layer then increase it to 40% or lower for every layer after #4 or 5.
- If you see moisture has been absorbed by the PC material, lower your print temperature to about 280 C (600 F) or lower. This should help prevent print issues and bubbles being created by the moisture.
- PC is not a one print end of the process material. It is very easy to recycle this material and reuse it in fully operational prototypes and other objects. Printing and recycling does not remove its durability or transparency.
- PC can be used to create windows and other clear products prototypes.
- When temperatures are going to get high when the prototype is used, a PC is better than using ABS as the latter material warps easily at high temperatures. The PC has high temperature resistance.
Some PC printing recommendations
| # | Recommendation | Explanation |
|---|---|---|
| 1. | Build bed temperature | A heated bed is essential if you want to avoid warping. Keep a consistent temperature ranging between 135 to 150 degrees C (300 to 330 F) |
| 2. | Build bed design | To keep that consistent temperature range make sure to have a printer that comes with an enclosed structure |
| 3. | Nozzle temperature | It needs to be hot, in the range of 290 and 300 C for pure PC printing |
| 4. | Materials | If you are using a composite or a lower print temperature, you may not see the great qualities PC is known for |
| 5. | Have the right settings | Temperatures that are too low or speeds that are too fast can cause jamming. Before you start printing make sure your printer can reach those heat levels PC requires and goes at the right speed |
| 6. | Avoid moisture | Store your PC material in airtight containers that seal the moisture out. Try drying the material out before printing with it if you suspect moisture has been absorbed |
| 7. | Use quality filament | The better the quality, the fewer problems with moisture and other issues you will have |
Some final words
Printing with a PC is going to challenge your 3D printing skills. Make sure you are up to the task and that you have the right 3D printer. If your printer can reach the high temperatures PC needs, don’t print.
Also, don’t pinch pennies where the quality of the material is concerned. Always use top quality material to get top quality results.