
Outlines are a part of art…
If you look at many artists’ work, you will see that they start with an outline. That little bit of extra work is not wasting their time, materials or even their talent. Instead it acts as a guide, a reminder and helps the artist create a beautiful picture.
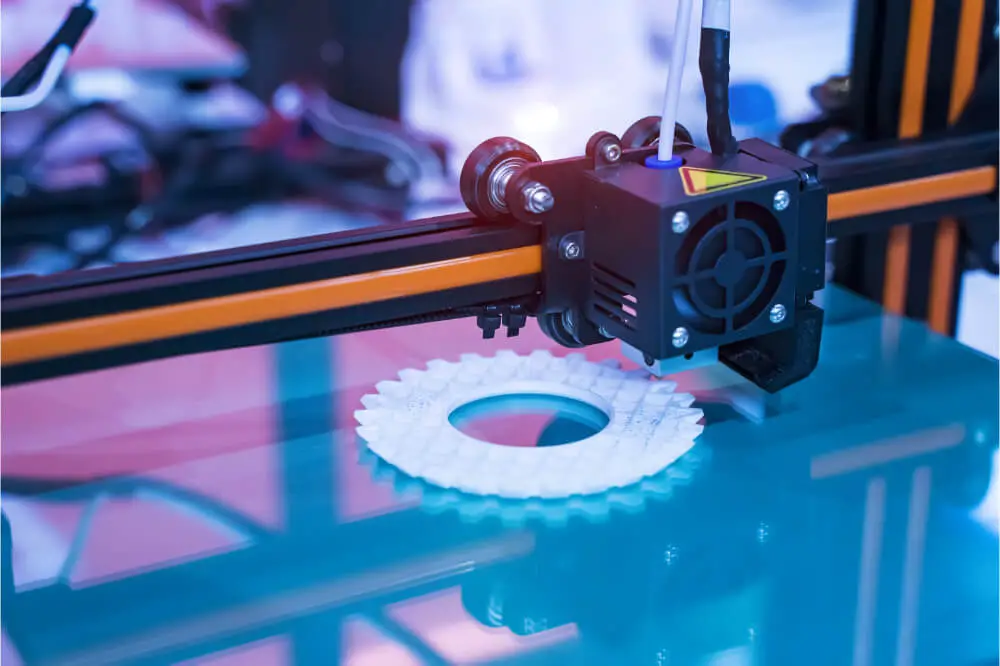
Many 3Dprinters place an outline on the build bed before building. This confuses users because the printer is a machine and doesn’t need an outline to guide its work or remind the printer what the object should look like.
To find out why a 3D printer draws an outline first before building the object, just continue to read our article. It has the reason why plus other information to help you understand how a 3D printer works.
It’s all about priming
The outline drawn by a 3D printer is called a skirt. This action does not use up a lot of filament as some people may believe. But it is an important step for the printer to make as your print depends on the skirt being drawn first before the object is printed.
What the outline does is prime the nozzle so you get a smooth and even flow once the printer starts building your print. Priming is an important part of many of life’s activities from brake lines to painting walls, priming makes everything move, flow or look better.
It stands to reason that if you want a quality print, the nozzle should be primed first so mistakes are avoided later on.

The skirt helps the first layer
That first layer is very important to the overall look and quality of your print. With the skirt priming the nozzle, your first layer should come out looking great which means you will have a solid foundation for your work to build on.
But there are other issues than the skirt to worry about as they affect your first layer as well:
- Adhesion issues.
- Uneven build bed.
- Extruder in the wrong position.
- Wrong extruder and build bed temperature.
- Low quality filament.
- Build bed is not clean.
- Wrong filament type being used.
It is better to stop the print when you notice any of these issues start to make their presence known. Don’t wait and hope for the best as that will only waste your time and filament.
Adding a skirt to your print
Making sure you have the right size of skirt for your print is not that hard. It’s all in the settings and to find those just follow the upcoming instructions.
| Step | Action | Explanation |
|---|---|---|
| 1. | Go to printer setting | Go to the build plate adhesion option then use the menu to select skirt if it is not already selected |
| 2. | Skirt line count | The number of lines that will be in the skirt. Pick a number |
| 3. | Skirt distance | How far the skirt will be from the object. Choose the distance |
| 4. | Skirt minimum length | The shortest the skirt can be. Make your selection |
| 5. | Custom selection | Use this to see all the available options |
If you do not want a skirt at all, just move your line count number to 0 and your printer should not print a skirt.
There are alternatives to using the skirt
If you do not want to have a skirt as part of your build, you are in luck. There are 2 other options you can choose to use if those alternatives are better suited for your printing style, etc.
- Brim- this is similar to a skirt and you may see this option in one of the skirt settings mentioned above. The only difference is that the brim is attached to your object whereas a skirt is not. Usually, this option is used when you are building smaller as it provides better stability but it does need to be removed when the printing is done.
- Raft- this is a many layered surface that is printed first then the object is built on top of it. This option provides you with a good surface to build on as well as keeping the bed heat away from your print. You will use a lot of filament if you select this alternative and like the other options you will need to remove it once the printing is over.
When to use 3D printing over traditional manufacturing options
Now that you understand why a skirt or outline is printed before your object is built, here are a few points to help you use your 3D printer in the right way:
- It is best to use when you are printing only one object or a small amount of objects.
- It provides a low cost alternative saving you money and time.
- Then 3D printing builds objects that can’t be built the traditional way
- For manufacturing 1000 or more parts, the traditional manufacturing method is better.
- When you do not need tight tolerances, 3D printing is the way to go.
- Also, when the stress on the object is not great use 3D printing first.
3D printing is not going to replace traditional manufacturing. It will simply help save on expenses and time. When you only need one model or prototype setting up a traditional production line is very costly.
Use a 3D printer when you need only one or a few models and save big. You can pass the savings on to your customers and look like a hero.
Some final words
There is nothing to worry about when you see your 3D printer print an outline before it starts to build. That is the printer’s way of making sure the flow of the filament is smooth and even.
The good news on top of that good news is that you can adjust the size and location of the skirt so you can save on filament and still get the same flow. But you are not limited to one type of skirt and can experiment with the options to find the best way for you.