
Can Raspberry Pi 3 run Android? Yes, a Raspberry Pi 3 can run an Android. However, in order for Android to run on a Raspberry Pi 3, you will have to use LineageOS, a special build developed by konstakang. The LineageOS was designed upon an Android platform.
When using anything that tends to be graphic intensive, the Raspberry Pi 3 is said to have a better performance than its counterpart Raspberry Pi 4. This is because the Raspberry Pi 3 is built to offer support to hardware renderer, unlike the Pi4. In this article, we shall discuss how to run Android on Raspberry Pi 3.

Installing Android on Raspberry Pi
Despite the fact that there are several Operating Systems available for running a Raspberry Pi, you might consider sticking to OS based on Linux. However, it does not offer touchscreen support. Therefore, the best solution to this is to install Android on your Raspberry Pi 3.
When installing Android on your Raspberry Pi, you will require the following:
- Reliable and highly-suitable source of power
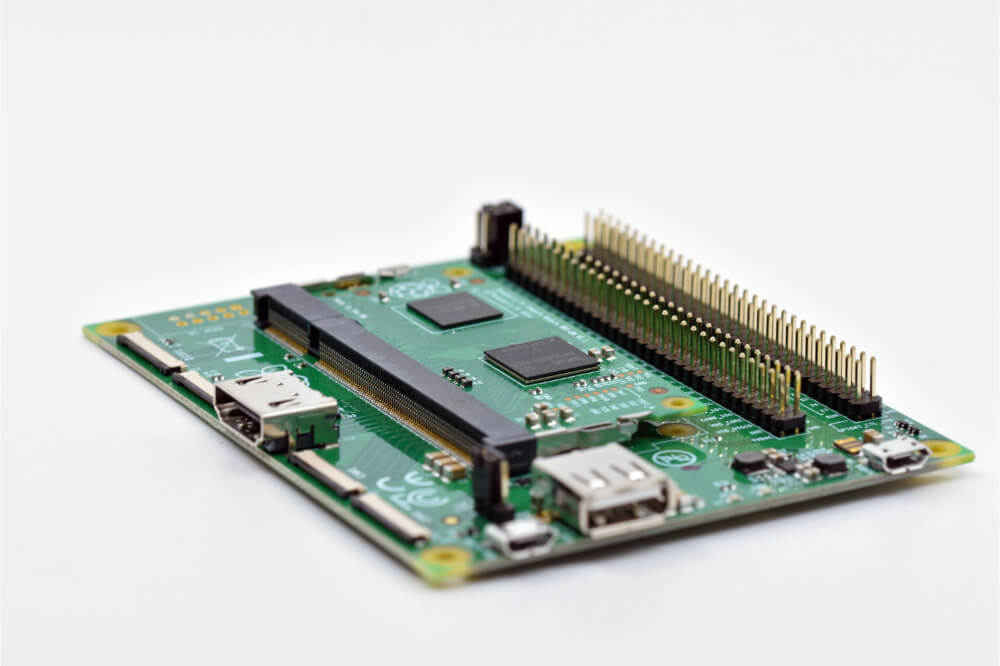
- A Raspberry Pi 3
- 16 GB and above high-quality microSD
- Keyboard and Mouse when not using your touchscreen display
- 7-inch touchscreen display
Once you have these things in place, you will proceed and start downloading the Android image for your Pi 3. You will require Etcher software, the one used in writing the disk image to flash storage. Usually, it is available for macOS, Windows along with Linux in both 32 as well as 64-bit versions. You will follow these steps in order to install Android on your Raspberry Pi 3:
Flashing the Android into a MicroSD card
Once you have all the files downloaded, you will commence by installing the Etcher software on to the computer. Afterward, take a card reader and insert your microSD card. Ensure that the file with the Android image has been unzipped and ready for use.
Go ahead and launch the Etcher software. The installation process is relatively easy and involves only three steps. You click on the select image, browse the device, select the ISO file, and then click on OK.
In the process, the Etcher software will reformat the microSD card as well. The application will automatically detect the SD card. You will click on flash to commence on writing the SD card. You have to wait for the process to complete before closing your Etcher and remove the SD card safely.
With that done, you will go ahead and insert the microSD card in the Pi 3 while it is still off. You will then connect the display along with other input devices such as mouse and keyboard and then boot your Pi 3 up.
Installing Android on your Raspberry Pi 3
In this step, you will have access to all default Android applications, and you will be able to go online, as usual, using a pull-down menu. When Pi 3 is connected to the internet through ethernet, you will have access directly; others, you will have to connect to your Wi-Fi.
By now, your Android operating system will be up and running. In most cases, this will be enough; however, what if you would like to install some apps? To do this, you will have to sideload by importing Android APK files from cloud drive or external storage.
However, in order to do this, you will have to enable the Unknown Source in your security settings. To locate settings, you will move your cursor or mouse to the top-right corner of your desktop.
When it comes to installing APK files from cloud storage, you will have to open your cloud storage in a browser and download the APK file. Afterward, you will drag your notification bar from the top of your screen and click on your APK file in order to install it.
Ensure that you have checked on the permission and the go ahead and install your APK file. The process might not be as easy as a Google play store, but you will be able to install your app in the long run.
Why use Android on your Raspberry Pi 3 over Linux?
Usually, Linux is highly available for Raspberry Pi, including the Raspbian Stretch that was released by Raspberry Pi Foundation and Arch Linux, which is a version of Ubuntu. So why use Android for your Raspberry Pi 3?
The first reason as to why you should use Android for your Pi 3 over Linux is the touchscreen factor. All Raspberry Pi OS are not equipped with this feature. This means that you will need different software for your Raspberry Pi 3 to be touchscreen sensitive.
The choice of applications is another feature you will need to factor in. Despite the fact that the Raspberry pi 3 Android is not that much stable, it tends to offer an array of apps and game selections that you can use and play. You have access to handy utilities, RPGs, and office tools such as Microsoft Office, among other vital apps.
Raspberry Pi 3 Android projects
Etcher software is a project designed to utilize Android 7.1 build. However, there are other projects that you might as well consider using while installing Android on your Raspberry Pi 3:
- LineageOS 15.1. This software is based on the latest Android 8.1. As an individual who doesn’t love the restrictions offered by several Operating Systems, then this will be best for you.
- Emteria.OS. This is by far the most famous implementation of Android on a Raspberry Pi. This operating system is available for free, or you might as well purchase premium. When using the free version, it will stop after every eight hours, and it tends to display a watermark.
- Android Things. It is a great platform for use in internet things. Despite being great for IoT projects, it tends to be less suitable for apps and games.
Final Word
To run Android on Raspberry Pi 3, you will have to select the right software that will help you install your computer. As we conclude, we hope that you find this article helpful when it comes to running Android on a Raspberry Pi 3.
