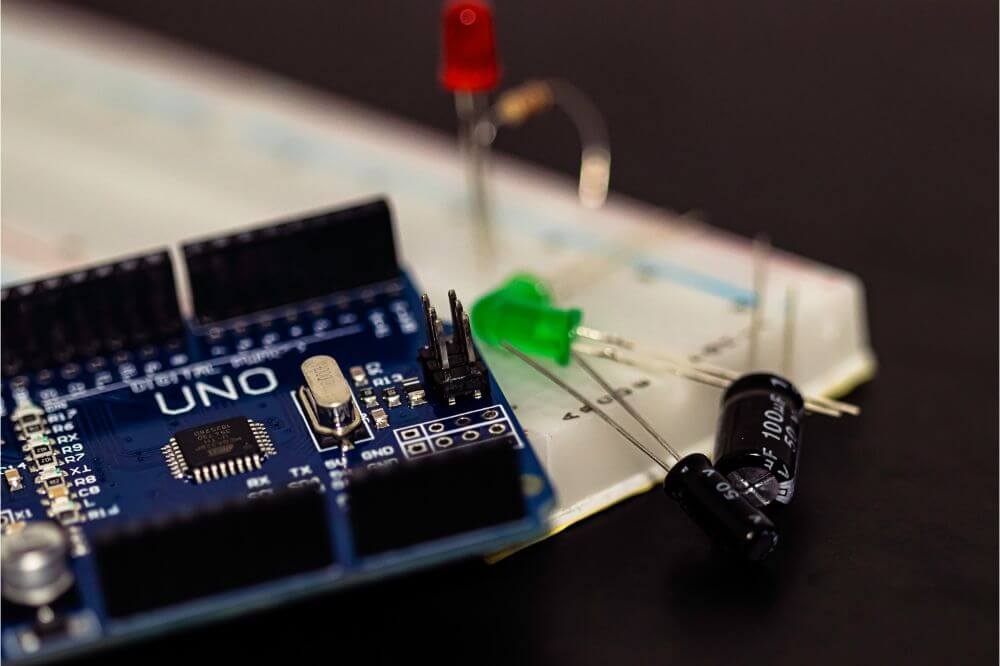
The Arduino is an excellent device but unfortunately it doesn’t feature an LCD display to help you see the sensor data. Therefore, in case you want to see temperature data or the pressure of your Sensor, you need something else to do that.
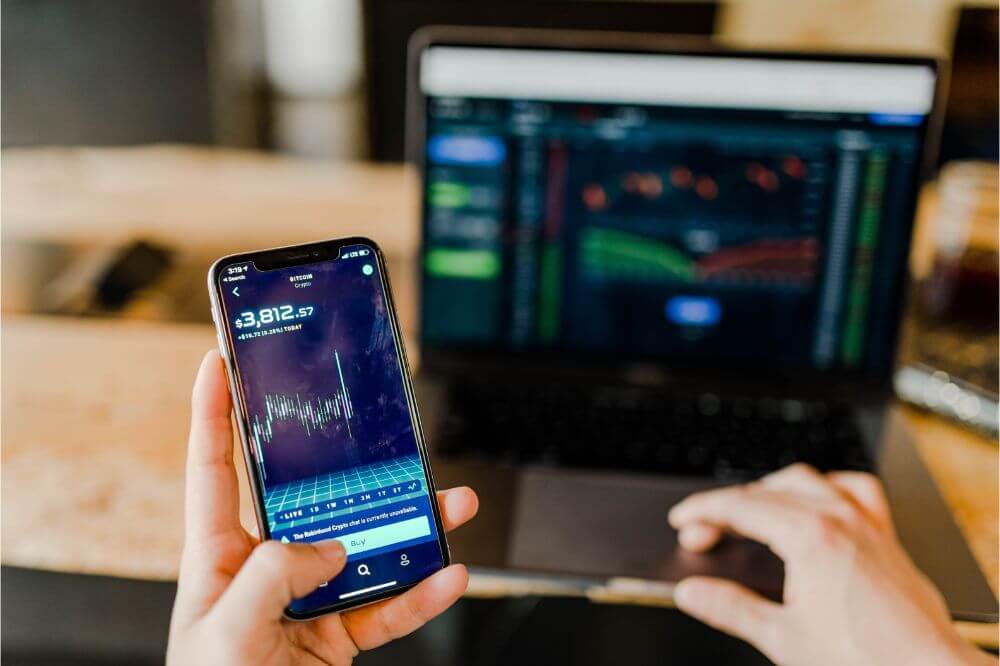
If you have data that you want to see, it is recommended to get something like a PC or print it to a console, or even use a display directly to the Arduino. This is where the use of an Android smartphone comes into play. Because there is no easier way of wirelessly visualizing measured data from the Arduino.
The main objective of this post is to help you transfer or receive Arduino sensor data on your Android smartphone. Check out the process below.
1. Prepare the Arduino and HC05/HC-06
The first involves preparing your Arduino and HC05/HC-06. Below are some of the things that you need:
- Arduino
- Android device
- The Bluetooth module HC05/HC-06
- APP
The HC05/HC-06 Bluetooth module communicates with the Arduino through the UART-interface. Therefore, all the messages that the Arduino wants to send are first given in the module, and then it wirelessly sends them.
If you don’t want to encounter problems with the UART, the Bluetooth module and the Arduino, you need to use the same baud-rate which in default is 9600. However, you have the option of changing the baud rate, as well as the password, among other things of the HC05/HC-06.
Wiring
The first step involves wiring the HC05, and then connecting it as descripted. Wiring the HC05 involves:
- VCC of the HC05 to the 3.3V Arduino
- GND of the HC05 to the GND Arduino
- RX HC05 to the Arduino pin eleven (TX)
- TX HC05 to the Arduino pin ten (RX)
Note: You shouldn’t connect the HC05 RX to the Arduino RX or vice versa.
Connect the components! 🙂

Connecting the Arduino to a PC
The other thing that you need to do is connect the Arduino to your PC. Below is a code to upload:
#include <SoftwareSerial.h>
SoftwareSerial BTserial(10, 11); // RX | TX
int sensorPin = A0;
int sensorValue = 0;
void setup() {
BTserial.begin(9600); }
void loop() {
sensorValue =
analogRead(sensorPin);
//IMPORTANT: The complete String has to be of the Form: 1234,1234,1234,1234;
//(Ensure that you separate every value with a comma (',') and make sure your message
//end with a semikolon (';'))
BTserial.print("1234");
BTserial.print("
,");
BTserial.print("1234.0");
BTserial.print(",");
BTserial.print("1234 hPa");
BTserial.print(",");
BTserial.print("500 ml/s");
BTserial.print(",");
BTserial.print(sensorValue);
BTserial.print(";");
//message to the receiving device
delay(20);
}
Points to Note…
You can write the Arduino code above to visualize measurement data from a microcontroller through Bluetooth.
However, before you begin this application you need to couple the Bluetooth module HC05 to a smartphone. In the case of HC05, to initiate the coupling process you need to use the pin code 1234.
Wiring involves GND of the HC05 to the GND Arduino, VCC of the HC05 to the VCC Arduino. The TX HC05 to the Arduino pin ten (RX) RX HC05 to the Arduino pin eleven (RX)*/

Arduino Bluetooth Data Using the Android App
Using an Android app also helps to visualize the data efficiently. However, before you use the app, the Bluetooth module HC05/HC-06 needs to be coupled to the Android in the preferred system.
In the case of HC05, you can use the default pin code 1234 or 0000 to initiate the coupling process. If you couple both of the devices, head over to the app, select the HC05/HC-06 and then click the red connect button.
The Arduino Bluetooth data needs to establish a serial connection. The Arduino code requires you to determine which values to send to the Android device. All you have to do is change the lines and include your preferred values.
For example:
BTserial.print(yourvalue);
There is also the option of setting a high-sampling rate through the lowering of delay. The code is delay(yourpreferredvalue);
The good news is that you are free to conduct experiments.
Controlling and executing tasks on an Arduino with an Android smartphone is a process that has become quite popular. Therefore, developers went ahead and started creating custom applications that you can utilize to send and receive information.
Below are some of the sensors that you can use:
- Potentiometer
- Light dependent resistor (LDR)
- Infrared (IR) sensor
Some of the things that you require include:
1. Arduino UNO
2. Breadboard
3. USB cable
4. Android mobile phone
5. Wires
6. Infrared sensor (IR)
7. 1kohm potentiometer
8. 1kohm resistor
9. HC05 Bluetooth sensor
10. Light dependent resistor
Connect the LDR and Resistor to the Arduino
Depending on the intensity of the light projected to the surface of an LDR, it may be the value of its resistance. This value may change from a few Ohms under enough light conditions to just a few mega Ohms in dark conditions.
Connecting the IR Sensor to Arduino
You can use an infrared sensor which has 2 IR LEDs. One needs to be an IR transmitter and the other one an IR receiver. The IR transmitter sends the IR rays. IR rays are normally reflected from the object if there happens to be a black or no object in front of it which means there won’t be a reflection of no rays.
Essential Tips
When it comes to connecting your Arduino with an Android smartphone to receive data, you need to ensure that everything is done right. The last thing you want is to end up regretting for not doing the right thing.
Following instructions is part of doing what’s right. In our post, we’ve outlined all the processes that you need to take into consideration when doing your connections. You also have to remember that conducting more experiments requires you to be extra cautious.
Although there is the option of doing much more and trying to find out how other ways can work for this same process, it is essential to consider checking each step keenly and following the process up to the end to avoid messing up and getting the wrong results in the long run.
Parting Word
We have ensured that our article is detailed enough to help you on how to effectively receive Arduino sensor’s data on your Android smartphone. You should be well versed on the subject, though it is important to research further and learn more about this ever changing subject. We hope this post has shed some light on what you need to do and you are now able to set up the Arduino sensor data on your Android smartphone.


