Buying a 3D printer, even with the prices falling in recent years, is an expensive endeavor. Therefore, you might be tempted by the thought of building your 3D printer, but is this possible?
Well, luckily, this is something you can do using old printers, thereby saving your hard-earned money for other purchases.
However, the process to follow when making a 3D printer is something that many people find complicated. For this reason, in this article, we’ve sought to explain the steps you need to follow when making a 3D printer using old printers.
Steps To Turn A Printer Into A 3D Printer.
Using an inkjet printer, you can embark on the process of making a 3D printer. This is an excellent option instead of discarding it once it can’t print several pages of your novel or flight boarding passes. Furthermore, most people buy another one once a newer model is launched.
This is what an 18-year old Italian student Michele Lizzit did instead of throwing away the parts of the now destroyed inkjet printer. He also got an old scanner, Amazon cardboard boxes, and several hand-soldered electronics in addition to the printer. Whereas the outcome wasn’t attractive to the eye, it did work well as a 3D printer, and all this is at a mere price of €10.
Other items that Lizzit used are some electronics, a hotend extruder, a motor driver, an ATmega328 processing brain, a high-current transistor, and three driver boards.
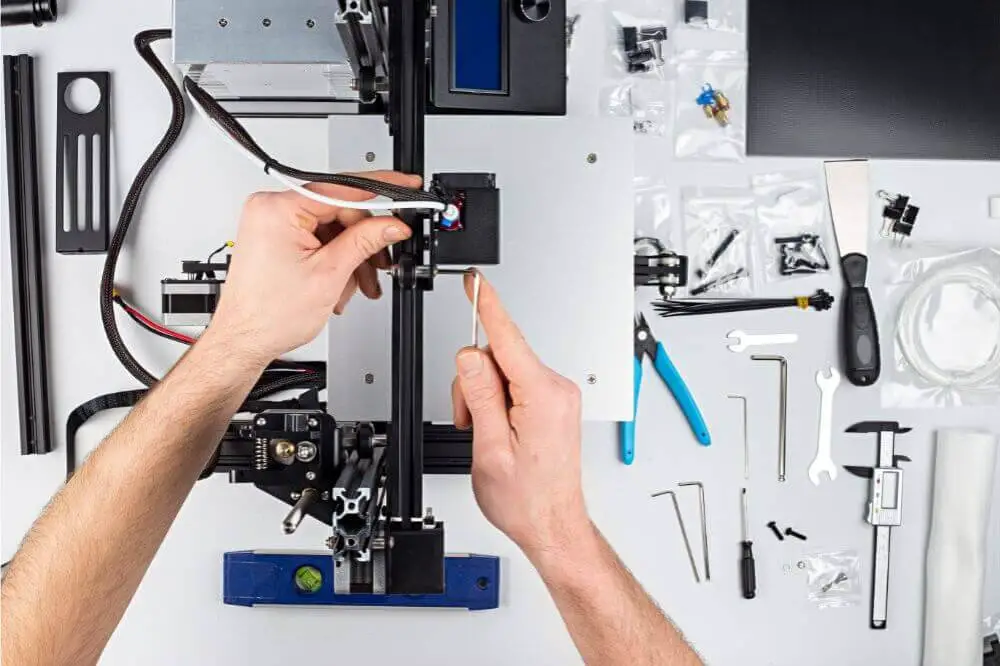
Once everything that’s needed has been assembled, other things required for the 3D printing include working to repurpose old parts and 3D printing an extruder housing. All that’s required are two cardboard boxes to be used as the printer frame, which should later be attached to an axis on them. It would be best to use an inkjet printer paper loading mechanism instead of buying a new hobbed bolt.
Consequently, place the plastic plate from the scanner on top of Amazon’s cardboard packaging as this provides excellent adhesion for prints. At the moment, cardboard biscuit boxes offer the structure with support but using a robust metal frame is ideal.
The reason for this is that the cardboard frame affects the accuracy of the cardboard frame negatively. After doing this, create a system firmware that’s open-source just as Lizzit did.
Although the print resolution on both axes is 33 microns, this DIY 3D printer doesn’t boast an appealing look. The integrated upcoming software enables the system to clean a blocked nozzle, compensate for filament shipping, and choose the correct temperature for the filament independently.
This project aims to make a 3D printer using an old printer to show that you can still achieve relatively accurate prints using home-build linear encoders found in inkjet printers.
It shows the ingenuity to make good use of old hardware, plus it is very cheap. Moreover, these 3D printers use up less power than models bought in shops as it features DC motors instead of stepper motors.
All these instructions are also made available on Lizzit’s website.
How to Get Started
After deciding to build a 3D printer, the first thing to do is determine what type of printer you’re hoping to construct. In this guide, you’ll be taken through the steps to follow when making a plastic deposition or FDM printer with three-axis. With that in mind, there are still lots of configurations and frames you have to pick from.
The two different coordinate systems incorporated in 3D printers are Delta and Cartesian.
Delta-based Printers
These printers consist of three parallel axes linked to the extruder, which prints onto the stationary, circular print areas. It’s a less popular choice compared to the Cartesian option, and some of its features include:
- It has a cylindrical build volume.
- It’s a lot harder to program and construct.
- Best suited for bigger parts.
- Its resolution varies across the parts, with lower resolutions towards the center, whereas higher resolutions are further out.
- Needs at least three motors.
Cartesian-Based Printers
These printers are a more popular choice than the Delta-based counterparts. It comprises three perpendicular axes which print on the rectangular print regions. Typical setups have a bed controlled by the third axis while the other two axes control the extruder. Nevertheless, there exist some minor variations across different models.
The features of Cartesian-based printers include:
- Incorporate the most common coordinate system.
- Simplest to program and build.
- Needs a minimum of three motors.
- It can be scaled up or down with ease.
- A popular coordinate system.
If you want a desktop printer, the Cartesian is an ideal choice since they have a bigger build volume than the deltas of the same size and are more compact. However, the delta printers are preferred as they’re cheaper to use as it gets bigger.
In addition to this, bigger-sized printers are, in most cases, delta printers as they need less framework in comparison to the construction of building-sized Cartesian.

Benefits of The DIY 3D Printer
Educate Your Children
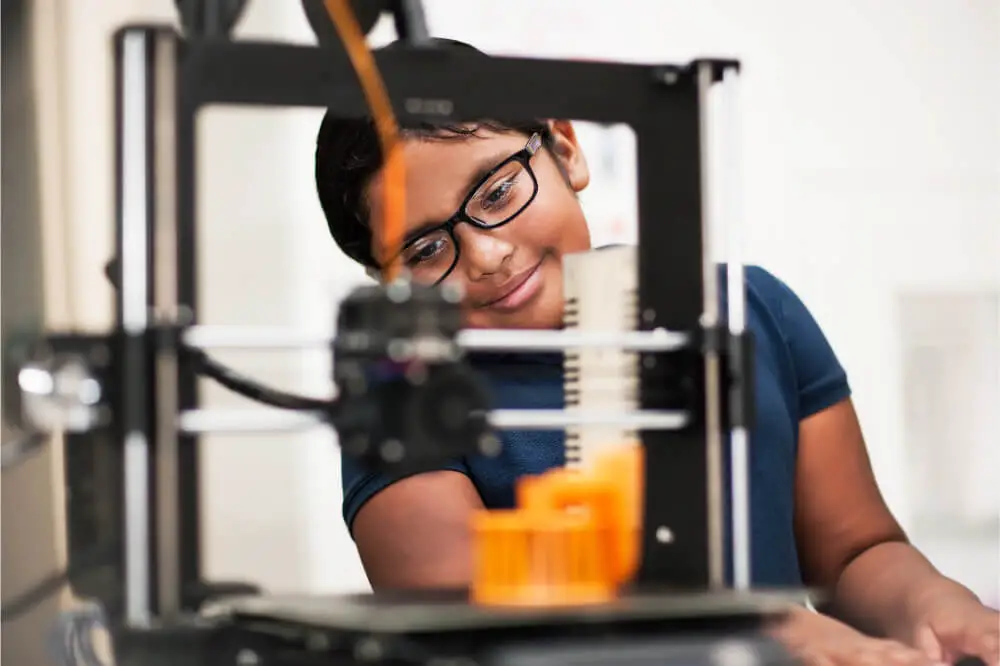
If you want to educate your children by teaching them how to carry out certain tasks practically, then this DIY 3D printer will be a handy appliance. Using this machine, your kids get to stimulate their creative sides, and this is very important in sharpening their education skills. Furthermore, it helps them develop problem-solving skills, which further boosts the creativity of your kids.
Save Time And Money
The price of 3D printers bought online or in shops is quite steep even if the prices have recently started to fall. Therefore, why suffer this stiff investment if you could instead set aside only a small percentage of this money and spend it on making your DIY 3D printer.
You also get to save time you would have otherwise spent waiting for your 3D printer to become available after placing an order for one.
Conclusion
The hype around 3D printers won’t die down any time soon. However, if you’re on a tight budget, using an old printer to make a 3D printer is a viable solution. By doing this, you can be sure to start using this equipment to carry out your 3D printing tasks.

