
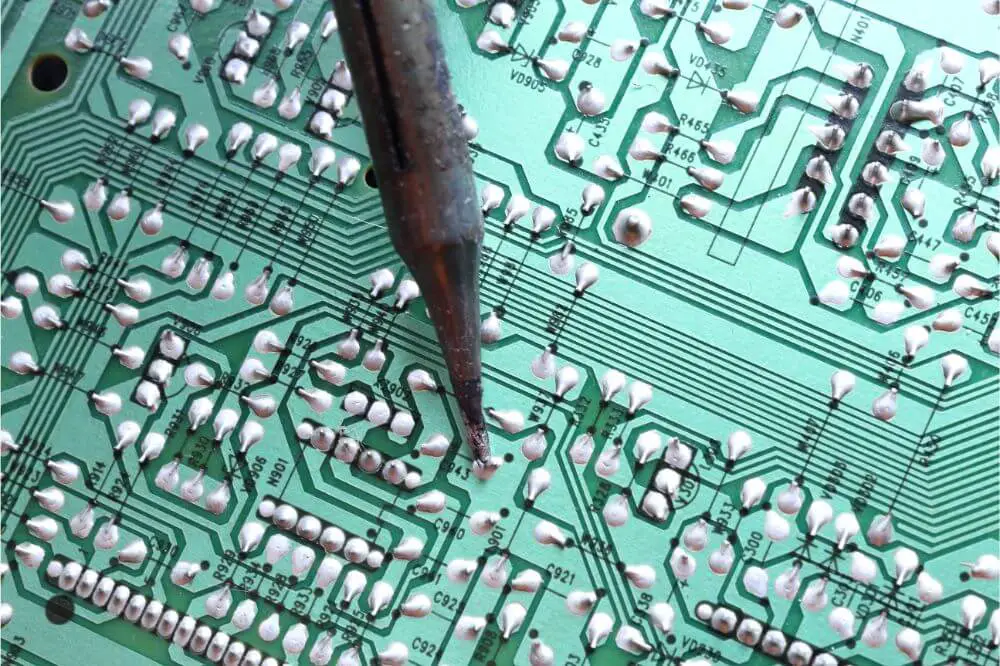
Having a soldering rod is vital if you want to complete your soldering tasks quickly and effectively. But for all this to be a success, one of the most critical parts on your soldering tip that needs to be functional is the soldering tip. Therefore, if you’re thinking of making a homemade soldering iron, knowing how to make a quality soldering iron tips I crucial.
- Steps of Making A Soldering Tip
- Step 1: Identify The Type of Tip On Your Soldering Iron
- Step 2: Get The Appropriate Tools and Materials
- Step 3: Straighten The Wire
- Step 4: Remove A Chunk
- Step 5: Place The Chunk Into A Drill Press
- Step 6: Reduce The Diameter
- Step 7: Make The Copper Wire Pointy
- Step 8: Make Threads On The Soldering Iron Tip
- Step 9: Cut A Little Cylinder
- Step 10: Make The End Sharper
- Step 11: Finish Making The Tip
- Conclusion
However, the main issue is you might not know where to start if you’re in such a position. If this is you, here’s an outline of the steps to follow when making a soldering tip. Consequently, you’ll be able to get to your soldering tasks.

Steps of Making A Soldering Tip
Step 1: Identify The Type of Tip On Your Soldering Iron
Soldering iron tips come in many different styles, with the two most popular being the screwy-style tip and the slidey-style tip. For the slidey-style soldering tip makes use of a fat screw which has been positioned into the iron’s side.
If you want to secure the tip, you’ll need to slide it into the soldering iron to ensure it doesn’t slide out while carrying out your soldering tasks. You can also opt for the screwy-style tip, which has a tip that is threaded at the side that enters and exits the soldering iron.
Of these two types of tips, the slidey-style tip is no doubt the better pick. The reason you should prefer this soldering tip is that;
- It’s a lot easier to make.
- This type of tip offers you a more robust grip.
- Adjusting the slidey-style tip is a lot easier.
If you aren’t skilled at soldering and wondering which of these options is ideal, it’s clear that the slidey-style tips is the winner.
Step 2: Get The Appropriate Tools and Materials
After knowing the type of tip you want to install, the next thing is identifying the essential tools and materials needed to make a soldering iron tip. The necessary materials include;
- A soldering iron that requires replacement of its tip.
- Several inches or centimeters of a non-stranded 6 AWG electrical copper wire.
In addition to these materials, you’ll also need useful tools to complete these entire process, including;
- Small drill press
- Hacksaw
- Vise
- Steel wool, sandpaper, or file
- Pliers
Step 3: Straighten The Wire
It’s vital to ensure the straighten out the wire to be used as a soldering tip. However, as you do this, be cautious since the pure copper used as the electrical wire is relatively soft. Because of this, applying too much pressure using the vise might lead to an undesirable outcome. It would be best thus to place moderate pressure to avoid squashing or ruining the copper wire.
When straightening the wire, closing the jaws and then making some slight adjustments using your hands is more than enough to straighten the wire. This bending should be mainly focused on the area that enters and exits the vise’s side. Keep repeating this process until your wire looks straight enough.
Step 4: Remove A Chunk
Another important tool you must own as a DIY enthusiast is a hack saw. Using this tool, you should cut off a chunk of now the straightened wire. The size you want will depend on how deep the hole inside the soldering iron is.
Step 5: Place The Chunk Into A Drill Press
At this point, the objective is grinding and shaping the piece as the drill is turning. With the chunk positioned into the drill press, which then spinning, you should use either sandpaper, steel wool, or a file to grin it. By doing this, the desired shape will be achieved.
Step 6: Reduce The Diameter
Usually, the copper wire diameter is 4.115mm, while the tip of the soldering iron is 3.969 mm. Because of this, the cylindrical tip is slightly bigger to fit inside the soldering iron’s body, meaning you should load it back inside the drill press.
After doing this, you should start to slowly grind it evenly to reduce its diameter to equal for the entire length of the cylinder. When doing this, you’ll need to stop and flip it upside down to start grinding the other part, which you wouldn’t have managed to grind since they were positioned into the jaws.
Step 7: Make The Copper Wire Pointy
If you want your tip to be pointed, start grinding it to achieve the desired shape. This shouldn’t be as complicated and need to manage this after a couple of minutes. Consequently, you’ll have a sharp enough tip that can now be inserted into the empty hole on top of your soldering iron.
Step 8: Make Threads On The Soldering Iron Tip
You should position the soldering iron tip into a drill press to start making threads. This is a relatively simple process that entails using a vise to clamp down the piece tightly into a position to prevent it from turning.
After doing that, you should proceed to start cutting threads into the soldering iron tip. The thread’s standard size on the 4mm soldering iron tip is 0.75mm, with this so small to be noticeable by the naked eye.
Step 9: Cut A Little Cylinder
Once you’re done making the threads, you should now cut the soldering iron tip to be around 2.5 cm long. This is an ideal size to install into the empty hole of your soldering iron.
Step 10: Make The End Sharper
You should now take back your soldering iron tip into the drill press and make it a lot sharper. This differs from the earlier step in that the goal is to fasten the chuck correctly at the top of the freshly cut copper threads. It’s essential to create a small contrivance to safeguard the threads from getting crushed.
Step 11: Finish Making The Tip
Once you do all this, the tip of your soldering iron is ready for use. You should now insert it inside the soldering iron and start using it.
Conclusion
Reading through this comprehensive article has given you all the needed insights if you had no idea where to start when making a soldering iron tip. With this information, you can now go ahead and make your soldering iron tip, thereby get to carry out your soldering duties effectively.
