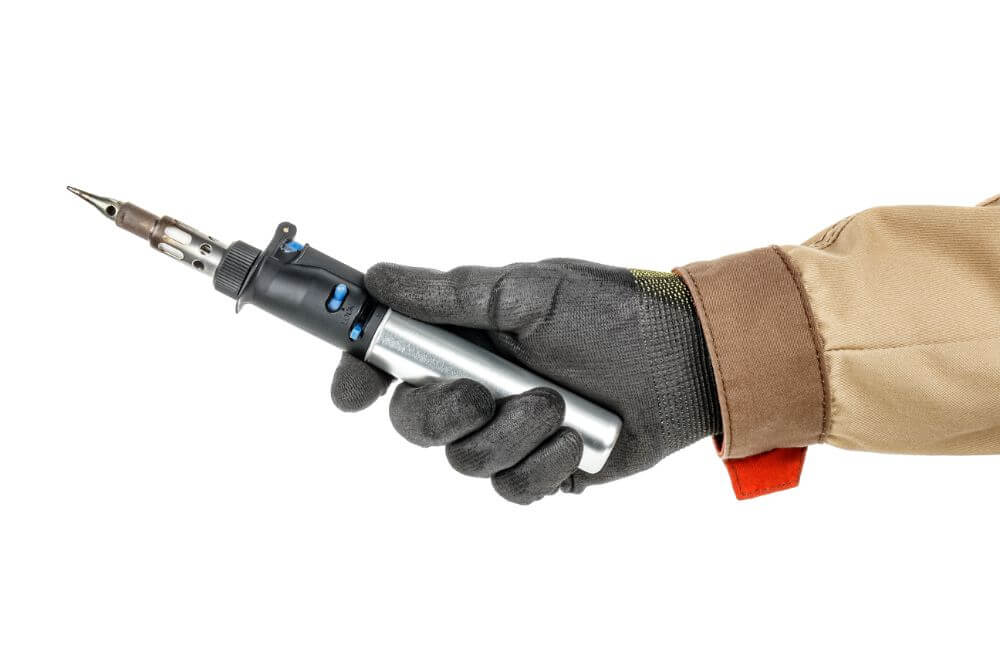
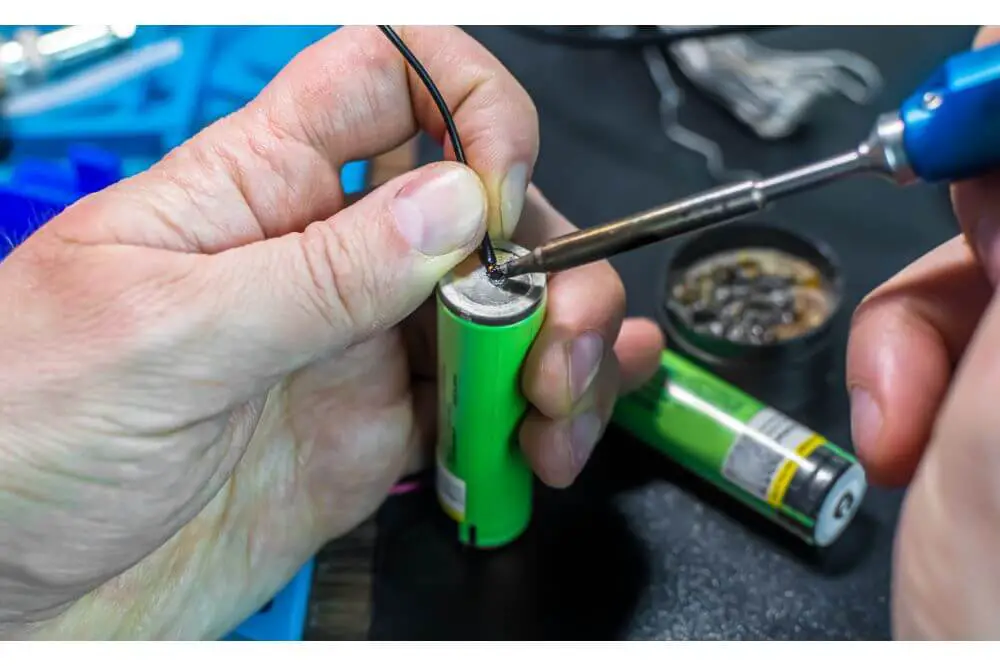
A soldering iron is an indispensable aid for your hobbies or projects around the house. They can be quite expensive to purchase, but you have the option of making your own. While you may compromise on the finishing of commercial models, the functionality remains the same.
The best part is you do not end up spending so much money. You use easy-to-access material, some of which you will find right within your home. We will show you how to make a soldering iron with a battery in our article below.
Easy-To-Follow Steps to Making Your Own Soldering Iron with Battery
We will provide two methods, which you can use to make your battery-powered soldering iron. The first method incorporates the use of copper wire as the soldering tip. The second method will use the normal pencil to create a very effective soldering iron.

Let’s dive into it
Method 1: Battery Powered Soldering Iron Using Copper Wire for the Tip
Materials you will need
- A small rectangular piece of wood (Just slightly bigger than the size of the battery holder)
- 2 X battery holder
- Switch
- Copper wire
- Fiberglass sleeve
- Take a small rectangle piece of wood and drill a hole in one of the shorter surfaces.
- Insert a small piece of copper wire into the hole
- Using some glue, stick one side of the battery holder to one side of the piece of wood.
- Using the same process, do the same on the other side of the battery holder. You should have a sandwich of the battery holder and the wood in the middle.
- Make sure the red and black wires are out and that you have stripped the ends appropriately.
- Cut off a bit of the fiberglass sleeve and use it to insulate the copper wire you had attached to the top side of the rectangular piece of wood.
- Do not cover the whole length; leave a little bit of the top exposed.
- Take a piece of nichrome wire and coil it around the copper wire you have just covered with a fiberglass sleeve.
- Start coiling from the base. Leave some length of the nichrome wire for connecting with the red wire. When wrapping, allow sufficient space between the coils so that it does not short circuit.
- Make sure the coils reach where the insulation ends. That means you leave the exposed tip of the copper wire as it is.
- When you finish creating the coils, loop the nichrome wire to create a knot. It will ensure that the coils do not unravel. Do not snip off the remaining nichrome wire; you will need it to make a connection with the black wire.
- Connect the black wire to the piece of the remaining nichrome wire that you were using to create the coils. The connection will be on the top part of the unit.
- Connect the switch to the red wire on one side
- On the other side, connect the red wire to the nichrome wire at the base.
- Insert the batteries
- Your battery-powered soldering iron is now ready.
- Use the on and off switch to control your soldering iron.
Method 2: Battery Powered Soldering Iron Using a Pencil
Materials you will need
- A pencil
- Cabling wires
- Switch
- Double-sided tape
- Electrical tape
- 9V battery
Step-By-Step Process
- Shave off one end of the pencil to expose the graphite. You should aim for at least 1.5 inches.
- Make grooves on the graphite to help with the next step.
- Now take your cabling wire and strip off the ends.
- Coil the wire on the graphite. The black side or negative should be at the bottom of the graphite, the red on the top end.
- Leave some space between the two so that they do not touch. If the exposed wires touch, it will short circuit.
- Tape the wire along the length of the pencil using an electrical tape
- Connect the switch on the red wire. Cut the red wire at the center point and mount the switch. Solder the ends into place.
- Use double-sided tape to hold the switch in position.
- Connect the unit to the battery, ensuring you align the wires correctly
- Cover the joint points with electrical tape
- Your unit is now ready for use.
It is important that you test use soldering iron before applying it to larger jobs. You get the opportunity to correct any mistakes so that it does not interfere with the work when you start the main project.
Advantages of Battery Powered Soldering Irons
You now have your battery-powered soldering iron. You will realize certain advantages to having one such as:
- It is simple to make your own, which makes it cost-effective. Using easy-to-follow tutorials such as this, even beginners can create their own battery-powered soldering iron with ease.
- You get as much functionality as you would with a store-bought one.
- Depending on the size, you get portability without compromising on effectiveness.
- When the tips wear off, the process of replacing them is straightforward. In the pencil case, you only need to sharpen it back a little bit more and wire it appropriately. The process is equally easy when replacing the copper tip.
- The resulting unit is compact and portable. You can use it on the go, and you do not have to be indoors to access its functionality. As long as your batteries have charge, you are good to go, whether indoors or outdoors.
- Due to their compact size, you get functionality in cramped places. For example, if you want to connect your car stereo, the soldering iron will provide convenience while giving you a good finish every time.
Final Thoughts
The DIY method of doing things is cost-effective, and it is fun to see the results of your effort. One of the best tools to learn how to do things yourself is through the use of tutorials.
We have put together a simple-to-follow guide on how to make a soldering iron with a battery for you. We have provided two methods, which give you options depending on what material you have available.
Good luck making your battery-powered soldering iron.


