Overclocking entails setting your memory and CPU to run at a higher speed than its official graded speed. As a result, this leads to an improvement in the overall performance of the device. However, overclocking is usually not recommended by manufacturers, and if you do so, your warranty becomes void.
This isn’t an issue with the Raspberry Pi Foundation as this company allows overclocking. Therefore, you can confidently go ahead without concerns about voiding your warranty. If you’re looking to boost the performance of your Raspberry Pi 4, then overclocking is a viable solution.
Here’s a detailed guide on the steps to follow when overclocking the Raspberry Pi 4.

Items Needed When Overclocking The Raspberry Pi 4
- Raspberry Pi 4
- Config.txt code
- Raspbian OS
- A cooling case or Raspberry Pi 4 Stand
Steps To Follow When Overclocking The Raspberry Pi 4
Integrated into the Raspberry Pi 4 is an ARM Cortex-Q72 CPU that runs at a maximum speed of 1.5GHz. This clock is an electronic pulse that’s used in synchronizing every component inside the processor. When overclocking this device, you’ll need to change the sconfig.txt settings on both the CPU and GPU.
You can increase the speed of your CPU to up to 2.147 GHz from 1.5GHz while the GPU speed increases from 600MHz to 750MHz. The mileage of the Raspberry Pi also varies, and if it becomes very hot, this might reduce its speed. When doing overclocking experiments, the Raspbian will crash, and there’s a high likelihood that your Raspberry Pi won’t function for some time.
If the Raspbian doesn’t start or programs start to crash, you’ll have to reduce the speed. Here are the steps to follow as you overclock the Raspberry Pi 4.
Step 1: Position The Raspberry Pi 4 On Its Stand
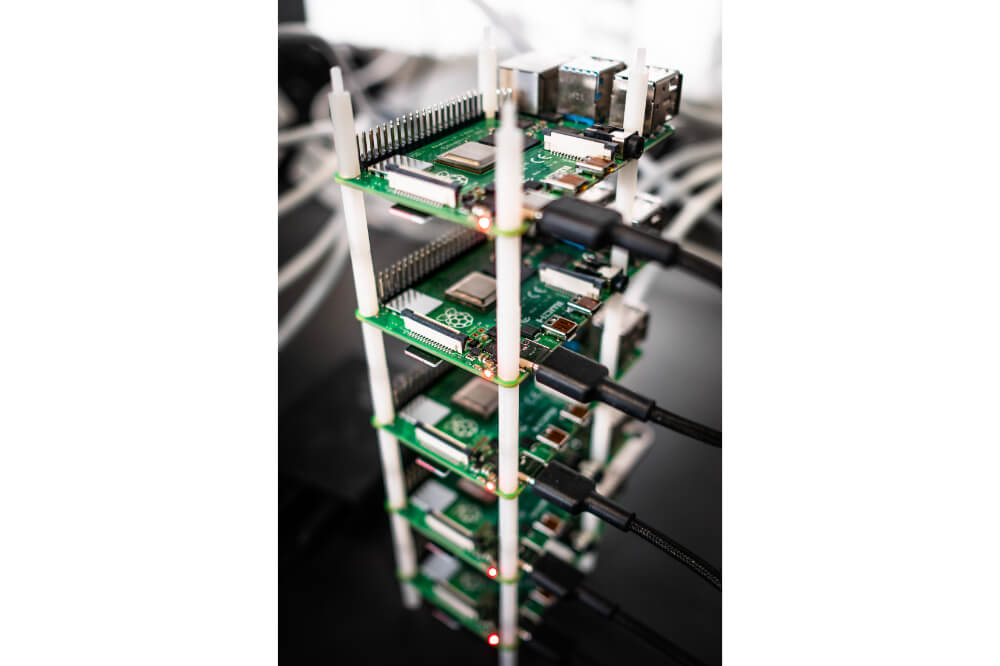
Position your Raspberry Pi 45 vertically as this improves the flow of air around its components. This will do a great job in bringing down its temperatures. You should use a Raspberry Pi 4 Stand on the MagPi isse 90 print edition front when running the Raspberry Pi while it’s vertically placed.
An excellent alternative in place of a Raspberry Pi 4 Stand is placing your Raspberry Pie 4 in a case meant for managing the temperatures of a CPU. You can also laser-cut or 3D-print a Raspberry Pi 4 Stand.
Step 2: Update Raspberry Pi 4
Confirm you have the newest version of the Raspbian OS. This is crucial because performance tweaks are being done constantly, meaning the latest software offers you with faster speeds.
Consequently, enter the following after opening the terminal:
sudo apt update
sudo apt dist-update
You should then reboot the system.
sudo reboot
The Raspbian system will be restarted.
Step 3: Take Note of Your Speed
Inspect the CPU’s default speed before you start to overclock it. You should do this by opening the terminal and entering: cat /sys/devices/system/cpu/cpu0/cpufreq/scaling_cur_freq.
You’ll most likely get a response of 600000 and should divide this by 1000, which will be the CPUs speed in MHz. In this case, the base speed will be 600MHz or 0.6GHz. Your CPU speed might be lower if the Raspberry Pi is regulated due to excessive temperature or low voltage.
If you want the concrete speed, enter:
vcgencmd measure clock arm
While you use the Raspberry Pi, the requested speed is further increased to its upper level of 1500000. Consequently, you can continue to enter vcgencmd in the Terminal to identify the current speed. However, it’s best if you used the watch command for keeping an eye on the speed.
watch –n 1 vcgencmd measure clock arm
By entering this, the vcgencmd will keep on running like a process, and the results are continually updated after every second. Once you start to use the Raspberry Pi, this figure will go higher to over 1.5 GHz or 1500000.
Step 4: Overclock your config
You should then proceed to use your config.txt file in setting the clock frequency’s new upper limit. Follow this up by opening a Terminal window and then entering: sudo nano /boot/config.txt
Scroll down until you get to the area marked:
#uncomment to overclock the arm. 700 Mhz is the default.
#arm_freq=800
After this, go ahead and adjust the settings to:
#uncomment to overclock the arm. 700 MHz is the default
over_voltage = 2
arm_freq=1750
Press CTRL + O to save the file and exit to Nano by using CTRL+X
Restart the Raspberry Pi.
sudo reboot
Once the system loads up again, watch the vcgencmd again, and you’ll note the clock speeds are faster.
watch –n 1 vcgencmd measure clock arm
Browse several web pages, and you’ll note the speeds will be about 1.75 GHz or 1750000000.
Step 5: Understand The Over Voltage
You need to grasp the over_voltage command since it changes the core GPU/CPU voltage. It usually accepts figures lying between -16 to 8, with zero as the default value.
Usually, a quicker CPU needs higher voltage, failure to which your Raspberry Pi 4 will produce a tiny lightning bolt at its window’s top right side. At this moment, the CPU speed is restored back to its default speed of 700MHz.
Step 6: Speed It Up
Do you want faster speeds? If so, set the over_voltage to 6 and then adjust the ARM CPU to 2.0GHz. You should then edit the config.txt file using these settings:
over_voltage=6
arm_freq=2000
This is the maximum acceptable level you should take the over_voltage.
You should then reboot your Raspberry Pi, and it should be operating at speeds of 2.0Ghz.
Conclusion
The Raspberry Pi 4 is a great piece of equipment if you love tinkering around. However, it might not be the most powerful device that you can use when doing some power-consuming tasks. In such situations, the best solution would be overclocking it, and this leads to improved overall performance.
If the detailed steps to follow when overclocking your Raspberry pie isn’t something you’re familiar with, reading this detailed article has been of immense help. With this information, you can now go ahead to confidently overclock your Raspberry Pi 4 and enjoy better performance.

