
If you plan to work on plumbing, one thing you may need to do is join pipes together. The PEX crimp tool does this job.
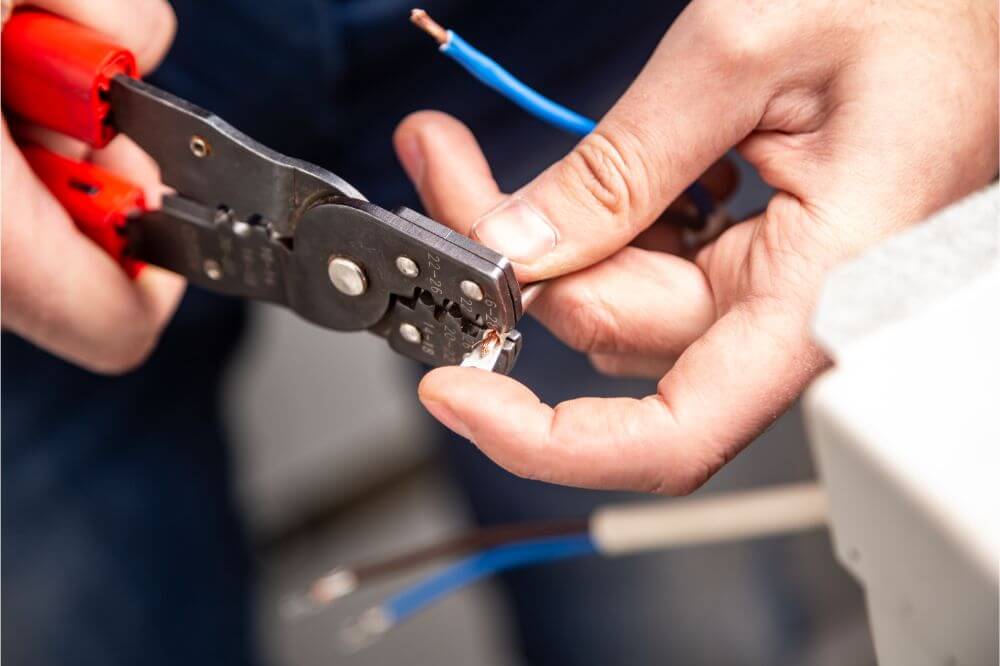
Something that can be a bit confusing is that crimp tools are usually used to join together wires. As a result, they look like a pair of pliers with notches in them. You put both wires in these notches and then squeeze the handles together. This generates great pressure, thus effectively cold welding the two wires together.
However, the PEX crimp tool is used to join plumbing.
This article discusses how to use a PEX crimp tool. These tools are not very difficult to use, but they need to be used properly. The strength of your joint will depend on it.
What is a PEX Crimp Tool?
PEX stands for cross-linked polyethylene, a specific type of plastic.
One of the most common uses of cross-linked polyethylene is making plastic plumbing pipes. Of course, steel and copper pipes still exist and are commonly used; however, PEX plastic pipes are becoming more popular because they are much easier to install than copper and steel pipes. They are also much easier to join. In addition, they are very lightweight, and these plastic pipes won’t rust.
However, you cannot use traditional connection methods with PEX pipes, such as you would with steel or copper pipes. Therefore, the PEX crimping tool is specifically designed to join two pieces of PEX piping.
A PEX crimping tool is used in combination with some kind of metal ring, otherwise known as a crimp ring. This crimp ring is fitted where the PEX pipes come together.
The crimp ring is fitted over the pipe and then crimped onto the connecter joint. Next, you’ll put another crimp ring on the second pipe, put the pipe on the connecter joint or fitting, and then crimp that together.
The PEX crimper is then placed around this crimp ring. You apply pressure to the handles to compress the crimp ring, which compresses and fuses the pipes to create a watertight seal.
How to Use a PEX Crimp Tool: Step by Step
Now that you know what a PEX crimper is let’s look at to use it. This will be a step-by-step tutorial on using a PEX crimp tool.
Cut the Pipes
The first step is to cut the pipes to the lengths you need. Remember that the ends of the pipe you cut should be perfectly square. This will ensure that the fitting or connector can be properly inserted into the pipe.
You will need a hacksaw or other tool capable of cutting a PEX plastic pipe; a jigsaw would also work.
Get the Right Crimp Rings
You need the right crimp rings, and the rings you use will depend on the diameter of the PEX pipes. For example, if you’re using ¾-inch PEX pipes, you will need ¾-inch PEX crimp rings.
However, most PEX pipes will be 1 inch in diameter. Therefore, your PEX crimp tool should have 1-inch jaws.
Put a Crimp Ring on the Pipe
Next, take a crimp ring and slide it onto the end of one of the pipes you cut.
This crimp ring should be about ¾ inches from the edge of the pipe. The ring shouldn’t be any closer to the edge of the pipe because it will not form a good connection when you crimp it.

Insert the Connector Joint and Crimp
Take your connector joint, which could be a 90-degree or an elbow fitting, and insert it into the pipe with the cramp ring. Ensure the connector joint is inserted all the way.
Then, take the PEX crimping tool and put its jaws around the crimp ring. Make sure that you use the right size of crimp tool jaw for the size of the crimp ring.
Open the jaws, place them around the ring, and squeeze the handles. If this process has been correctly done, you should hear a fairly loud clicking sound.
Use Your Crimp Gauge to Check the Connection
Next, you will use a crimp gauge to test the connection. For example, if you have a 1-inch PEX pipe and crimp ring, you will use the gauge labeled “1 inch.”
Generally, these gauges come in two sections: “go and no-go gauges.” On the “go” side, you will see a slot labeled “1 inch,” and you should see a 1-inch slot on the “no go” side as well. You should be able to slide the “go” side over the PEX crimp ring.
You should not be able to slide it over the “no go side.” If the “go” side slips over the crimp ring, but the “no go” side does not, the job has been done right. If all is well, move on to the following step.
Put a Crimp Ring on the Second Pipe
You will now repeat this process with the second pipe. Take the second crimp ring and slide it over the end of the second pipe. Remember to ensure that it is around 3/4 inch from the end of the pipe.
Insert the Connector Joint and Crimp
Next, slide the second pipe over the fitting you already connected to the first pipe. Make sure that the pipe completely pushed down onto the fitting.
Open the handles of your crimp tool and fit the jaws over the ring. Apply a relatively decent amount of pressure until you hear the click.
Use Your Crimp Gauge to Check the Connection
Once again, use the crimp gauge to test the connection. Your job is done if the crimp gauge indicates that everything is well connected.
Conclusion
You should now know how to use a PEX crimper.
