The art of woodworking brings together a blend of skill, precision, and the right tools to transform raw materials into functional and aesthetic pieces.
One indispensable tool in the woodworking arsenal is the corded hand planer, a powerful instrument that, when mastered, allows for the meticulous shaping and smoothing of wood surfaces.
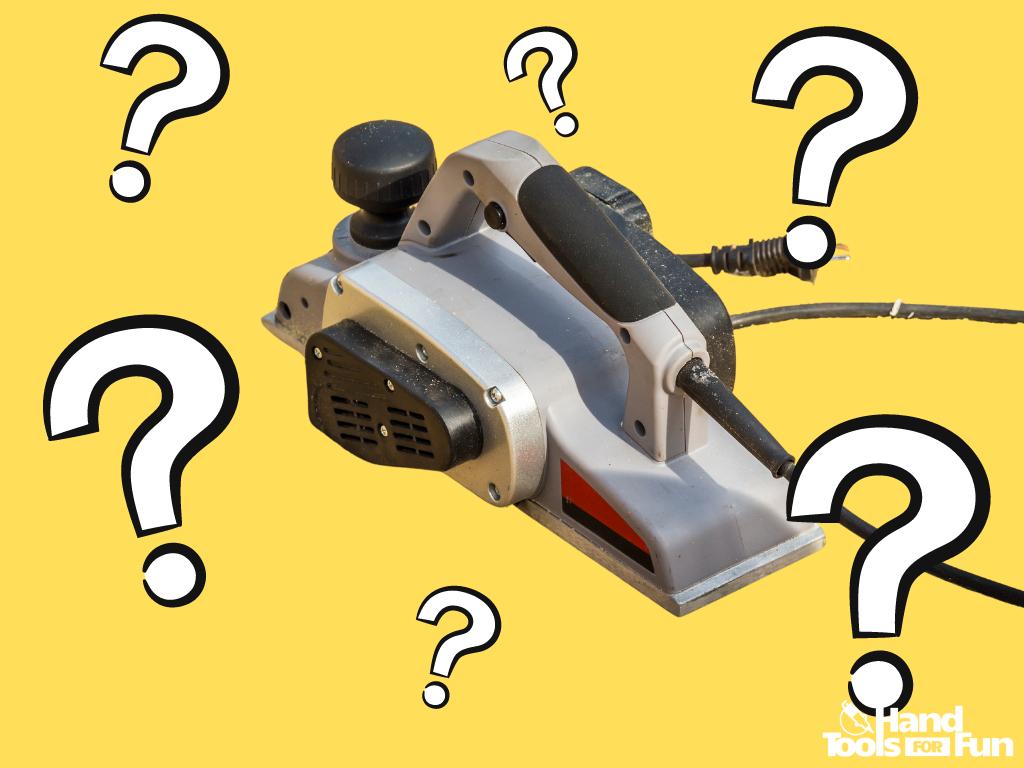
Achieving proficiency with a corded hand planer begins with an in-depth understanding of its components—the sharp blades that shear the wood, the adjustment knob that dictates the depth of cut, the ergonomically designed handle for control, and the lifeline of the tool, the power cord.
Knowing each part and its function is the first step towards wielding this tool with confidence and finesse.

Understanding the Tool
Mastering Your Corded Hand Planer: Essential Components Explained
For those who appreciate the satisfaction of woodwork, the whir of a corded hand planer as it skims across a wooden surface is like music to the ears.
It’s an indispensable tool that transforms rough lumber into workable material, ushering in a smooth, flat finish that’s ready for any project.
Understanding the ensemble of components that make up your corded hand planer can significantly enhance your prowess as a woodworker.
Let’s delve into the anatomy of this vital tool and unlock the secrets of each part to ensure your woodworking repertoire is well-tuned and ready for action.
Motor:
This is the heart of your hand planer, the core powerhouse that drives the cutter head. Most motors on hand planers are robust, designed to deliver enough muscle to shave off layers of wood without bogging down.
It’s the motor’s RPM (revolutions per minute) that dictates the efficiency and smoothness of your planing.
Cutter Head:
Here lies the business end of the planer—the part that actually makes contact with the wood. The cutter head is a rotating drum equipped with razor-sharp blades (knives) that slice through the wood as you guide the planer.
Its precision determines the quality of the finish, with higher-end models offering multiple blades for a more refined cut.
Blades:
Also known as knives, these are usually made from high-speed steel (HSS) or carbide. The longevity and cut quality are determined by the material and craftsmanship of these blades.

Replacement and sharpening are periodically necessary to keep the cuts clean and to prevent tear-out.
Depth Adjustment Knob:
A crucial element for controlling the depth of your cut, this knob ensures that you’re removing just the right amount of material with each pass. This feature gives you the ability to fine-tune your planing to achieve consistent thickness across your workpiece.
Base Plate (Shoe):
This flat surface rests directly against the wood when you plane. It’s designed to ensure stability as you glide the tool over your workpiece.
Typically, the front part of the base plate is adjustable to control the depth of cut, along with ensuring smooth entry and exit when working with your wood.
Guide Fence:
Precision is key in planing, and the guide fence serves as a trusty companion for ensuring your passes are straight and true.
It attaches to the planer’s side and can be adjusted both vertically and horizontally as needed to accommodate various cuts and sizes.

Dust Extraction Port:
To keep your workspace clean and your lungs clear, the dust extraction port becomes a winning feature, allowing you to connect the planer to a shop vac or dust collection system.
It’s a game-changer for managing sawdust, especially during extended planing sessions.
Trigger and Lock-On Button:
The trigger on a hand planer acts like the accelerator on a car – squeeze it, and your planer leaps into action.
The lock-on button is a convenience feature, letting you keep the planer running without continuous pressure on the trigger.
Power Cord:
Lastly, the lifeline that supplies the electricity to your corded hand planer. The length and quality of the power cord can impact maneuverability and how far you can work from an outlet.
Opting for a long, high-grade cord can significantly improve the tool’s flexibility in various workspaces.
There it is, your breakdown on the chief elements of a corded hand planer. By getting acquainted with these components and understanding their roles, you’re well on your way to achieving masterful results in your woodworking endeavors.
Keep your blades sharp and your adjustments precise; this is where true craftsmanship begins.
Setting Up the Planer
Mastering Depth Control in Your Woodworking: Prepping Your Corded Hand Planer
When embarking on a woodworking project, one of the most crucial skills you can hone is the ability to perfectly set the depth of your corded hand planer.
After covering the essentials of your planer’s components, we’re now shifting focus to preparing your tool and setting its depth for impeccably smooth wood surfaces.
Preparation Steps:
- Safety First: Always disconnect the planer from the power source before making any adjustments. Safety goggles and hearing protection are a must, as wood chips and noise are part of the planing process.
- Check the Blades: Ensure that the blades are sharp, clean, and properly secured. Dull or damaged blades will not only affect the quality of your work but can also be a safety hazard.
- Clean the Base Plate (Shoe): Use a cloth to wipe down the base plate, ensuring it’s free of debris that could impair smooth movement or mar your wood piece.
Setting Depth:
- Understand Depth Increments: Locate the depth adjustment knob or lever; this will control how much material is removed with each pass. Usually calibrated in specific increments, such as 1/16 inch, it enables precise depth control.
- Start Shallow: It’s wise to start with a shallower depth and make multiple passes, rather than trying to remove too much material at once. This helps to maintain control and prevents tear-out.
- Adjusting Depth: Turn the adjustment knob until you achieve your desired setting. Each click or movement of the knob typically corresponds to a set increment of depth. If your planer has a scale, use it as a reference to reach the needed depth.
- Test on Scrap Wood: Before tackling your actual workpiece, run a test on a scrap piece of wood. This practice run lets you double-check the set depth and make fine adjustments as needed.
- Secure Your Workpiece: Ensure the wood is firmly held in place with clamps or a vice. A stable workpiece is key to accurate and safe planing.
- Planer Position: Position the planer so its front shoe is resting on the wood, without the blades touching it. Apply slight pressure and start the tool to let it reach full speed before making contact with the wood.
- Consistent Pressure and Motion: Maintain consistent pressure and motion as you move the planer across the wood surface. This results in a uniform depth of cut and a smoother finish.
- Utilize Guide Fence: If your planer comes with a guide fence, affix it to ensure that you’re planing at a consistent angle relative to the edge of your workpiece.
- Keep an Eye on the Depth: Regularly check the depth of cut during your planning session to ensure that you stay within the set parameters, adjusting if necessary.
Remember, achieving a masterful finish with your corded hand planer is all about control, precision, and practice.
Each project you complete not only adds to the beauty and utility of your creation but also to the depth of your woodworking skills.

Using the Planer
Ensuring Smooth and Accurate Planing with a Corded Hand Planer
Welcome, fellow enthusiasts of woodwork precision! As you look to master the art of creating flawlessly smooth surfaces and finely honed edges with your corded hand planer, there are vital techniques that can elevate your craftsmanship from the rudimentary to the extraordinary.
Armed with knowledge about the anatomy of a hand planer, let’s delve deeper into the practical realm of planing perfection.
Firstly, the initial contact between the planer and wood is pivotal. Ensure the front end of the base plate gently touches the workpiece before engaging the motor.
Once the planer begins to move, gradually lower the rear of the base plate to commence cutting. This technique helps avoid unwanted gouges.
For impeccable control, maintain a firm but relaxed grip on both the front knob and the rear handle.
Your guide hand should steer while the main hand focuses on propulsion and depth management.
Keep your movements steady and consistent, applying pressure on the front of the plane on the entry and then shifting the pressure to the rear as you push through to the end of the cut.
Working with the grain, not against it, cannot be overstated – it’s the golden rule. Planing against the grain can lead to tear-out and a less-than-smooth finish.
To discern the grain direction, inspect the wood fibers; they should run downward in the direction you plan to move the tool.
Conjointly, the magic is in the pass. Achieve desired thickness and flatness by repeating passes over the workpiece.
Each contact should slightly overlap the previous pass, ensuring an even and comprehensive material removal. This overlapping technique minimizes dips and rises, yielding a perfectly planed surface.
Attention to the planer’s path is crucial. As you make a pass, watch for any obstacles – nails, screws, or hidden imperfections – that could damage your blades or alter the trajectory of the planer. A smooth path ensures a smooth finish.
Dust extraction is a chapter on its own. Although briefly mentioned before, it is invaluable to keep the work area clear of shavings and dust for better visibility and precision.
An unobstructed view of the blade and the cutting edge in relation to the wood’s surface allows for adjustments to be made on the fly, maintaining a high level of accuracy.
Lastly, every so often during your work, pause to inspect the results. Feel the surface; look for any snipe, ripples, or leftover marks.
Remember, real-time feedback guides you to adjust your techniques or the planer settings accordingly. Also, never forget to give your trusty tool a break—avoiding overheating not only preserves the motor but also ensures a steady pace for accurate planing.

These are the finespun details that transform a good woodworker into a valued artisan. With these techniques polished, let the corded hand planer be an extension of the hand – an instrument to sculpt woods into masterpieces.
Now, it’s time to let those shavings fall where they may and watch as they reveal the coveted smooth and flat surfaces that are the woodworker’s delight. No summary needed; let the work speak for itself.
Mastering the use of a corded hand planer is an empowering journey that transforms a hobbyist into a skilled craftsman.
With the knowledge of its anatomy, the ability to set it up for precision, and the acquired techniques for its use, your projects can reach new heights of craftsmanship.
The beautifully smoothed and levelled surfaces achieved by the adept use of the planer speak volumes of the care, attention to detail, and proficiency that you, as an enthusiast or hobbyist, bring to your woodworking endeavors.
Remember, the power to create is quite literally in your hands, and with each pass of the planer, you’re not just shaping wood—you’re also shaping your legacy as a woodworker.

