Embracing the fine craft of copper pipe repairs not only helps in addressing domestic issues but also paves the way for a fascinating hobby.
The magic of understanding the nitty-gritty of copper pipes and learning to mend them can be achieved with keen interest, right tools, and a handful of practical experience.
In this course of exploration, we delve into the intriguing world of copper pipe basics which encompass types, uses, and common problems they face.
Further, we take a step into the toolshed, familiarizing ourselves with the quintessential gear key to pipe reparations.
In the highlight of our journey, we take the torches into our own hands, engaging in real-time pipe repair techniques.
Understanding Copper Pipe Basics
Everything You Have to Know About Copper Pipe Construction and Maintenance

Copper pipes, especially prominent in home plumbing, are loved by many DIYers for their host of appealing qualities.
This wonderful material, aside from its aesthetic allure, offers several practical advantages like resistance to corrosion, heat-friendliness, and longevity.
Now, embarking on DIY copper pipe construction and maintenance need not be overwhelming. Let’s unpack its vital aspects.
Starting with copper pipe construction, the essential step often involves getting the right tools in place.
Pipe cutters, a cleaning brush, flux, fitting, gas torch, solder, and protective gear are among the must-haves.

Procuring the pipes themselves is another crucial task. Two types exist: rigid copper, often used for water supply lines, and flexible copper, prevalent in tight spots and corners. Their diameters typically range from ½” – 2” for most home projects.
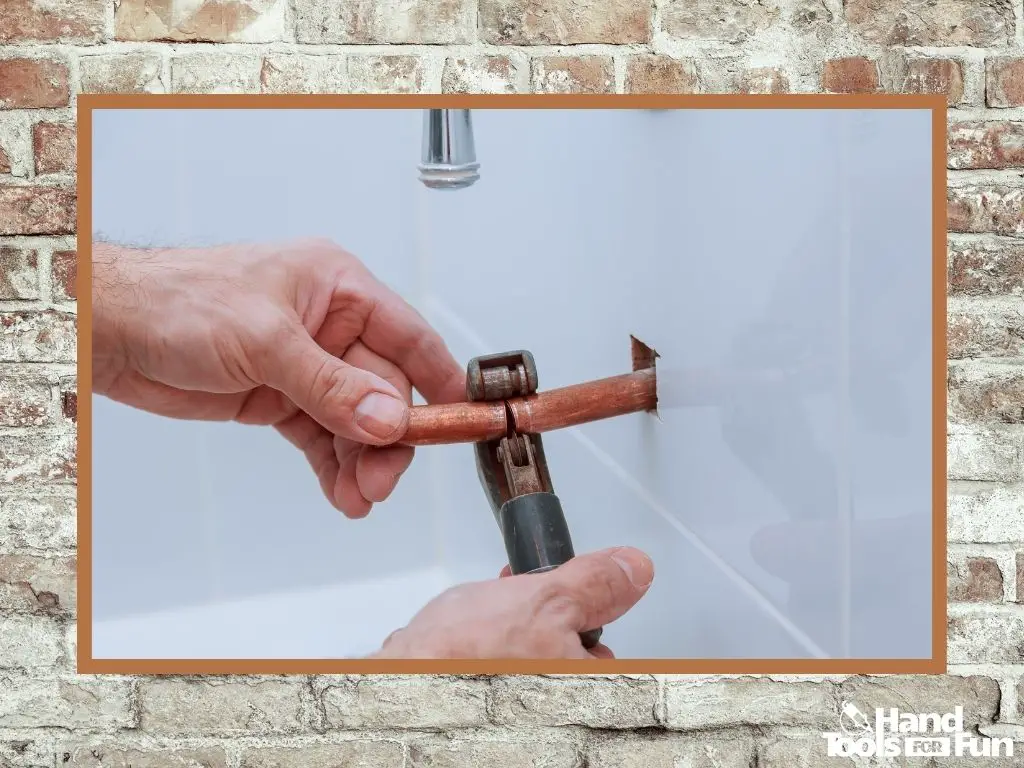
When cutting these pipes, a pipe cutter proves to be a vital companion. Mark the desired length before proceeding in a straight and steady cut.
Pipes have to ensure a snug fit – too loose or too tight, and problems might arise down the line.
Once cut, it’s time to clean the pipes and fittings. A fitting brush adequately removes dirt, ensuring a clean surface for efficient soldering.
Remember, cleanliness is pivotal for a tamper-proof pipe!
Application of flux is the next step. Spread a generous amount on both the pipe end and the fitting. The flux aids in proper heat distribution during the soldering process.
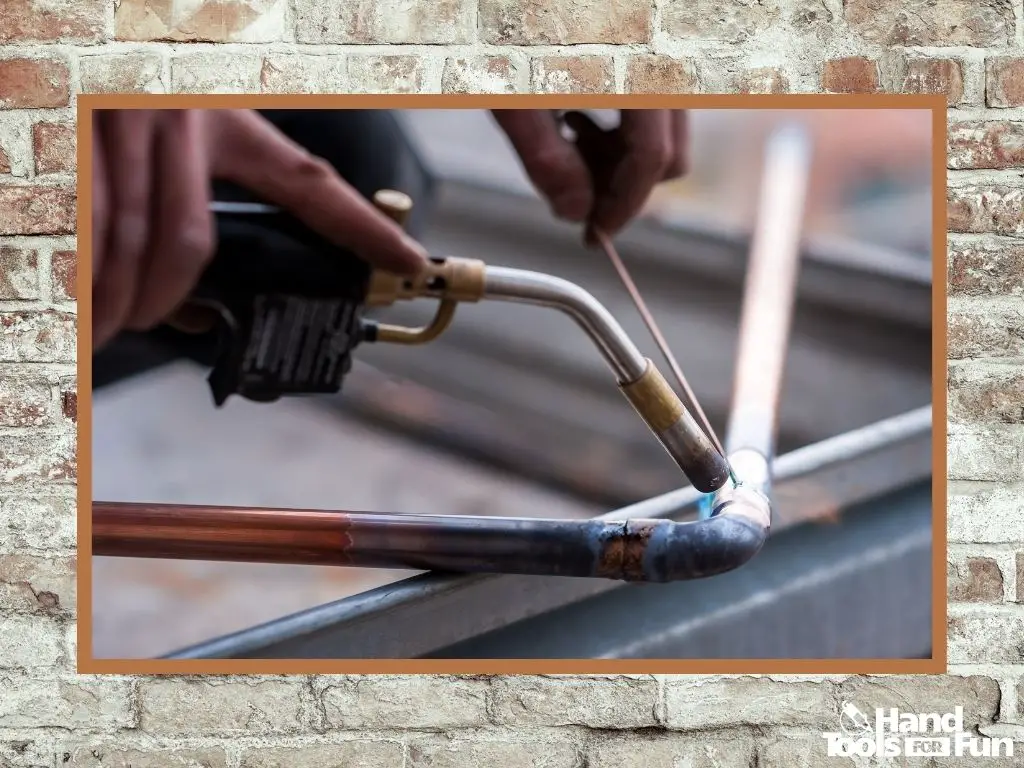
Now comes the fun part – soldering. Fire up the gas torch and heat the joint evenly. Next, apply the solder to the joint, focusing on the gap between the pipe and the fitting.
As the heat melts the solder, it seeps into the joint, creating a solid and leak-free bond.
Once soldered and cooled, always test for leaks. Turn on the water supply and carefully inspect each joint. If a few drips are spotted, just dry the area and repeat the soldering process.
Maintenance-wise, copper pipes usually require minimal care thanks to their corrosion-resistant nature.
However, by conducting regular inspections, one can prevent major issues down the line. Be on the lookout for signs of wear and tear like discolored water, stains, warps, or leaks.
Adjusting the pH of your water can also avert damage to your copper pipes. A pH level below 7 can cause corrosion to the pipes over time; hence, it’s paramount to keep the water slightly alkaline.
In extremely hard water conditions, it might be wise to consider a water softener. This preserves the lifespan of the pipes and prevents the buildup of minerals which may cause blockages over time.
Last but not least, in chilly environments, insulating your copper pipes can prevent freezing. Insulation maintains the temperature of hot water pipes and prevents cold water pipes from freezing.
In summary, while copper pipe construction and maintenance can be both thrilling and challenging, it’s all about understanding the process, having the right tools, and staying vigilant.
So, armed with this wealth of knowledge, it’s time to roll up those sleeves and dive into this fulfilling hobby.
After all, there’s no better satisfaction than creating something beautiful and functional with your own two hands!
Learning to use Pipe Repair Tools

Essential Tools for Efficient Copper Pipe Repair: A Comprehensive Guide
Getting into copper pipe repairs can seem intimidating at first, but, with the right tools in your arsenal, it becomes an engrossing and worthwhile endeavor.
For anyone venturing into this fascinating world of pipes and plumbing, here are the indispensable tools for copper pipe repairs.
- Pipe Cutters: While already mentioned in the context of pipe construction, possessing a high-quality pipe cutter is paramount for efficient repair tasks as well. A mini cutter, ideal for tight spaces, and a rigid pipe cutter for bigger tasks are necessary additions to your toolbox.
- Pipe Cleaners: Also known as fitting brushes, pipe cleaners – albeit briefly touched upon in the context of cleaning – are crucial for repair work. They’re used for cleaning the insides of the pipe and the fittings before soldering, ensuring a proper, leak-proof connection.
- Heat Shields: Not to be confused with insulating materials, heat shields protect the surrounding materials and surfaces from the intense heat generated during the soldering process. These tools can prevent accidental fires and damage, making them an integral part of copper pipe repairs.
- Solder: Even though previously discussed in the context of joining copper pipes, elaborating on solder choice is vital for repair work. Lead-free solder is the best choice for any job involving potable water. Meanwhile, acid core solder should be avoided as it can lead to pipe corrosion.
- Adjustable Wrenches: While not previously discussed, adjustable wrenches are vital in the realm of copper pipe repairs. They’re necessary to tighten and loosen pipe connections. Be sure to have at least two sizes – smaller for tight spots and bigger for larger fittings and pipes.
- Propane Torch: Yes, we’ve spoken about soldering, but the indispensable tool to achieve that is a propane torch. Ideal for DIY projects, these relatively light, easy-to-handle tools provide the right amount of heat for effectively joining copper pipes.
- Tube Benders: These are paramount when working with flexible copper pipe. The use of benders avoids kinks and ensures smooth bends.
- Slip Joint Pliers: These versatile tools are invaluable when dealing with stubborn parts. They provide an excellent grip and can adjust to fit different pipe sizes.
- Deburring Tool: This underplayed tool removes the harsh edges that result after a pipe has been cut, providing a smoother surface for effective soldering.
- Teflon Tape: This unsung hero ensures a watertight seal on threaded pipe joints, an aspect often overlooked when talking about pipe connections.
- Locking Pliers: These tools are advantageous during removal of damaged pipes or fittings. They can securely hold the pipe or fitting in place, aiding in the effective application of force.
Now, you have a fortified toolbox, armed with the necessary instruments to tackle copper pipe repairs head-on. Happy Plumbing!
Hands-On Pipe Repair Techniques
Copper Pipe Repair Techniques for the Well-prepared Enthusiast
As we have already explored, copper pipes are the preferred material for plumbing in many homes thanks to their myriad benefits – from long-lasting durability to their ability to withstand extreme temperatures.
But even the best of materials can occasionally falter and when that happens, it’s essential to know how to handle the crisis.
After all, the ability to execute small repairs on your own can save you time, money and a good deal of stress. So, let’s dive into some effective copper pipe repair techniques.
Let’s start with spotting the trouble. The most common culprit for copper pipe damages is a small leak, usually indicated by a wet spot on your wall or ceiling.
Do note, that the origin of the leak may not always be where you notice it first – water has a sneaky way of traveling!
The first thing you’ll need to do when managing a leak is to turn off your main water valve to prevent any further water damage.
Then, you must get rid of the water still left in the pipes. Open up your lowest tap in the house – usually located outside or in the basement – to facilitate the drainage.
Now, we are ready to proceed with the actual repair. There are different approaches that can be taken, depending on the severity and location of the damage.
For a small leak, you might be able to use a pipe repair clamp. These handy devices come complete with a rubber pad that gets screwed into place over the affected area.
Make sure to purchase the accurate size for your pipe diameter and follow the manufacturer’s instructions closely.
Epoxy putty can also come in handy for managing small repairs. Just remember to thoroughly clean and dry the pipe before applying the putty, using emery cloth if needed.
Once applied, the putty should be let to cure for the suggested time mentioned by the manufacturer.
When dealing with a more serious issue like a pipe fracture, you might need to look at splicing in a new section of copper piping.
You’ll need to measure the length of the pipe that needs to be removed and replace it with a same-length piece.

The new pipe section will connect to the old pipe using two slip couplings, which slide over the pipes and are then soldered into place to create a permanent seal.
Ultimately, these techniques can be a real lifesaver when you notice a problem at home with copper pipes.
But remember, while it’s good to know the basics, for complex and major jobs, don’t hesitate to call a professional plumber!
Safety and expertise always come first – and there’s no replacement for years of dedicated training and experience. Until then, happy home improvement!
As we traverse the intriguing journey of understanding copper pipe repairs, we immerse ourselves in the cognizance of pipe maintenance, and tool manoeuvring.
We understand how imperative it is to be aware of the Do’s and Dont’s during the process of any repair to ensure we’re not compromising the durability of the pipes.
Being skilled in copper pipe repairs not only helps in saving hefty amounts spent on professional help, but it also opens doors to a calming and productive pastime.
Let the heat of the soldering torch not only mend the copper pipes but also kindle the desire in each one of us to learn something new and enriching.


