
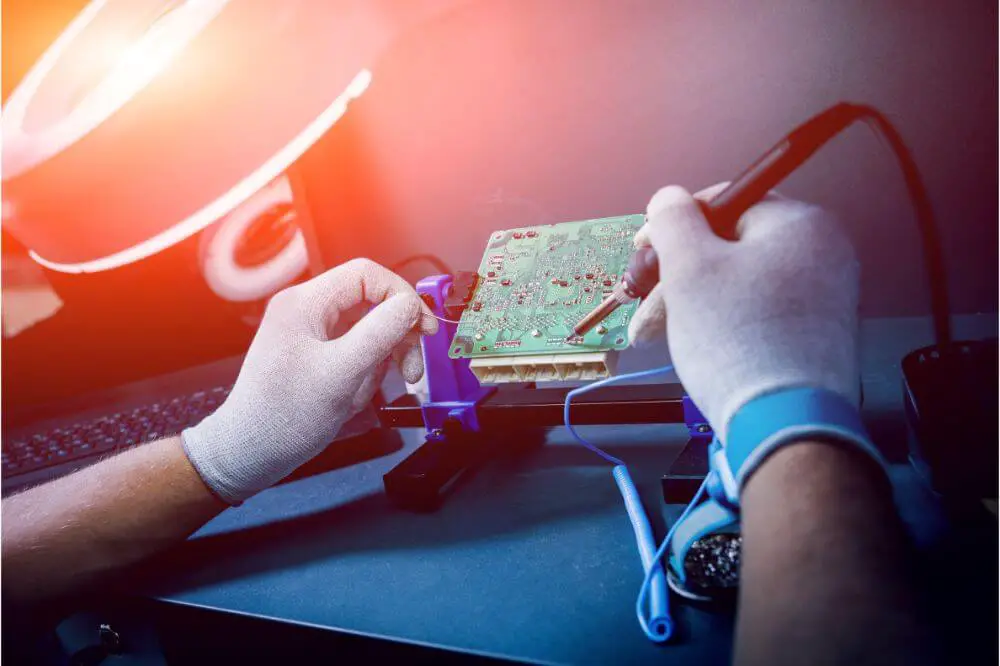
Soldering tips are typically made of iron-plated copper. Copper is a good conductor of heat and electricity. However, you must maintain them well to avoid oxidation.
Due to oxidation or burning of the copper, you will spend a lot of money replacing the parts. The quality of work you produce will also be very poor. You can prevent all this by tinning the soldering iron. But, what does the process entail, and what are the benefits?
In our article below, we will explore in greater depth the question, what is tinning a soldering iron?
What Is Tinning A Soldering Iron?
Tinning is the process of covering the soldering tip with flux or solder. What you get in the end is a thin coating that creates a protective layer between the iron and the air.
Tinning is important for protecting the soldering tip from impurities and corrosion. It also ensures the solder wire will melt and flow easily.
You get better heat transfer due to the bridge the coating builds between the tip and whatever you’re working on. You will get a better finish and long-term usage out of the soldering tips.
When should you tin your soldering tips?
Tin your soldering tips:
- Immediately you purchase them
- If you have not been using the iron for sometime
- When you finish soldering
- When you have soldered two or three joints
- Before you pack the tips away for storage
You will know that a tip is beginning to oxidize when you notice a brown or black scale on it. You will not be able to achieve proper heat transfer because of the insulation the oxidation provides.
Cleaning it can restore it to as good as new. Invest in a tip cleaner or soldering sponge for the job. Keep the sponge clean so that you do not introduce any impurities when soldering. Using abrasive material on your tip will damage it.
Cleaning with flux may seem simple and effective, but it is corrosive and will damage your solder. When working, keep the tip clean by occasionally wiping it off with a sponge. Contaminants can interfere with the sticking of the solder.

Step by Step Process of Tinning A Soldering Tip
Before you start, you must remove the old solder from the tip. The process is as simple as; –
- Soak your sponge in some water and squeeze it lightly; it should be damp, not dripping wet.
- Turn on the solder and give it a little time to heat up.
- Once the iron is hot, cool it on the sponge. If you get steaming, then you know it is at the right temperature.
- Wipe both sides of the tip to remove the old solder
If you prefer not to use a damp sponge, there are special dry cleaners available. They consist of soft metal shavings with a flux coating.
Tinning Methods
There are different ways you can use to tin a soldering tip.
- Tinning with Electrical Grade Solder
You can use electrical grade solder to tin your tips. Take note of the following steps:
- Ensure the iron is cold
- Screw on the tip
- Wrap electrical solder on the tip, covering ¾ of the length of the tip
- Trim off any excess once you finish wrapping
- Turn on the iron and allow for the temperature to rise
- The solder will start to bloom and eventually turn into a liquid state
- The free-flowing liquid will coat the tip
- Ensure you get rid of any excess molten solder
- Now dip it into your preferred gel or paste to coat it
Note that you may need to repeat the process until you achieve a shiny finish. Have some special steel wool at hand to wipe it clean after each dipping.
Tinning with Tip Thinner
You can purchase tip thinner from your local hardware. It is a ready to use mixture of powder solder, cleaning agent and flux. There are many brands in the market, so do your research well before opting for one.
Now follow the steps below:
- Screw on the tip
- Turn on the iron and allow for the temperature to rise
- When it gets hot, rub it on the tip thinner. You will need to move fast so that you cover as much of the surface as you possibly can.
- The rubbing process puts the coating on the tip giving you a shiny finish.
Repeat the process as often as you need to until you achieve a perfect tinning. Like in the steps above, use special steel wool to clean the surface after each dipping.
Important Tips to Have in Mind
- The sooner you use the newly tinned tip, the better
- Keep the tip clean even when working
- Storing the tip for long without using it can result in degradation. So, keep up with the maintenance if you hope for durability
- Avoid operating at very high temperatures because it leads to faster formation of iron oxide.
- Filing the tip will damage it. Once you pierce the plate, the tip will quickly lose its ability to serve you.
- Timing is everything when tinning. The solder heats up quickly, so get as much coating on the tip as you can before it starts to oxidize.
You may notice that despite following the steps above, you are not able to achieve a coating. It means that you have not cleaned the surface properly. You have not removed the impurities or the oxidation that is coating the tip. Go back to the step above on cleaning and then try again.
Final Thoughts
As mentioned ealier, tinning is important to protect the soldering tip from impurities and corrosion, as well as ensure that the solder wire will melt and flow easily.
The process enables you to get better heat transfer due to the bridge the coating builds between the tip and whatever you’re working on.
We have looked at the process of ‘tinning a soldering iron. Taking good care of your soldering tip will give you long-term usage. You will also get a better finish on your project.
Tinning is not a complicated or time-consuming process. Yet, you will benefit from higher efficiency and cost savings. Make it a routine that every time you use your soldering iron, you clean it and tin it.
