
The Nintendo 64 is one of the most popular gaming consoles of all time, and many gamers from the 90s have memories of playing on it. Noted for its unique gaming pad, the N64 was a competitor to the Sony PlayStation and other consoles of its time.
You may want to relive the good old days and get into a fulfilling gaming session playing the famous Super Mario 64 and other games. The good news is that you can go back in time and enjoy gaming, courtesy of the Raspberry Pi 3 system.
This system emulates that of the N64 and brings you the fun you badly want.
A Look into Raspberry Pi 3
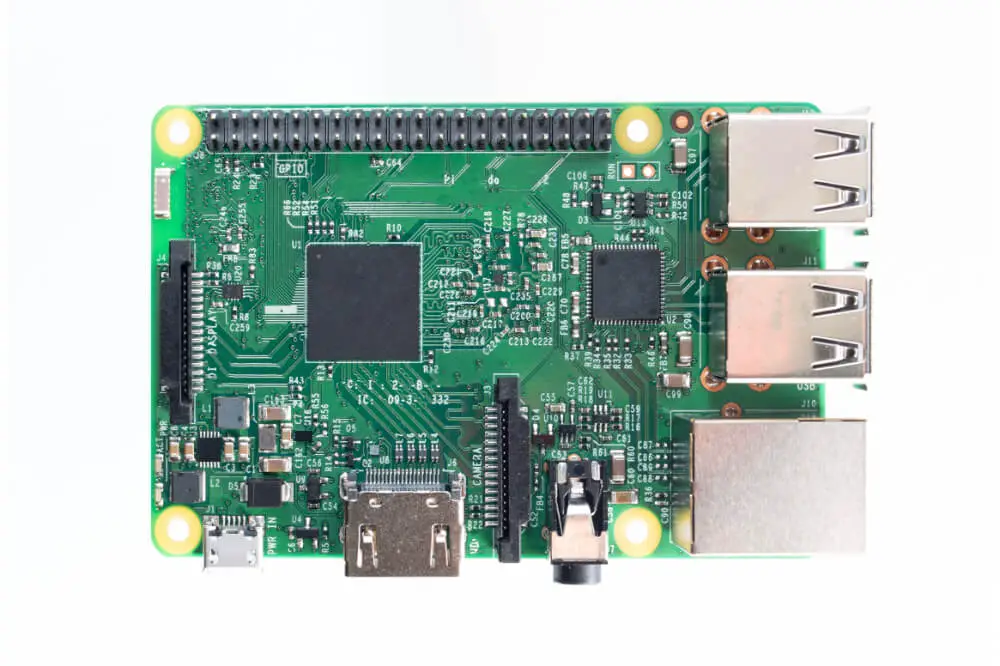
The Raspberry Pi 3 is a low budget computer that comes without a cover, one of its definitive features. It is a simple computer in every essence, and you can use it to carry out simple projects, like in robotics and small-scale automation.
The Pi 3 comes in handy as a budget computer, though you can also put it in to use as a retro games console. Talking about the retro games’ functionality, you get an answer to the question, will Raspberry Pi 3 run N64?
The computer platforms will allow you to emulate the N64’sN64’s b64-bit platform and get your gaming on point. Using the Pi3, you benefit from its speed and power, something that makes its use, a retro gamer, one of the best experiences.
While the Raspberry Pi is not a new system (there is the Pi 4 version), it still brings its best in the retro gaming applications.

Getting Started With Raspberry Pi 3 for N64 Use
Once you have the computer board, you have to make the necessary connections to get it working. Link it to a power source and then to the peripheral hardware such as a keyboard, mouse, and monitor to have your station ready.
You then download the New Out of Box Software installer, which will help you download and install support software. Start by downloading the central operating system, the Raspbian OS, which is a simple process to have the computer up and running.
The good thing with this computer is that you can easily access the internet as it comes with in-built Wi-Fi and Bluetooth functionality.
Installing the RetroPie
The RetroPie is the solution that will turn your personal computer to a gaming console. It is an emulation tool, built from Raspbian OS, EmulationStation, RetroArch, and other projects to help you play your favorite games from the past.
With the operating system installed, you can now download the RetroPie system.
Steps in Building an N64 RetroPie Gaming Station
Assuming you have all the necessary hardware such as the monitor, keyboard, mouse, a micro SD card, and maybe a speaker, though it is optional, you can create a RetroPie image on your SD card. It is a simple process, requiring you to go to RetroPie’sRetroPie’s website and download the image.
Also, download the Win32DiskImager, then install your memory card. For efficiency purposes, have a large storage size SD card and format it before use. Then make sure all the hardware and accessories are well set before proceeding to the next step.
Configuring the N64 Controller
Next, you have to configure the N64 controller, keeping in mind that the RetroPie has two configuration options for the controller. One set is for browsing while the other is for operation while the ROM runs. After installing the emulation, and the emulator screen shows, press any letter on the keyboard and click on configure input.
When you see the controller’s name, press enter, and follow the prompts by pressing the buttons commanded. This is one of the most critical steps, and you need to be keen on the prompts until you reach RetroPie and press enter.
Upload ROMs
You now need to upload the ROMs, which will act as the cartridge for your games’ emulator. In uploading the ROMs, you will need a file transfer program, most of which you can find on the internet. Once you have the suitable transfer application, you can send the ROMs files to RetroPie. At times, you may need to restart your computer for you to locate the ROMs files.
Overclocking
Overclocking is a necessary step if you want to boost the performance of your retrogaming platform. The N64 has high demand games, which need immense power to run effectively. After loading RetroPie, click on the F4 and another button for the timeout not to redirect you back to the emulator.
Use this command prompt: sudo raspi:config to launch a menu to check your hardware settings. Head to the overclock setting and set it to the maximum. A point to note is that overclocking can generate high temperatures from the Pi 3, leading to its damage if you are not careful. As such, you should invest in a fan to deal with this issue.
Getting an Enclosure for the Raspberry Pi
Getting an enclosure for your computer will improve its service and prevent minor issues and accidents. You can get an enclosure before or after starting the project. Look for a stable casing that will give the computer maximum protection.
You should also install a fan to help with cooling significantly if you overclock the system. Once everything takes shape, you can enjoy your games. You can use this process for other platforms too, but you should pay attention to their demands such as storage and bits.
Conclusion
The Nintendo 64 remains one of the most revolutionary consoles of all time, evident by its outstanding sales in the period it was in the market. It also had quite a decent fan base!
Luckily, it is still possible to enjoy the games they played on its platform, courtesy of the Raspberry Pi 3 system. It is a budget single-board computer that supports retro gaming. Follow the highlighted steps to get the platform by first having the Raspbian operating system installed, then get the RetroPie tool, and you are good to go.
