Like any other precious metal, repairing or selling two silver pieces can be a bit challenging and tends to require different techniques and approaches compared to metal soldering. Understanding how to solder silver is vital; therefore, you can skim or read through this article as we answer the question can a soldering iron melt silver?
At times you might be required to join two silver alloys or silver and different metal. The process can be intense, especially when joining silver to a different metal such as copper or brass. In such cases, you might consider looking for a more sophisticated method of fusing the two metals.
Soldering Silver
Soldering silver can be relatively challenging, and as a result, you will need to factor in the following before commencing on your project:
Working surface
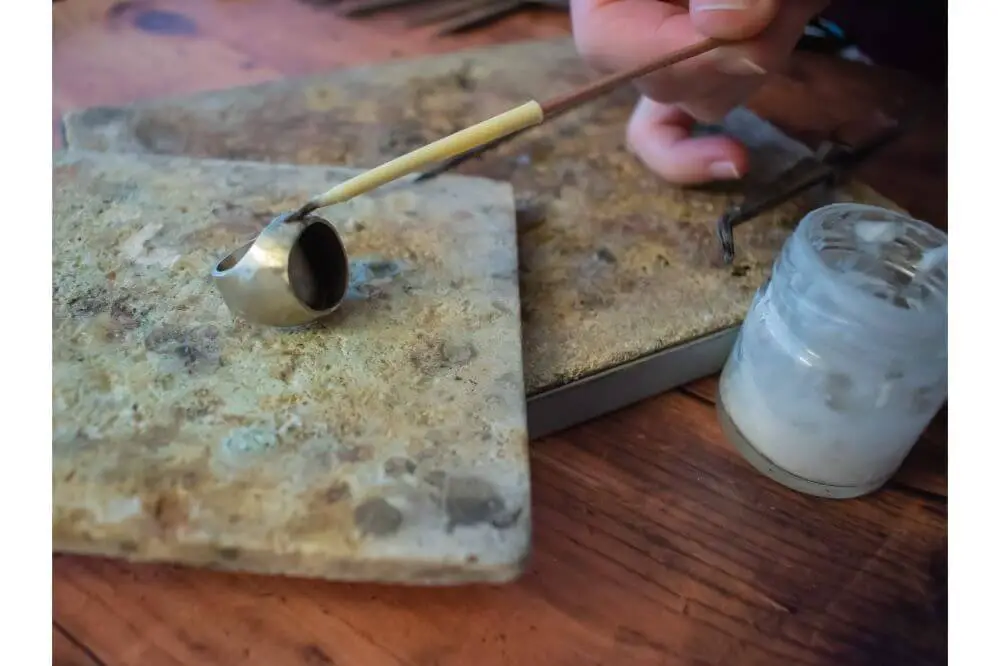
Your work surface should help in protecting against heat loss. Usually, soldering will not be effective when you lose too much heat. To help prevent this from occurring, you will need a specialized working space that features low heat conduction.
In most cases, a charcoal soldering block is often considered the best option for soldering silver. This is vital since it helps in reflecting heat, creating a relatively high temperature to work on your silver. However, kiln brick or magnesia blocks are considered as the best options in the absence of charcoal block.
Silver solder
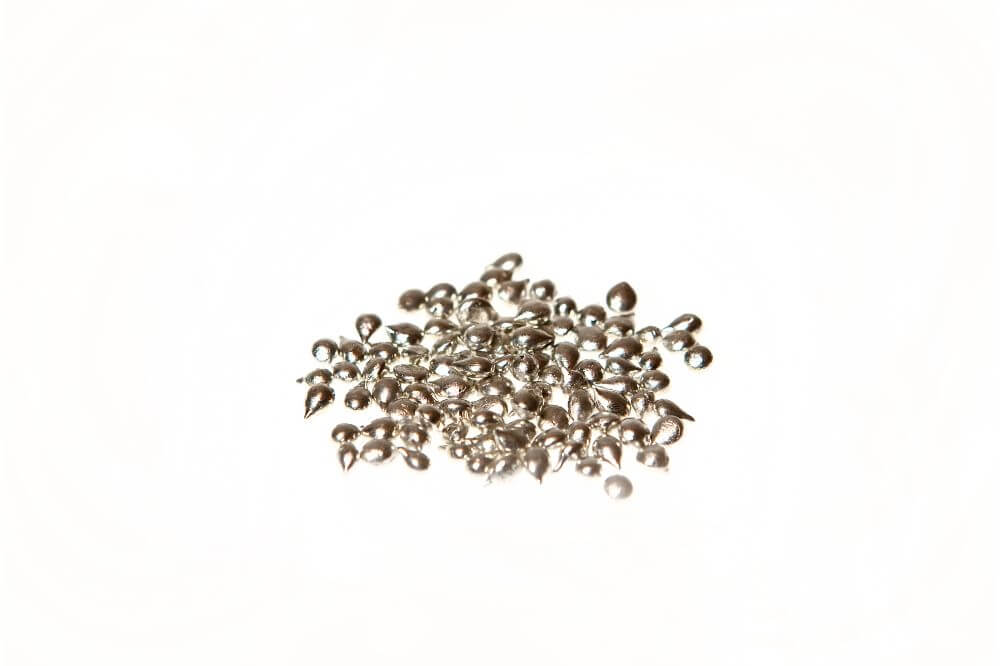
When it comes to soldering silver, you should consider purchasing a silver solder. This solder is designed to help join silver, and they often melt at a lower temperature.
Always avoid the use of lead solder when soldering your silver or any other precious metal. This is because it often fails to work and relatively to challenge to get rid of.
Heat source
This is the most crucial part when soldering silver. Since silver tends to have a high melting point, using soldering iron can be relatively challenging. This means that it will take you an extended period of time before a soldering iron melts silver. Therefore, a torch is often considered as the best option, particularly oxy-acetylene.
Flux
Just like solder, when working with silver, you will need the right flux for the project. With a suitable flux, you will clean the surface of your silver and help boost heat transfer significantly.
In addition to that, it will help in removing oxidized surfaces of your silver that might end up interfering with the bond. A blazing flux is considered the best since they are capable of withstanding too much heat.

How To Solder Silver
When soldering your silver, your need to adhere to these vital steps:
Cleaning the silver
It would be best if you considered using a degreasing solution to help in getting rid of oily surfaces. In the presence of oxidation on your silver object, you should consider placing the silver in a pickle solution before you start the soldering process.
Applying flux
As per the instruction on the packaging, prepare the flux, and ensure that it is ready for use. A small paintbrush will help in applying the flux onto the surface of your silver. Applying the flux on the point where the solder will be placed will help prevent the amount of solder that will flow to the wrong place.
Positioning the silver
You should lay your two silver objects on a soldering brick next to each other. It would be best if you then positioned them exactly how you want them to be joined. Always keep in mind that the two must be physically touching; this will allow them to be appropriately joined.
Position the solder
Pick your solder using a pair of tweezers and place it on the crack gently for it to be joined. When the solder starts melting, it will be drawn by the heat on the place you had placed the flux. This means that you don’t have to cover the whole gap.
Heating
Turn on your source of heat and adjust the temperature levels to its highest setting. It would be best if you then started by holding the joint away from the joint while moving it constantly, ensuring that the heat is spread evenly on the component.
You will then move the heat source closer to the join while focusing on metal objects next to the solder and not the solder itself. The solder will then reach the melting point and the move to an area with flux in the silver object.
Water and Pickle solution
Once the whole process is done, you will place the silver object in the water and then immerse it in a pickle. Allow your silver object to cool for a while and then dip it in the water, allowing it to cool even further. The pickle solution is an acidic solution that will help in cleaning your silver after soldering.
Use copper tongs to low in your silver and then leave for a while, allowing it to get rid of flux and oxidation. During this process, you should protect yourself and don’t allow the solution to contact your skin, steel tool, or clothing since it is highly corrosive.
Rising
You will then rinse your new silver product in water and then pat dry using a dry cloth. The two silver will create a strong and permanent bond if the process is done correctly.
Final Thoughts
Mastering the art of soldering is vital. With the right tool, you will be able to work on various projects with the utmost ease. However, when it comes to soldering precious metal, the process can be intense, and you should always protect yourself during the soldering process. As a newbie, you should consider practicing the art of soldering on scrap materials and try to master it before you start working on the precious metal.
When it comes to soldering silver, a torch is considered the best option over soldering iron. This is because it will take a relatively extended period for the soldering iron to melt a silver metal compared to a soldering torch. Since silver features a high melting point, a soldering iron cannot melt silver.


