
Soldering is the process of securing metal joints and electrical components to create stable joints. There are two methods of soldering items: soft and hard soldering. Soft soldering involves joining metal pieces using filler material called Eutectic Tin/Lead Alloy. It is ideal for joining delicate parts that get damaged at high temperatures.
This type of solder is used because it melts at a relatively low temperature, i.e., 250-650 degrees Fahrenheit. Hard soldering, however, uses a different alloy that melts at a high temperature and uses a torch that generates more heat than the ordinary propane torch.
As such, soft soldering is ideal for a range of metals, including brass, lead, copper, tin, cast iron, and aluminum. For this text, we look at how to solder cast iron parts.
Tools Required
- Isopropyl solvent
- Steel brush
- Safety glasses
- A clamp
- Soldering iron
- Propane torch
- Heat-resistant gloves
Procedure
Cleaning the Workpiece
Use the isopropyl solvent to clean the cast iron workpiece. If the component has oil or grease, use a rag to wipe it clean.
It is essential to clean the component before soldering to prevent the metal from forming an extra coat of oxide. You may also need to paint the metal piece using a thin layer of liquid flux to avoid oxidation and to improve the flow of the solder.
Soldering the Components
Be sure to wear safety glasses and heat-resistant gloves before you embark on the process. Then, heat the fluxed cast iron pieces using a propane torch until it gets heated up. Then scrub the component again and apply another layer of flux.
Applying the Solder
Place the cast-iron workpiece in the desired position and clamp the pieces together. Then, heat a small amount of solder at the tip and apply it to the seam running it between the metal pieces once it starts melting.
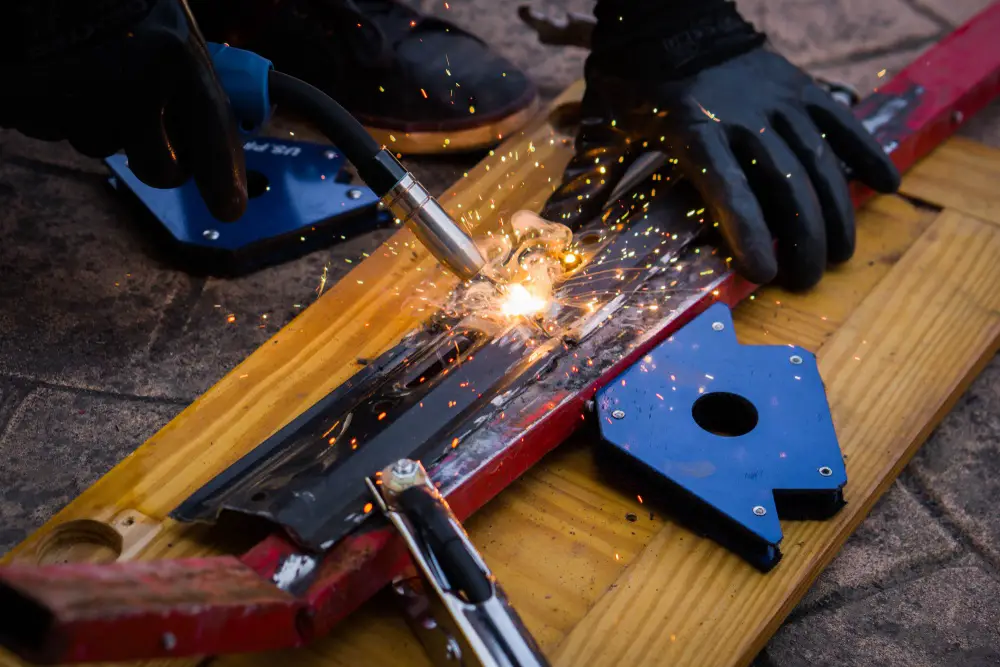
Using the Propane Torch
Light up the propane torch to heat the cast-iron piece directing the flame’s blue cone toward the metallic part. Be sure to move the iron around the area surrounding the seam until the solder has changed color and filled the seam. You should, however, avoid heating the solder directly. Then, allow the cast iron pieces to cool before unclamping them.
Additional Tips
- Ensure the joints are mechanically strong before applying the solder. This way, you won’t depend on the solder to hold the pieces together. Note that the solder functions as filler and not a bonding agent. That’s why joints on the sheet metal should be folded over and crimped before soldering, and electrical wires twisted firmly to form a mechanical bond before the wires are soldered together
- If you are using a soldering gun, ensure the tip is tinned or coated using a thin film of solder. Clean the metal on the tip face using sandpaper until it is shiny and bright, then heat the iron until the metal begins to change color (i.e. darken). You can also coat the tip with flux by dipping it into a can of flux or by spreading the flux on a small brush and applying a little solder on the surface. Wipe excess solder using a rag when the solder is still melting to renew the tinning as the coat wears off fast
- Avoid melting the solder using direct heat from the soldering iron or torch. Instead, use the torch or iron to heat the pieces forming the joint until the component is hot enough to melt the solder upon contact. The heated metal part is what melts the solder once fed into the joint. Concentrate on the heavier and thicker parts pulling the soldering iron away momentarily while touching the solder to the joint. The solder should be sucked into the joint fast if the metal is hot enough and if you have applied enough flux to the joint
- Be sure to keep the soldering iron in contact with the metal to ensure it is hot enough to melt the solder. Also, keep the iron on the opposite side of the metal or a few inches away from where you are feeding the solder.
- Remove the solder and the iron as soon as the spaces between the wires have become full and a coating of molten solder has covered all the sides
