
Before you’ve even taken through whether it’s possible to use your soldering iron to weld, it’s essential to understand the difference between welding and soldering.
This is because despite these two being somewhat similar as they both join two or more metal pieces and, in other instances, other materials such as thermoplastics. However, there are some distinguishing differences between soldering and welding.
First, the soldering process entails heating metals to join them together, but they don’t melt, with the solder the one melting. These two metals get joined through capillary action once the solder flows over the joint and then solidifies once it cools down.
In contrast, welding entails melting the metals you’re hoping to join to create a solid bond and while doing this. While doing this, you also need to add filler material to make the joint stronger.
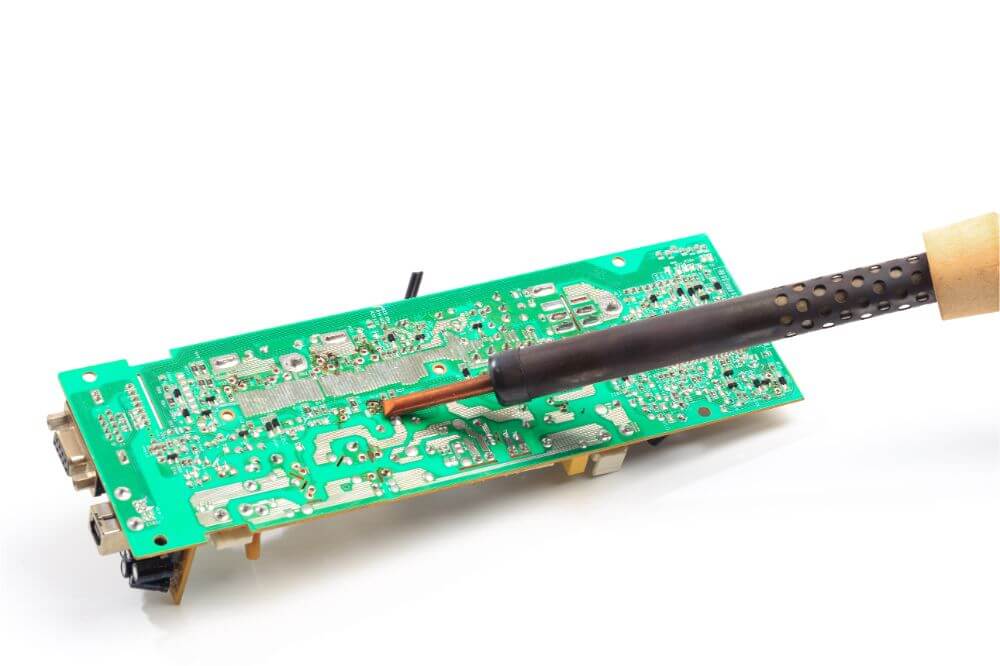
Now that you understand the difference between soldering and welding, it’s now easier to answer whether a soldering iron can be used in welding. The answer to this is yes, and here’s an outline of the steps you should follow while doing this.

Steps To Soldering Plastic Using A Soldering Iron
Many individuals usually get new plastic after it breaks down or cracks. Nonetheless, this shouldn’t always be the case since plastic melts quickly and is incredibly malleable, meaning you can reattach it using your soldering iron. Whereas this repaired object might not look as good as new, you can perfect your skills to smoothen plastic over time to improve its aesthetic appeal.
You can also use your soldering iron to weld when doing plastic welding fabrications and designing artistic projects. Therefore, it isn’t always necessary to invest in a plastic welding kit when you’re intending to carry out such tasks. If you don’t know where to start, here’s a guide on the steps to follow when using a plastic soldering iron.
Step 1: Clean The Plastics
You need to make sure the plastics are clean before you can even start using your soldering iron. The best way of doing this is by using a degreaser and soap to remove all the dirt, even those that might not be visible. Moreover, sand the plastic’s edges to make sure they don’t appear pointy.
Step 2: Setup and Assemble Your Tools
Make sure your workplace is tidy and neat before you start your project. Doing this is vital to safeguard yourself and anyone else from harm due to an avoidable accident. Once you’re done preparing your workstation, you need to get the most vital tool needed for your project, and this is the soldering iron.
Plug in this device to power to heat it, and this should only take a couple of minutes. The ideal temperature you should seek to attain is 210 degrees Fahrenheit, as this is high enough even to extrude PLA. It’s advisable not to go so much over this as this might lead to the burning of your plastic.
Step 3: Start Welding
This step involves you heating both the pieces of metal which need to be joined. While doing this, you might need to use an additional filament when filling this gap and form a single plastic piece.
Once you understand what needs to be done, push together the two plastic objects and hold them firmly in position. This will allow you to effortlessly run the tip of your soldering iron along with the two plastic items until these two parts get partly melted together.
If the temperature of 210 degrees Fahrenheit isn’t enough, you can increase it marginally to 230 degrees Fahrenheit. Doing this will allow you to move faster while still not affecting the quality of work.
When doing this, the plastic pieces are still hot and flexible. Therefore, you should try and modify them to perfectly fit into each other the best you can.
Step 4: Strengthen The Weld
If you want to strengthen the weld, this can be achieved by adding tiny plastic pieces, and this should ideally be thin strips added to the seam. After doing this, heat these plastic pieces until they melt entirely by pressing them downwards using the tip of your soldering iron until they liquefy. Consequently, distribute the melted plastic slickly along the seam’s length using the tip of your soldering iron.
Step 5: Smoothly Stroke the Seams
This is the last step you need to do when welding plastic using a soldering iron. It entails delivering smooth strokes quickly along the seam and plastic with the soldering iron. Completing this technique successfully requires a fair bit of practice, and consequently, you’ll be able to form a uniform and smooth plastic weld.
Potential Improvements When Welding Using Your Soldering Iron
When using your soldering iron to weld, there are several improvements you can make to make this entire process run seamlessly. This includes:
- Using a heat gun to preheat the joint rather than keeping it warm.
- Heating the welded area with a heat gun or as a suitable item to apply the heat needed to prevent the area from cooling down too fast as this might let the plastic flow for an extended period.
- Going for a hotter soldering iron and try moving at a fast speed to avoid burning the plastic.
- It would be best if you opted for a big soldering iron with a flat triangular head since it does a better job applying heat to the broader region.
Conclusion
The working principle of soldering and welding in how they combine metal is very much similar. It’s because of this that you can decide to use your soldering iron to do welding tasks. If this is something you didn’t think was achievable, reading this exhaustive guide on the steps to follow when using your soldering iron to weld has made you better informed.
Now that you know this, it’s now a lot easier for you to carry out your welding projects using your soldering iron. However, one drawback of using the soldering iron to weld is that the subsequent joints are weaker but have a seamless look.
