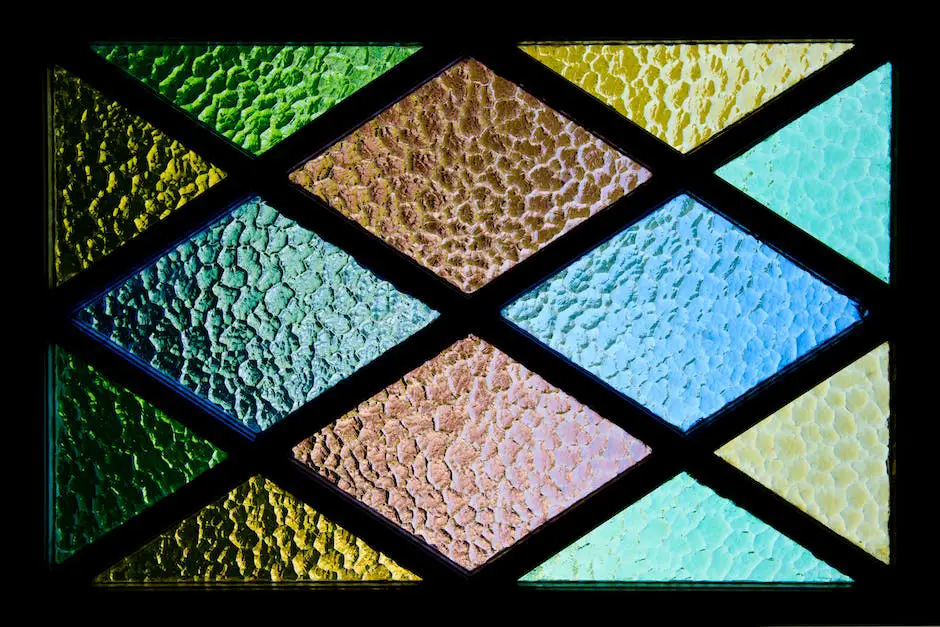
Immersing oneself into the world of stained glass creation is a rewarding journey filled with beautiful visuals and rich experiences. The process of transforming raw materials into stunning pieces of artwork takes dedication, patience, and a nuanced understanding of the involved techniques.
Materials like glass sheets, cutters, lead came or copper foil, and solder form the foundational elements of this centuries-old craft. Essential skills, such as designing captivating themes and crafting them into workable patterns, along with mastering assembly and soldering techniques, encapsulate the essence of this stunning art and craft. In the steps to follow, we will be shedding light on these cornerstones of stained glass making, guiding you to bring your creative visions to life.
Materials and Tools
Entwining light, color, and texture, a stained glass creation is a spectacular consolidation of artistry that results in a breathtaking visual experience. The process, though requiring patience and a keen eye for detail, is accessible to all – whether you’re a seasoned artist or a creative enthusiast exploring a new medium. This enlightening exploration will walk you through the essential tools and materials one needs when delving into the world of stained glass art.
Firstly,
every stained glass masterpiece springs from a simple piece of glass. Choose from an exciting array of tints, textures, and patterns to bring your vision to life. Opt for Opalescent glass if you seek rich, opaque hues, or perhaps the translucent allure of Cathedral glass intrigues you. Speciality glass, such as textured or streaky glass, adds an extra layer of depth to artworks.
A glass cutter is arguably the most vital instrument in this imaginative journey. This tool, resembling a pen but with a sharp wheel at the end, scores the glass, allowing for smooth, controlled breaks. Don’t forget to accompany this with a pair of trusty breaking pliers – their curved jaws making them perfect for snapping predefined sections of glass.
To hold the puzzle of glass pieces together, incorporate copper foil or lead came in your toolkit. Copper foil wraps around the edges of each piece and, when soldered, forms a beautiful seamless finish. Lead came, alternatively, is like H or U-shaped channels that fit around the glass pieces.
A well-designed soldering iron, with a hefty but balanced feel, heats and melts solder to bind the glass pieces together. Use a flux brush to apply a layer of flux on the copper or lead before the soldering begins. This crucial step allows the solder to adhere firmly to the pieces and eases the soldering process.
A grinder polishes the edges of the glass, refining the fit and enhancing the artwork’s overall look. While you can shape glass using a glass cutter alone, a grinder gives additional precision and speed to the process.
Safety cannot be overlooked in the creative sequels. Always use safety glasses to protect your eyes from any flying shards, and gloves to shield your hands from sharp edges.
Furthermore, materials such as wooden tie strips and nails help balance the pieces when assembling, particularly for large designs.
Through the interplay of light and color, stained glass artwork embodies the spirit of creativity like no other medium. It is a dance of challenge and satisfaction, requiring meticulousness and patience, which blooms into a captivating celebration of art and light. With this equipment by your side and an open mind, the journey to your stained glass masterpiece awaits!

Designing and Pattern Making
Delving into Design and Pattern Making in Stained Glass Artistry
Creating a captivating stained glass art piece takes more than just selecting the perfect glass and assembling quality tools. Really, it’s all about design and patterning. This crucial step intertwines artistry and craftsmanship, determining both the aesthetic and structural integrity of your final piece. Let’s take a look at how you can craft and pattern your stained glass artwork.
Step 1: Finding Inspiration
First and foremost in the design process is finding a wellspring of inspiration. Artistry is about communication, after all, expressing emotions and ideas through the medium of your choice. Look to nature, architecture, and everyday life, or consider exploring historical and cultural motifs. Even the abstract can be the kernel of compelling stained glass artwork. Be open to exploration—it’s a journey rather than a race.
Step 2: Sketching Out Your Design
Once you’ve pinned down your inspiration, it’s time to get it down on paper. Begin with a rough sketch, not worrying about the complexities just yet—this stage is all about capturing the essence of your vision. Once that’s plotted, refine it, bearing in mind that every line you draw will become a cut in your glass. Strive to synthesize your complex idea into a simplified, functional design.
Step 3: Coloring Your Pattern
Visualizing your piece in color is pivotal for achieving a harmonious balance in your stained glass artwork. Use colored pencils or markers to fill in your sketch, giving you a clearer image of how your design will come together. This phase also aids in planning your glass purchasing. Remember to preserve the translucency of your chosen medium; your piece should captivate, not just in vivid daylight but also in the gentle glow of dusky twilight.
Step 4: Scaling Your Design
Next comes the task of bringing your design to life-size. Translate your smaller sketch to the size you’d like your final piece to be, considering your available materials and the practicality of your design’s more intricate sections. Make use of grid paper or art software for an exact scale.
Step 5: Coding your Patterns
To ensure a smooth building process, assign codes or numbers to each component of your design. This step fosters organizational bliss, significantly simplifying the transfer of your design onto your glass later.
Step 6: Cutting Templates
Finally, you’ll create cut-out templates from your scaled design. Trace each segment onto cardboard or stiff paper, then cut them out. Remember, precision is paramount here; inaccurate templates may jeopardize the assembly of your project.
So, there you have it. Creating remarkable stained glass artwork is a delicate balance between artistic vision and craftsmanship precision. From the conception of the design to crafting a pattern, every step is unique and fulfilling in its own right. There’s nothing quite like seeing your hard work and creativity come to life in the form of radiant, mesmerizing stained glass art. So, go on, set your creative spirit loose and create your stained glass masterpiece.

Assembly and Soldering
The Finer Points of Assembling and Soldering Stained Glass
Having a beautifully sketched and scaled design ready to transform into a stained glass piece is indeed exhilarating. Nevertheless, the charm of the artwork relies heavily on the journey from a pattern to a shimmering piece of stained glass, which requires careful assembly and soldering.
Assembling Your Stained Glass Creation
Begin with your carefully cut pieces of colored glass, each one as unique as a pebble on a beach, all shaped and refined, ready to assume their positions in your grand design. Start off by wrapping the edges of each piece with copper foil. This step is crucial because it provides an area for the solder to adhere to, joining the glass pieces together. When applying the foil, ensure it sits uniformly on both sides of the glass, providing balance and setting the stage for a polished appearance post-soldering.
With the edges wrapped, arrange the glass pieces over your design, following the color coding diligently. A high-quality adhesive, usually copper foil, secures the glass to the design. Here, precision is key, aligning the pieces precisely as per your pattern.
Once all the pieces have found their home and they interlock to form the masterpiece you envisioned, it’s time to move on to the next stage: soldering.
Soldering Your Glass Pieces
First, spread flux over the copper-foiled lines. This purified rosin acts as a catalyst, enabling the solder to seamlessly flow. Make sure you’ve donned your safety glasses to protect those curious eyes from any sudden flux fumes.
Take the preheated soldering iron in your hands. Its tip should be tinned – coated smoothly with solder, appearing shiny and silver, ready to take on the task of fusing your creation together. Apply the iron lightly to the fluxed areas, and let the solder flow, creating a beautiful, silver line joining your glass pieces.
Remember to solder on a flat surface, and start from the middle to evenly distribute heat. This will help prevent glass pieces from cracking due to sudden temperature change.
Remember, practice makes perfect, so don’t lose heart if your first lines are a little shaky. Have patience with yourself, your skill will refine over time. Before you realize it, you will be soldering evenly, your movements as fluid as the molten lead.
Once the soldering is complete, give your masterpiece a good cleansing. Use a special stained glass cleaner or a homemade mix of soap and water, and gently clean the glass. This will remove any lingering flux or grease.
Here you stand, your vibrant creation glowing in the sunlight, casting beautiful, vibrant reflections, each one a testament to your passion spun into existence.

As you progress in your journey of stained glass creation, remember that every cut, solder, and assembly is a testament to your growing skill set. Each piece you create is not just an artwork but a chronicle of your artistic journey. The understanding and manipulation of materials, the creativity of design and pattern making, the precision of assembly, and the artistry of soldering all come together to culminate in a unique stained glass piece that reflects your personal touch. With patience and perseverance, you will soon turn sheets of glass into masterpieces that illuminate spaces with their vibrant hues and intricate patterns. Your journey in the beautiful craft of stained glass making has only just begun.


