
Immerse yourself into the realm of modern technological advancement where creativity merges with functionality, welcome to the world of 3D Printing. This transformative process turns the most intricate digital designs into touchable objects, expanding possibilities for innovations and unlocking unprecedented potential.
Whether you’re into technology, design, or just love creating something out of nothing, 3D printing has a place for you. By delving into components of 3D printers, gaining proficiency in 3D modeling software, and mastering project setup and execution, you’ll become equipped with the knowledge and skills required to craft unique items or modify existing designs. Let’s embark on this enlightening journey together.
Understanding 3D Printers
In the awe-inducing world of technology, 3D printers certainly hold one of the most prominent ranks. This marvel of science has not only revolutionized product design and manufacturing industries but has also made a significant impact in fields as diverse as medicine, fashion, and food. But have you ever stopped to ponder – how exactly do these incredible machines add dimension to our imagination? Let’s get straight into it.
Firstly, one must comprehend the core concept behind 3D printers – Additive Manufacturing (AM). This involves creating an object by adding material layer upon layer, which distinctly sets it apart from traditional subtractive manufacturing processes that involve cutting or drilling. This distinction has its unique benefits like minimizing wastage and enabling complex, intricate designs.
The heart of a 3D printer is its control software, more specifically, the Computer-Aided Design (CAD) file. This file provides the blueprint for the 3D object to be printed. This CAD file is then converted into a Standard Tessellation Language (STL) file which breaks down the object into layers or ‘slices’. These ‘slices’ are the fundamental instructions the printer reads and follows to produce the final object.
Driven by the CAD-design, the printer head moves along X, Y, and Z-axes depositing or curing material layer by layer, in precise locations and thicknesses guided by the STL file. Now, this is where the type of 3D-printing technology comes into play.
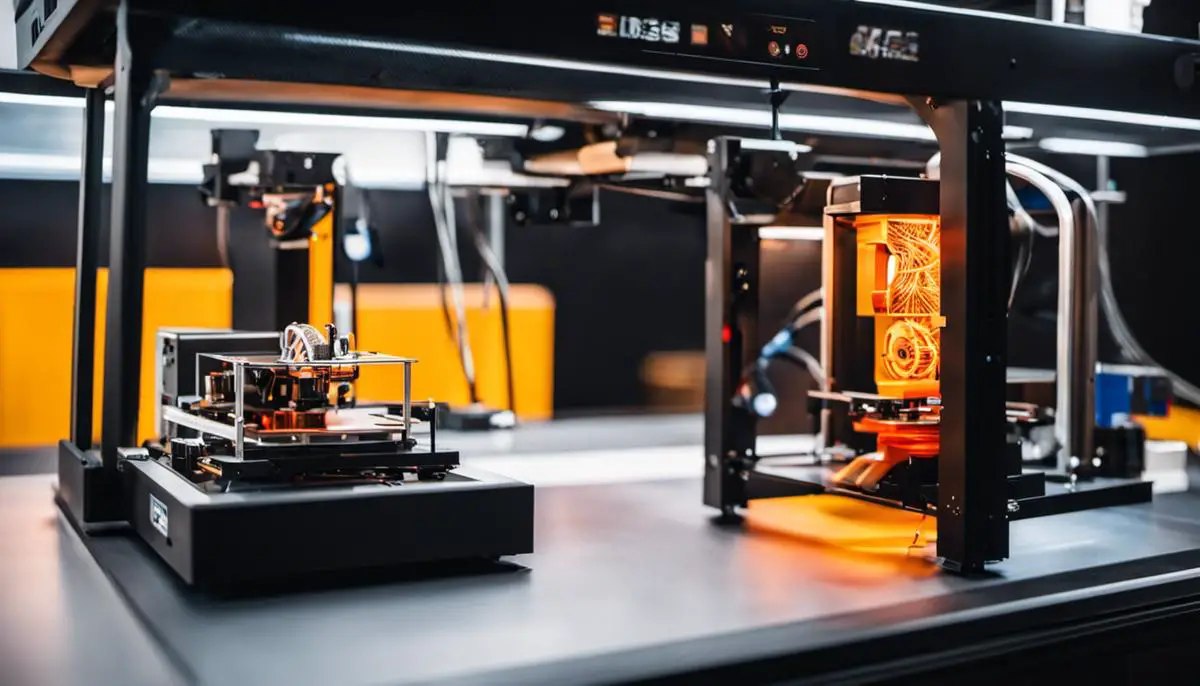
Fused Deposition Modeling (FDM) and Stereolithography (SLA) are two widely used 3D printing techniques. FDM printers are more common and work by depositing molten plastic in layers that fuse and cool to form the desired shape. On the other hand, SLA printers use a UV-laser to cure liquid resin into solid form, layer by layer.
The complexity of your design, the material you intend to use, as well as budget and time constraints, will all influence your choice of 3D printing technique. Each technology has strengths and compromises.
Layer by layer, the processes of heating and cooling (in FDM) or curing (in SLA), give life to the 3D object, precisely as the design envisions. While speed may depend on the size and complexity of the design, some printers can complete a print in hours, while others may take days.
To wrap up, let’s touch on materials. Traditionally, plastic was predominantly used in 3D printing. However, today’s printers can handle a multitude of materials including metals, ceramics, and even food products like chocolate!
As 3D printing continues to transform various sectors, it’s clear that this revolutionary technology is far from reaching its zenith. Embracing this technology requires fundamental understanding, and with the basics in your arsenal, you’re ready to dive deeper into the multifaceted world of 3D printing.

Learning 3D Modeling Software
Stepping into the domain of 3D Modeling
It’s vital to choose the right software that caters to the needs of beginners while also offering opportunities for advancing your abilities. Several software options appear tempting, but they must be easy to learn, intuitive, and have a supportive user community. Among many, Tinkercad, SketchUp, and Blender have distinguished themselves as excellent tools for beginners.
Based on a ‘building-block’ technique, Tinkercad, designed by Autodesk, is an admirable online 3D software for beginners. It utilizes a straightforward ‘drag and drop’ method, thereby allowing users to virtually assemble objects piece-by-piece like a digital Lego set. Sketches and shapes are designed and combined until the desired 3D object is completed. Tinkercad is also deeply ingrained in the hardware landscape, which makes it convenient for 3D print prepping.
Here’s how you can get started using Tinkercad:
- Sign up for a free account on the Tinkercad website.
- Once logged in, you can either select a tutorial or choose to start a new design.
- Proceed with adding shapes. Click and drag a shape from the menu onto the workspace.
- Use the arrow keys on your keyboard to move shapes around.
- When using the blocks, you can combine or subtract them from one another to create complex shapes.
SketchUp, on the other hand, is a dynamic 3D modeling software. Ideal for architecture and interior design projects, SketchUp simplifies 3D design with a more intuitive interface offering flexible tools that generate life-like renderings.
Beginning with SketchUp involves the following steps:
- Download and install SketchUp Make (free version).
- Begin by selecting a template from the ‘Template’ tab in the welcome window.
- Start drawing. Use the Line tool to create a square and press ‘P’ on your keyboard to access the ‘Push/Pull’ tool and create a 3D shape.
- Download free models from the ‘3D Warehouse’, reshape them or add new elements as per your project needs.
Blender is arguably the most versatile of the three. Open-source and free, Blender isn’t just a 3D modeler—it’s a comprehensive 3D suite, offering capabilities in modeling, animation, rendering, post-production, and more. Mastery of Blender allows creators to progress from simple models to complex animations.
To begin with Blender:
- Download and install the application from the official website. It is recommended not to change the default settings during installation.
- Learn hotkeys. Blender integrates speed through hotkey commands for nearly every tool.
- Start simple. Begin by modeling basic objects and gradually level up to complex structures.
Sophisticated as they may seem, these software choices set a solid foundation in 3D design’s vast realm for beginners. It’s more about exploring, learning and upgrading one’s skills, all while enjoying the creative process that these tools activate. The future of our world continues to advance technologically, and now, you’re ready to play your part in the 3D era!

Project Setup and Execution
Now that you’ve been introduced to the basics and given an overview of some beginner-friendly design software, let’s delve into the specifics of setting up and executing a 3D printing project. The following are important steps to take before, during, and after the 3D printing process that will ensure a successful final product.
One critical step in setting up a 3D printing project is to ensure the accuracy of your STL file. This file should be thoroughly examined for errors or inconsistencies that might affect the printing process. There are several online tools available, such as Netfabb and MakePrintable, which can help troubleshoot your STL file and resolve issues that might affect your final product.
Once you’re confident in your STL file, the next step is the slicing process. Slicing software takes your STL file and mathematically slices it into the thousands of horizontal layers the 3D printer will print. You can adjust various parameters like print speed, layer height, and fill density through slicing software. Cura, Slic3r, and Simplify3D are popular options offering user-friendly interfaces and a multitude of pre-set parameters, making them suitable for beginners and experienced users alike.
Before you start printing, it’s essential to prepare the printer bed properly. Depending on the material being printed (PLA, ABS, etc.), you may need to use different methods to ensure proper adhesion of your object to the bed. This could include a heated bed, applying print-specific adhesives, or using rafts or brims. Additionally, bed leveling is crucial to prevent failed prints. Too much space, and the filament won’t adhere properly; too little, and you may jam the extruder.
Once you’ve fine-tuned the design and prepped the printer, it’s time to press ‘print’. Monitor the initial stages closely, as this is when issues are most likely to occur. Remember, each 3D print is a learning opportunity, and occasional failures are part of the process.
Post-processing is the final step in perfecting your 3D print. Depending on the material and the desired finish, this could involve sanding, painting, or using other tools or chemicals to smooth and refine the surface.
Last but not least, never underestimate the power of community. Forums, online communities, and social media groups provide invaluable resources, tutorials, tips, and tricks. Use these platforms to learn from others, troubleshoot problems, and continue to refine your skills.
Setting up and executing a successful 3D printing project requires patience, precision, and a willingness to learn. As technology advances, these skills will provide an incredible foundation in an increasingly relevant field.

Photo by osmantalha on Unsplash
Through our journey exploring 3D printers, assimilating 3D modeling software, and comprehending the nuances of project setup and execution, we’ve shed light on the fascinating world of 3D printing. This understanding not only broadens our perspective but also introduces us to a realm imbued with great potential and unlimited creativity. It encourages us to think, design, and create in three dimensions, thus increasing the scope of our creative abilities. As you continue your journey in 3D printing, remember, the key is continued learning and practice. Harness the power of 3D printing and transform your innovative ideas into tangible realities that serve a purpose and inspire admiration. Step forth and create, the world of 3D printing awaits your unique contribution.
