Laminate flooring has become a staple in modern home design, prized for its durability and aesthetic appeal.
Yet, for those who prefer the hands-on approach to home improvement, the true art lies in the installation process.
An essential skill in this DIY adventure is cutting laminate flooring with a hand saw, a task that demands precision and care.
Choosing the ideal hand saw is the first step—selecting one with the correct tooth design and blade hardness is crucial for achieving clean, sharp cuts without damaging the beautiful finish of the laminate.
In this guide, enthusiasts and hobbyists alike will acquire the knowledge to master the nuances of cutting laminate by hand, ensuring that each piece fits perfectly into the puzzle of their flooring project.
Choosing the Right Hand Saw
The Ideal Hand Saw for Precision Laminate Flooring Cuts
Laminate flooring has become a popular choice for DIYers looking to upgrade their living spaces with a durable and stylish surface.
However, the challenge comes when it’s time to make those precise cuts that ensure a flawless fit.
This is where the right hand saw enters the picture, turning a daunting task into an enjoyable part of the flooring adventure.
First thing’s first: Not all hand saws are created equal, especially when it comes to laminate flooring.
The type of hand saw you select can make a significant difference in the ease and quality of your cuts.
For laminate, you’re dealing with material that’s designed to resist wear, including the aggressive action of saw teeth, so choosing wisely is crucial.
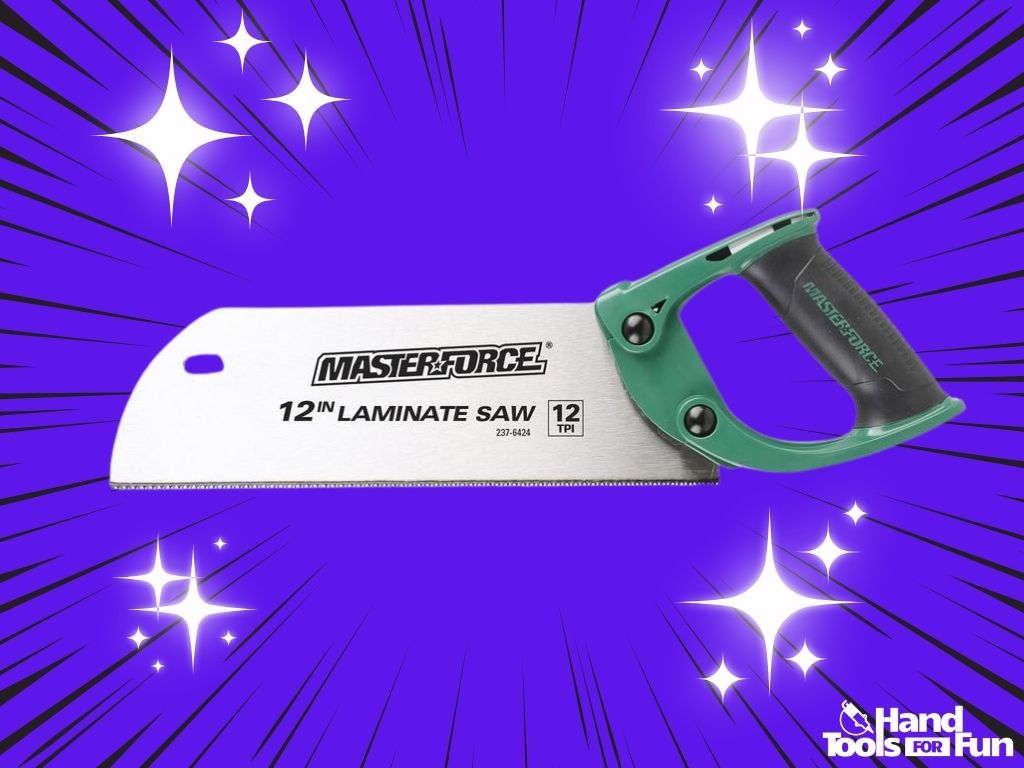
Enter the laminate hand saw—a tool specifically designed with the teeth and durability to tackle this hardy material.

A laminate hand saw comes equipped with fine teeth that are typically hardened to stand up to the composite materials and the wear layer of laminate planks.
For best results, look for a saw with a tooth count of roughly 10-20 per inch (TPI), which provides a balance between smooth cuts and efficient sawing action.
Moreover, many laminate hand saws feature a low-friction coating on the blade to prevent the saw from getting bogged down by the material’s tough exterior as you slice through it.
Additionally, a good laminate hand saw often sports a thin blade that aids in making the precise, straight cuts necessary for an impeccable installation.
Cutting laminate flooring requires patience and control. When using your hand saw, maintain a steady pace, applying moderate pressure to ensure the saw teeth smoothly cut on the push stroke.
Support the plank on a sturdy surface while cutting to prevent any bending or snapping, which could lead to a less-than-desirable finish.
For those concerned about splintering, a pro tip is to mark your cut line and then place a strip of painter’s tape along the line before sawing.
The tape helps to hold the top layer intact, minimizing the chances of unsightly chips that could mar the beauty of your floor.
Lastly, while your hand saw is a crucial component, don’t forget that using a square or straight edge as a guide will significantly improve the accuracy of your cuts.
A perfectly straight cut will not only keep your seams tight but will aid in the overall stability and aesthetic of the finished floor.
In summary, when it comes to hand saws for slicing through laminate flooring, go for a high-TPI laminate hand saw with a thin kerf and a hardy, coated blade to avoid wear and tear and ensure precise, clean cuts.
With this tool in hand, you’ll be cutting through those planks like butter, one smooth stroke at a time. Happy sawing!
Proper Measurement and Marking

Precision Cutting: Measuring and Marking Laminate Planks Like a Pro
Assembling a seamless laminate floor hinges on precision—every single plank must be meticulously measured and marked before it meets the saw.
An uneven cut can ripple into a cascade of issues: poor fits, unsightly gaps, and a less durable floor.
To help avoid such pitfalls, let’s delve straight into the nitty-gritty of accurate measurement and marking of laminate planks.
Select the Right Measuring Tools
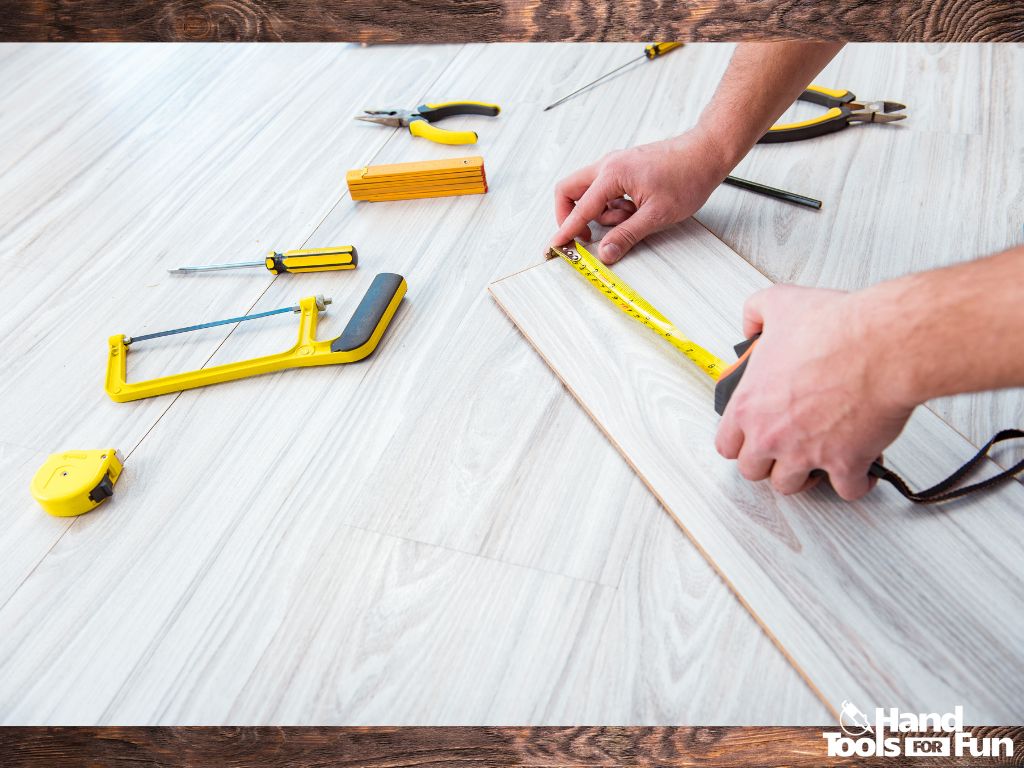
Before making any cuts, ensure that you have the proper measuring tools on hand. A tape measure is indispensable for an accurate length, while a combination square guarantees precise right angles. Don’t forget a pencil—opt for one with a fine tip to mark exact lines.
Measure Twice, Cut Once
This age-old adage remains a pillar of carpentry for good reason. Double-check each measurement before committing to a cut.
Measure the space where the plank will fit, then transfer those measurements to the laminate piece, accounting for the expansion gap recommended by the flooring manufacturer.
This gap, typically a quarter-inch along the walls, allows the floor to expand without buckling.
Marking the Cut Line
Transferring the measurement onto the plank requires a steady hand. Utilize the combination square to carry the measurement from the edge across the width of the plank.
Align the square with the edge of the plank and draw a straight line along the blade of the square, ensuring consistency.
For angled cuts or irregular shapes, a contour gauge is a lifesaver. Press it against the obstacle, lock the gauge’s teeth in place, and then reproduce the contour onto the plank. Be meticulous and deliberate to preserve the integrity of the pattern.
Highlight the Cut Line
Once the cut line is on the plank, increase its visibility. A non-permanent, contrasting marker helps you keep track of the line throughout the cutting process.
For planks with darker shades, a white chalk line does wonders; on lighter shades, a sharp pencil line suffices.
Clamping Is Key
When it’s time to cut, stability is critical. Use woodworking clamps to secure the plank to the work surface, ensuring it’s anchored firmly along the line of the cut.
This prevents any unwanted movement and helps achieve a clean, straight edge.
Crosscheck with Actual Space
After marking, but before cutting, it’s wise to place the plank back into the space to confirm the accuracy of the measure.
Any slight discrepancies can be accounted for at this stage, saving you from the frustration of a miscut.
Carving out the time to measure and mark laminate planks with precision is a testament to craftsmanship.
The aim is not only to have a floor that looks professionally installed but to also relish the satisfaction of a job well done, plank by plank.
Remember, each meticulous cut is a step closer to the gratifying click of perfectly laid laminate flooring.
Cutting Technique and Safety
Well, now that we’ve covered the essentials of setting ourselves up for success in laminate cutting, let’s delve into the hands-on hacks that make all the difference when the saw meets the plank.
Remember, laminate is a bit of a bear—tough and prone to mockery if you attempt to manhandle it without savvy.
It begs precision and a bit of finesse, aspects this guide will thoroughly navigate you through.
An often-overlooked ally in this craft is lighting. Ample, directed lighting not only eases the strain on your eyes but also highlights the cut line clearly, reducing chances of veering off course.
Place a work light if ambient lighting isn’t sufficient, positioning it to cast a minimal shadow along your marking.
Marking the laminate requires more than just eyeballing and hoping for the best. A carbide-tipped pencil or a fine-tip permanent marker can leave a crisp, clear line without smudging. The visibility of this line is your roadmap, so make it count.
Once you’re ready to take the plunge and commence your cut, patience pays off. Begin with a few backstrokes, gently scoring the surface along the cut line.
This initial groove will help guide the saw and prevent the teeth from skipping across the surface, which is especially important as you gain momentum.
Now, as you start sawing in earnest, maintain a consistent angle and motion. Position the saw at a low angle for more control and to avoid chipping the decorative surface.
Take special care when you near the end of your cut, not to rush through and break the laminate’s edge – a common pitfall for many.
For intricate cuts or notches, pilot holes can be a great trick. Drill a hole at the corner of where the cut would be, allowing you to insert the saw blade and start from the middle of the plank rather than the edge. This is especially useful for when you need to wrap the flooring around pipes or corners.
Maintenance of your tools is not to be taken lightly, as a sharp blade is not just efficient, but safer to use.
A dull saw means more force required, increasing the potential for accidents. Regularly check the saw blade for signs of wear, and when push comes to shove – or rather doesn’t – invest in a sharp new blade.
Finally, we come full circle to maintaining the quality of our cuts with a technique as old as woodworking itself: good old-fashioned sanding.
Once the bulk of the cutting is done, don’t snub the sandpaper. A gentle sanding along the edges of your cut planks will not only provide a smooth edge but also offers a kind of insurance against any mischievous splintering waiting to ruin the party.
Remember, much like a well-rehearsed ballet, every meticulous step in the process contributes to the flawless completion of your laminate flooring masterpiece.
Now take these techniques, combine them with the wisdom of experience, and watch as that hand saw becomes a magic wand at your fingertips. Happy sawing!
Mastering the technique of cutting laminate flooring with a hand saw can transform an enthusiastic hobbyist into an adept craftsman.
Embracing proper measurement, marking, and cutting techniques not only safeguards the integrity of the material but also ensures a stunning finished product.
Remember, each precise cut brings you closer to seamlessly piecing together a floor that is as robust as it is visually appealing.
With practice, patience, and adherence to safety measures, your journey from beginner to skilled flooring installer will be as rewarding as the beautifully laid floor that results from your dedication and meticulous work.


