Electrical connections form the lifeline of virtually all modern technology, a symphony of electrons dancing through wires under the meticulous direction of well-crimped terminations.
At the heart of each connection lies the small but mighty ferrule – its role, to ensure a secure embrace between wire and terminal, cannot be understated.
This essay delves into the intricate world of ferrule crimping, a skill that is as much an art as it is a science.
As we journey from the basic understanding of a ferrule’s purpose to the discovery of how to achieve a steadfast crimp without specialized tools, we unravel the creativity and resourcefulness that can embolden enthusiasts and hobbyists alike to approach electrical tasks with confidence, ensuring safety and integrity remain uncompromised.

Understanding Ferrule Crimping
In the expansive world of wire connections, there’s an unsung hero that deserves a bit more limelight — the ferrule.
Often overlooked, this tiny component is a linchpin in creating secure and reliable electrical connections.
So, what exactly is a ferrule, and what role does it play in the vast universe of wiring?
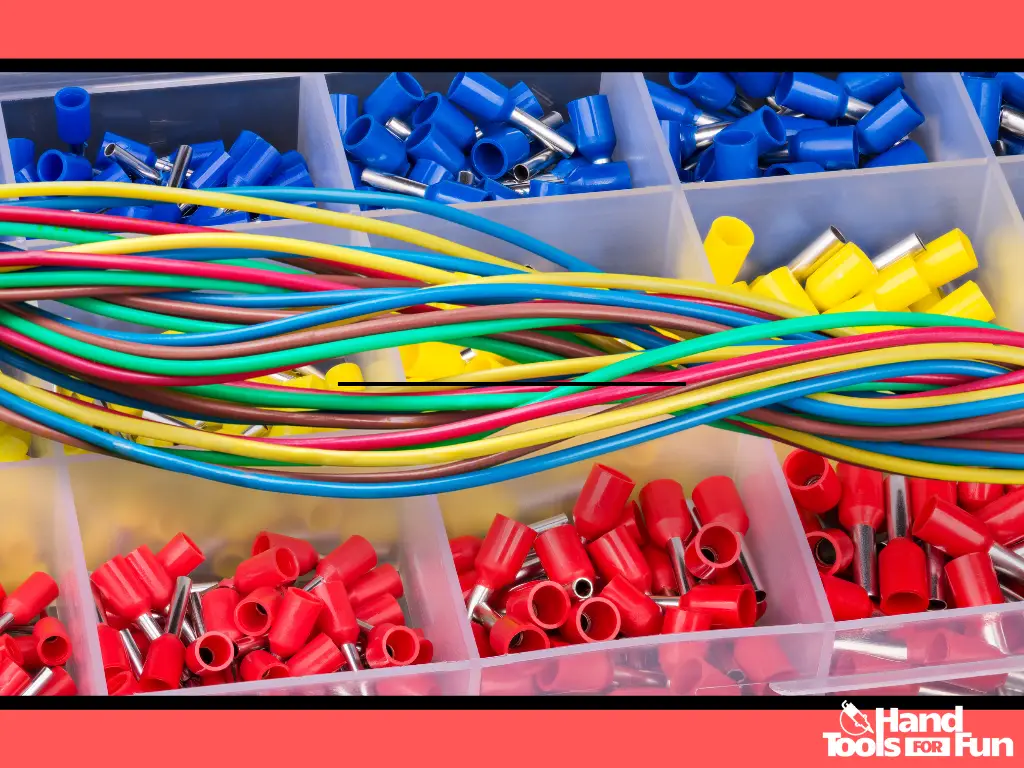
Simply put, a ferrule is a small metal ring or sleeve that gets crimped onto the end of a stripped wire.
Typically made of copper, aluminum, or nickel-plated brass, these sleek little cylinders come in various sizes to fit different wire gauges.
The ferrule’s primary purpose? Ensuring a top-notch connection between the wire and whatever terminal, screw, or component it’s being attached to.
Imagine stripping the insulation off a wire. You’ve got strands of wire that could go every which way, causing unreliable connections, potential contact issues, and even shorts in some cases.
By slipping a ferrule over these exposed wire strands, you’re tidying them up, keeping them together, and preparing them for a much-improved connection with whatever they’re about to hug.
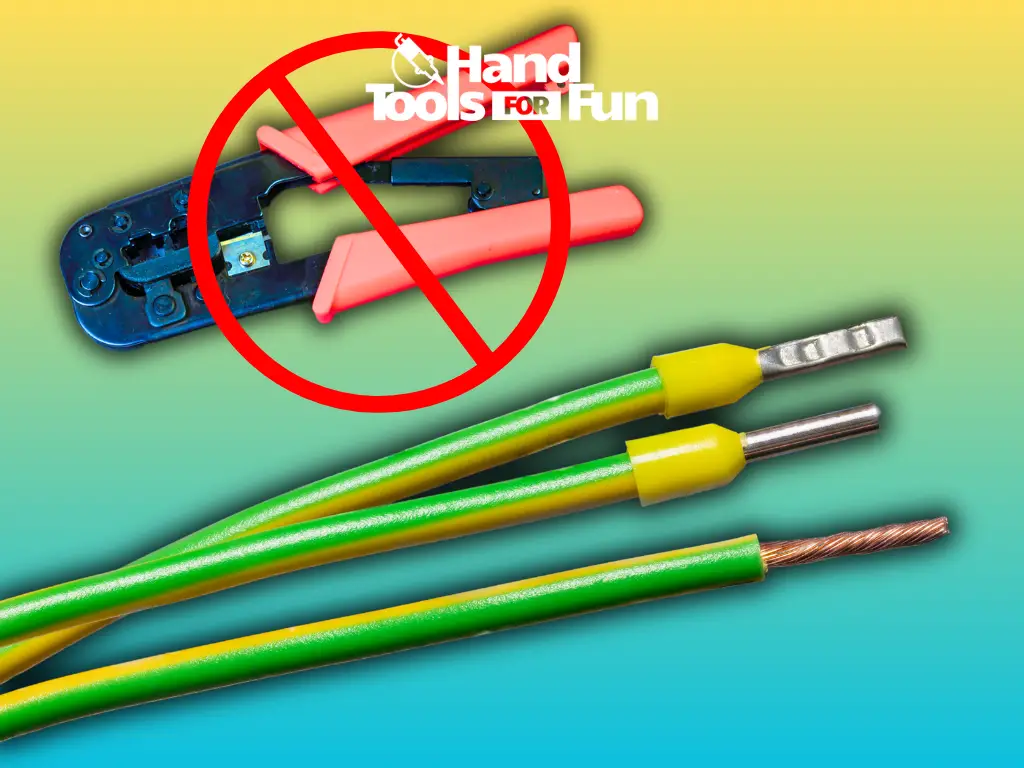
Once the ferrule is in place, it’s time for the crimp – not just any old squeeze, but a precise action using a crimping tool.
This tool applies the right amount of pressure, squashing the ferrule against the wire strands, which solidifies the union, and transforms them into a single, solid conductor.
This tight connection significantly reduces the wire’s resistance, which is crucial in electrical applications.
Another plus? Fretting corrosion, where wires degrade due to micro-movements and electrical resistance, waves a white flag when a ferrule steps into the picture.
And when it comes to any mechanical screw clamp terminal? Well, the ferrule protects those fine wire strands from being damaged during screwdown, ensuring a connection that’s not just sturdy but also a pleasure to work with, whether it’s being installed or, down the line, replaced.
In the end, the ferrule is more than a mere accessory in your wire connection toolkit—it’s essential for maintaining the integrity of wire connections, especially in high-vibration environments or where there’s a high degree of movement.
For hobbyists and professionals alike: never underestimate the power of a properly crimped ferrule to amp up your electrical connection game.
Consider this tiny titan of wirecraft the key to unlocking a more stable and secure electrical future.
Finding Suitable Alternatives
When faced with the task of crimping a ferrule and a specialized tool is out of reach, fear not! The common household items at your disposal can come to the rescue.
With a little creativity and a steady hand, it’s possible to achieve a functional crimp that will hold up until the proper tool can be obtained.
Below are pragmatic instructions to perform an emergency crimp using just what you’ve got around the house.
Necessary Items:
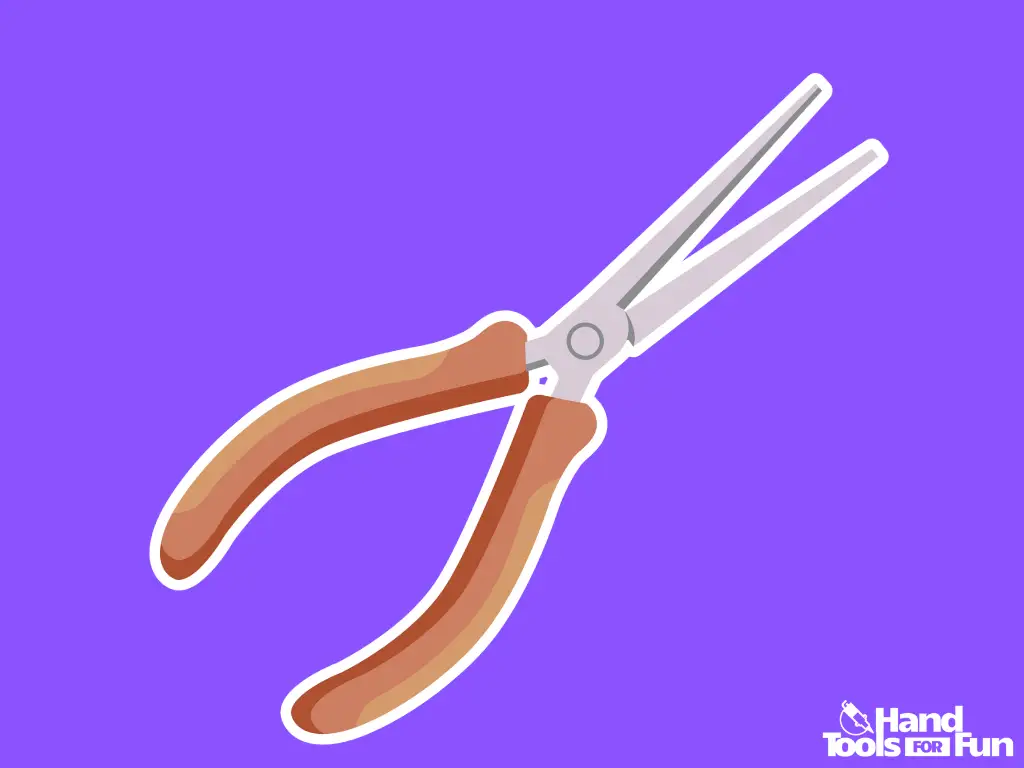
- Needle-nose Pliers
- Standard Pliers or Vise Grips
- Screwdriver (flat-head or Phillips, depending on what’s available)
- Hammer (optional)
Before starting, safely strip the wire to the appropriate length, ensuring the strands are tidy and twist them slightly if necessary to maintain uniformity. Slide the ferrule over the wire strands until it’s flush with the insulation.
Step-by-Step Instructions:
Executing Makeshift Crimping
MacGyvering Ferrules: Crimping Without a Crimping Tool
Alright, fellow enthusiasts, time to get nifty with wires! There comes a moment when you’re on a roll with your project and realize you don’t have the right tool on hand.
Fear not; with a little ingenuity, you can still get those ferrules crimped and maintain the flow of electrical wizardry.
First things first, what do you need for an impromptu crimping session? Gather some needle-nose pliers, standard pliers or vise grips, and if all else fails, a screwdriver and hammer will do the trick. Now, let’s break down each method.
1. Needle-nose Pliers Method:

Use the needle-nose pliers to gradually compress the ferrule around the wire. Start at one side and make small indentations evenly around the circumference.
Step 1: Firmly grasp the ferrule with the needle-nose pliers near the base, where you would position a crimping tool.
Step 1: Squeeze the handles with even pressure, rotating the ferrule slightly to create a rounded crimp rather than flattening it. This helps maintain the circular shape for a snug fit in the terminal.
Step 3: Check for a tight fit. Give a gentle tug on the wire to ensure it’s secure. If it slips, crimp again near the original indentation.
Remember: Work your way around the ferrule, ensuring each compression is tight and secure. This may not be as uniform as a proper crimping tool, but the aim is to get a firm grip on the wire strands.
2. Standard Pliers or Vise Grips Method—The Pliers Power-Play:
If the ferrule is larger, standard pliers or vise grips can be used to apply pressure.
Adjust the pliers or vise grips to the tightest setting that will fit around the ferrule.
Step 1: Place the ferrule between the jaws of your standard pliers or vise grips at the crimping point. You may not get the circular crimp that a crimping tool provides, so aim for an oval-shaped compression.
Step 2: Squeeze firmly around the ferrule, rotating it if necessary to apply even pressure from all sides.
Step 3: Apply steady pressure until the ferrule is firmly crimped onto the wire. Be cautious not to overdo it or you might cut through the metal.
Step 4: Tug test, again! Safety first—always make sure that connection isn’t going anywhere.
3. Screwdriver and Hammer Combination—The Hammer Home Technique:

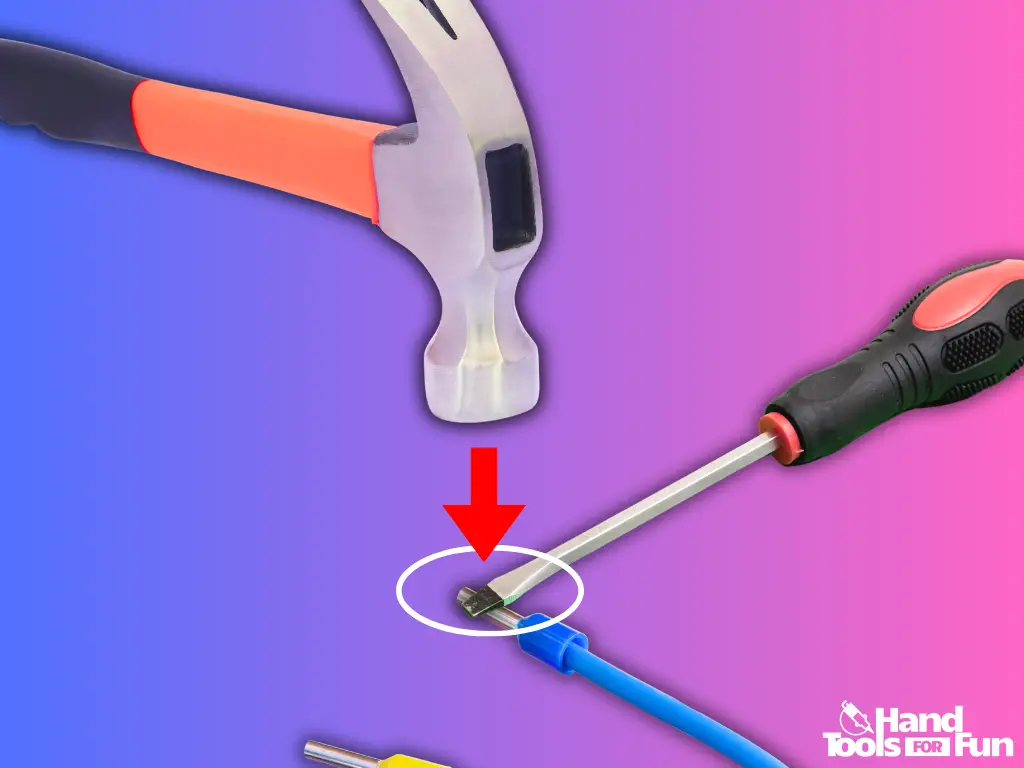
If a more forceful crimp is needed, a flat-head screwdriver can be placed over the ferrule, and a hammer can be gently tapped onto it.
Step 1: If you’ve only got a screwdriver and hammer, place the ferrule on a hard, flat surface, positioned lengthwise.
Step 2: Use the screwdriver as a chisel, placing the tip on one side of the ferrule.
Step 3: Gently tap the screwdriver with a hammer to create the crimp. Rotate the ferrule and repeat the process on the opposite side for an even compression.
Take care to tap lightly to avoid damaging the wire or ferrule. The goal is to apply even pressure to secure the wire within the ferrule, not to distort it excessively.
Tips for Ensuring a Good Crimp:
- Always double-check that the wire strands are not protruding from the ferrule before starting the crimping process.
- Ensure that the compression from the pliers is firm but not overly forceful to prevent damage to the ferrule or wire.
- If available, use a pair of combination pliers that offer both needle-nose and standard grips for versatility.
- After crimping, gently pull on the wire to check the firmness of your connection. If it feels too loose, additional crimping may be necessary.
Remember, while these household methods can provide a temporary fix, it’s crucial to use a proper crimping tool for enduring and dependable electrical connections. Once the chance arises, re-crimping with the correct tool or having a professional look over the work ensures safety and efficiency within any electrical system.
It’s admirable to utilize one’s ingenuity in moments of need, and becoming familiar with alternative approaches to common tasks reinforces resourcefulness.
Meanwhile, practicing these alternative techniques hones the craft and sharpens problem-solving skills — something any dedicated hobbyist can appreciate.
Last of all, while these methods can save the day, they are meant as temporary solutions. For long-lasting, fail-proof work, investing in a proper crimping tool is the way to go.
Keep this guide handy for those times when traditional tools are not available. Now go forth, crimp with confidence, and keep those connections consistent!
The subtleties of crafting a reliable electrical connection by means of a ferrule are not exclusive to the possession of sophisticated tools.
Our exploration has shed light on the innovative ways that common tools can be repurposed to fulfill the role of a crimping device.
The marriage between wire and terminal is one based on precision and strength—a balance struck by attentiveness and the meticulous application of pressure.
Through our inventive techniques and keen attention to detail, even without a conventional crimping tool, we can establish connections that stand resilient against the test of time.
Let this knowledge serve as a beacon for those who thrive on inventiveness, guiding the path to successful and safe electrical craftsmanship.


