Embarking on the discovery of the joy of DIY copper piping is an adventurous endeavor that melds the art of precision with hands-on skills.
As handy home improvement hopefuls keen on mastering the craft, one must understand the intricacies involved in manipulating this versatile material.
Whether it’s the creation of custom plumbing solutions or crafting intricate piping for building projects, the road starts with learning how to efficiently and accurately measure, cut, and prepare copper pipes.
Perfecting the cut ensures a foundation for robust connections, while the art of soldering is crucial for creating seamless joints that stand the test of time.
Moreover, as we delve into the reliable techniques of pressure testing, we ensure the flawless operation of our endeavors, building a solid base for any copper piping project.
Cutting and Measuring Copper Pipe
Mastering the Craft: Precision Measuring and Cutting of Copper Pipes
There’s something genuinely satisfying about working with copper pipes. Whether you’re executing a full plumbing overhaul or just tackling a weekend DIY project, the hallmark of a pro-level job is a perfect fit.
Precision in measuring and cutting those gleaming copper conduits is key, and even if you’re an enthusiast who’s graduated from tentative tinkerer to confident craftsman, you’ll want to keep honing those skills.
Here’s the no-nonsense rundown on measuring and cutting copper pipes like a seasoned handyman.
First things first, you’ll need the right tools for the job. Gather a fine-toothed pipe cutter, a tape measure, a marker, and a deburring tool – a gloriously simple lineup for a top-notch task.
Step 1: Visual Inspection and Planning
Lay out the pipe and survey the entire length. Copper is forgiving, but it’s not a fan of surprises.
Plan your cuts by considering not just length, but also how the pipe will navigate the terrain of its final destination. Imagine the pipe in place, and think two steps ahead.
Step 2: Accurate Measurements
Accuracy is your ally. Use the tape measure to find the exact length of pipe you’ll need. Remember the golden rule: measure twice, cut once.
Then, with a steady hand, mark the pipe with the marker at your measured points. Be precise; an errant mark can throw off the entire operation.
Step 3: Secure the Pipe
Slippage is the bane of a clean cut. Secure the pipe in a vice or with a purposeful grip. The goal is to avoid movement that can lead to a less than square cut, something that won’t do when you’re striving for perfection.

Step 4: The Cutting Process
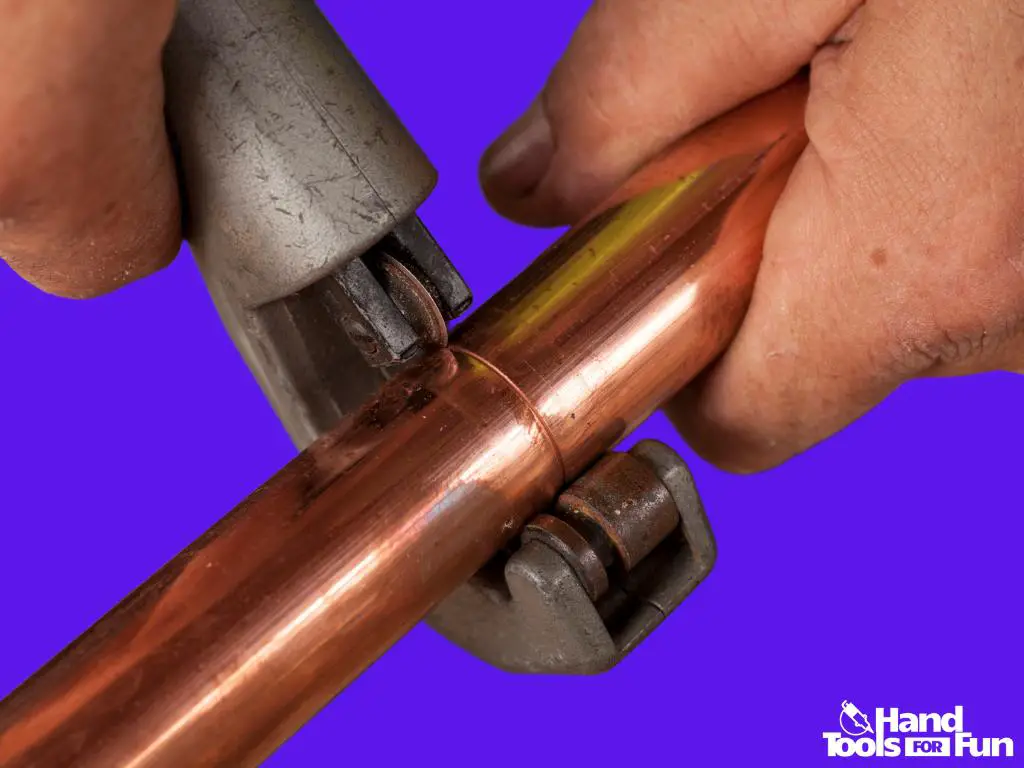
Take the pipe cutter and position the cutting wheel on your mark. Clasp the cutter onto the pipe with consistent pressure, not gorilla strength, and rotate it around the pipe once.
This starting groove is critical. Tighten the cutter slightly and make another rotation, then tighten again.
Continue this pattern until the pipe yields with a clean break. Let the tool do the work; elegance is all about the finesse.
Step 5: Reaming the Inside Edge
A cut pipe loves to hold onto its sharp memories. The deburring tool is about to become your best friend.
Insert it into the cut end and twist to remove burrs and give a smooth interior, ensuring nothing obstructs water flow or causes leaks.
The outside edge merits the same attention – smooth any sharpness away.
Step 6: The Dry Fit
Hasty adhesion without confirmation is the hobgoblin of amateur work. Offer your freshly cut pipe to its intended mate.
It should snuggle in with minimal coaxing, a testament to the precision of your measuring and cutting artistry.
If all is well, you may proceed with soldering or compression fitting with the knowing nod of a job well done.
Remember, mastering the elegant dance of cutting copper requires patience and practice. Each cleanly executed measure and cut will not only ensure a snug fit but will also contribute to the functionality and longevity of your plumbing creations. Happy piping!

Soldering Copper Joints
Moving on from the crucial stages of planning, measuring, and cutting copper pipes with patience and precision, the next step is ensuring a watertight seal with the art of soldering.
Soldering is a skill that can be sharpened over time, transforming a novice into a savvy plumber.
The steps described below are tried and true, aiming to guide hobbyists through a successful soldering process.
Once you’ve mastered the initial stages of working with copper piping, including the critical steps of a meticulous dry fit, your journey toward creating a durable, leak-free system is well underway. Now it’s all about putting those well-prepared copper pieces together.
Step 7: Clean the pipe and fitting
Before you get soldering, cleanliness is paramount. Make sure to scrub the ends of the pipe and the insides of the fittings with a brush specifically designed for this task.
The aim here is to create a bright, shiny surface, free of any oxidation that could compromise the quality of your soldered joint.
Step 8: Apply flux
Next up, coat the cleaned surfaces with a thin layer of plumbing flux. This flux is essential as it not only helps the solder flow smoothly into the joint but also acts as a key agent in preventing oxidation during the heating process. Remember, less is more – a modest, even coat will do.
Step 9: Assembly
Carefully push the pipe into the fitting until it bottoms out, ensuring it’s fully seated. This connection should be snug, with the flux creating a slight lubrication that allows the components to slide together gracefully.
Step 10: Heat the joint
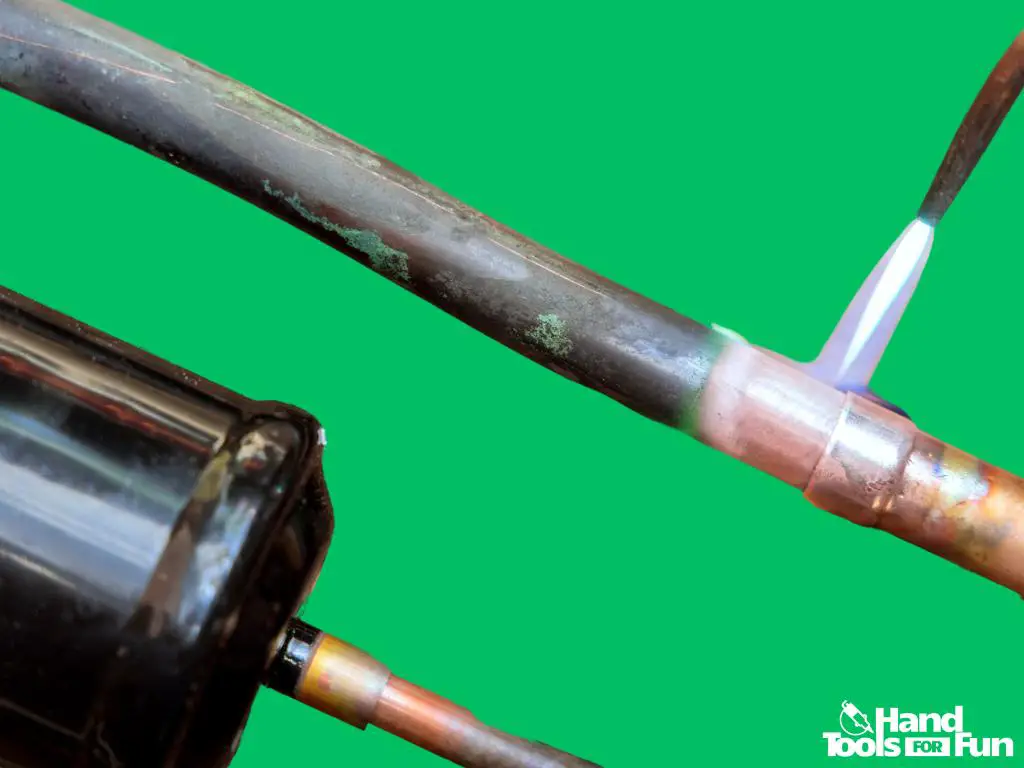
With your torch, heat the fitting evenly. The goal is to bring the copper up to the correct temperature so that the solder will melt upon contact – not to melt the solder with the flame directly. Keep the flame moving to distribute heat evenly.
Step 11: Apply the solder
Touch the tip of your solder wire to the joint. If the temperature is just right, the solder will melt and be drawn into the joint by capillary action.
Circle the joint to ensure full coverage, but be cautious not to overfeed it. You’ll know it’s enough when you see a small bead form around the seam.
Step 12: Cool down
Patience is key. Let the joint cool down naturally. Splashing it with water or using wet rags might seem like a time-saver, but it could weaken the joint you’ve labored to perfect.
Step 13: Inspect the joint
A good solder job is indicated by a smooth, even outline of solder all around the joint. It’s a silver line of success stating you’ve done the job right.
If you spot gaps or blobs, however, it might require a touch-up, or—at worst—a redo.
Pressure Testing Copper Piping
Step 14: Test for leaks
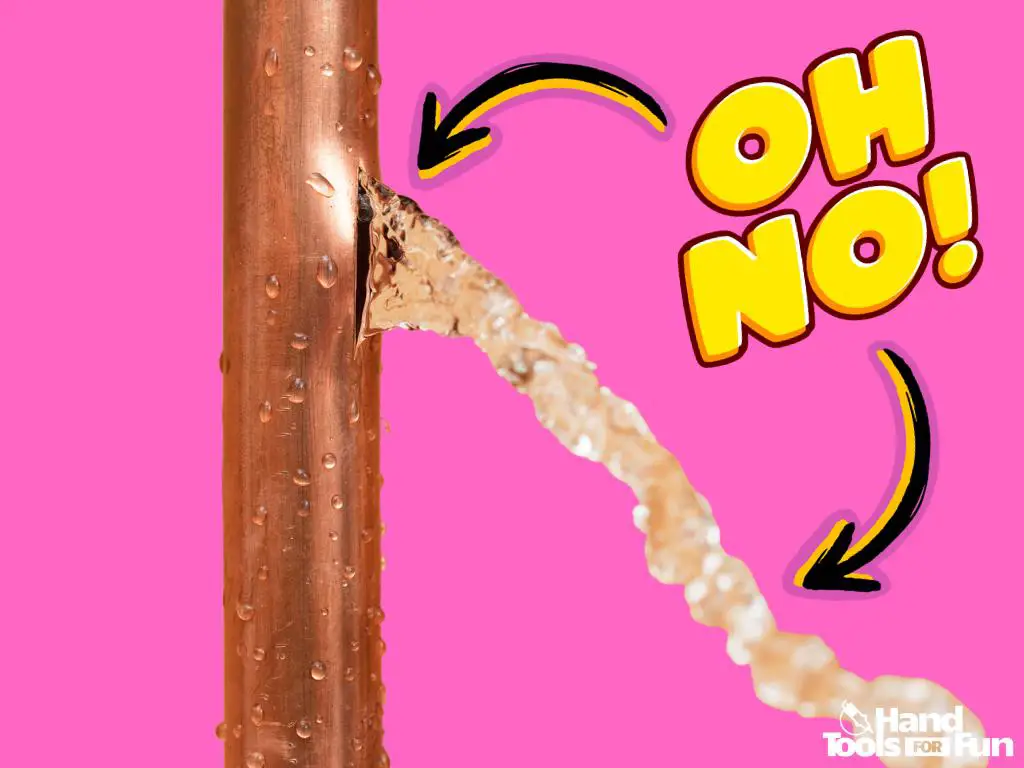
Now, the moment of truth. Time to pressure test your system. This can be done with air or water.

Ensure all valves or end caps are securely in place and introduce pressure to the system according to safe operational standards for residential plumbing.
Use a gauge to monitor the pressure—no drop means no leaks.
While the focus has been on preparation and precision, not to mention the artistry of soldering, holding pressure is the brass ring of copper pipe assembly.
It’s what sets apart casual tinkerers from serious aficionados. On Triggering pressure, listen intently for hisses, and if you’ve used water, keep an eye out for any tell-tale drips.
No sound or sight of leaks? Congratulations! Take pride in your work knowing you’ve added another layer to your craft.
With every joint and fitting, you’re not just piecing together tubes of metal, you’re building your skill set in copper plumbing.

Mastering the art of DIY copper piping introduces a realm of personal achievement and practical skill development.
With the knowledge of measuring, cutting, soldering, and pressure testing firmly in our toolbelt, we are well-equipped to undertake plumbing projects that not only function effectively but also endure.
The sense of fulfillment that comes with laying down the last pipe, witnessing a system come to life without a single drop escaping its sealed joints, speaks to the heart of what it means to be a dedicated hobbyist.
As we refine our techniques and embrace new challenges, we continue to join a community of like-minded individuals on the ever-evolving path of DIY mastery.


