Embarking on the journey of mastering DIY projects can be both a fulfilling hobby and an essential skill set for any home enthusiast.
One task that often arises in the world of home plumbing is the removal of PEX crimp rings. This crucial step is necessary when making repairs or adjustments to your piping system.
While the right tools can make the job straightforward, sometimes they may not be at hand or within the budget of a casual hobbyist.
Understanding the type of PEX crimp ring that encircles your tubing is the first step towards a successful removal.
With a focus on safety and the right approach, we can explore manual techniques to carefully remove these rings, ensuring a clean job without the need for specialized tools.
This essay will guide you through an array of safe and effective methods suited to various types of crimp rings, including copper and stainless steel, so that your PEX plumbing modifications can be carried out with confidence and precision.
Identifying the Type of PEX Crimp Ring
Getting the Grip on PEX Rings: Identify to Remove with Prowess
Ah, PEX plumbing, the DIY enthusiast’s best friend for residential water systems! It’s flexible, durable, affordable—what’s not to love?
But let’s talk brass tacks—or perhaps, more appropriately, copper and stainless steel ones.
You’ve got your PEX tubing in place and your fittings snugly inserted. Now, you’re staring at a medley of crimp rings and wondering how to tell them apart and remove the pesky things when the time comes.
Fear not, fellow PEX-ers, it’s not rocket science, and with a little know-how, you’ll do it as smoothly as a hot knife through butter.
Here’s the lowdown on distinguishing between different PEX crimp rings for a proper removal.
Start with the Material:
PEX crimp rings come in a variety of materials, most commonly copper and stainless steel. A shiny, reddish-brown hue will clue you in that you’re dealing with a copper ring.
They’re the old standbys and work with a standard PEX crimp tool. The stainless steel alternatives boast a silver color and often require their dedicated removal tools due to their sturdy nature.
Check the Size:
Standard sizes for PEX crimp rings range from 3/8-inch up to 1-inch. You’ll want to ensure you’ve got a compatible crimping or removal tool for the size of the ring in question. Mistaking the ring size can lead to a faulty crimp or a difficult removal process.
Crimping Tool Match-up:
Getting the right tool for the job is paramount. For copper rings, a go/no-go gauge can help verify that your crimp is just right—not too tight, not too loose.
If removal is on the docket, a PEX ring cutter specifically designed for copper rings can slice through the material, freeing your fitting without damage to the adjoining tube.
For those steadfast stainless steel rings, you’ll need a specialty cutting tool that can handle their tenacity.
Assessing the Connection:
After removing a crimp ring, it’s crucial to examine the fitting and the tubing. Look for any damage that might compromise your connection.
Nicks, gouges, or deep scratches can mean it’s time for a replacement. Remember—a fitting in good shape can be reused, so handle with care during the removal process.
Practice Makes Perfect:
One can read about the process till the cows come home, but hands-on experience is where the learning truly sinks in.
Grab some practice pieces of PEX with crimp rings attached and get comfortable with the removal tools.
As you identify the different rings and learn the nuances of the removal process, you’ll develop a feel for the right amount of pressure and the most efficient techniques to use.

There’s a certain rhythm and rhyme to working with PEX, and knowledge of your materials is like knowing the lyrics to your favorite tune.
By understanding the difference between copper and stainless steel crimp rings—and how to dismantle them when you need to—you’ll ensure your PEX plumbing projects are not just complete, but accomplished with the finesse of a seasoned pro.
Safety Precautions and Preparation
When tackling a PEX crimp ring removal, safety is paramount. This isn’t just about protecting the plumbing; it’s about ensuring one’s own wellbeing during the process.
Here’s a dissection of the safety measures that should be top of mind before diving into the task.
Firstly, personal protective equipment (PPE) is a must. Before anything else, don a pair of safety glasses.
Those crimp rings can send tiny shards flying, and one’s eyes are too precious to gamble with. Similarly, tough work gloves are a safeguard against the sharp edges of the rings and tools, as well as any unexpected mishaps.
Next, inspect the workspace. Make sure it’s well-lit and clear of clutter. Good visibility is a non-negotiable, and stumbling over tools or materials is a distraction no one needs when focusing on precision work.
As for the area around the PEX tubing, ensure that it is dry. Water around electrical tools, if they are being used, poses a risk of electric shock.
Plus, a dry working environment prevents slippage, ensuring firm tool handling.
Speaking of tool handling, knowledge is your ally. Before attempting removal, familiarize yourself with the operation of the PEX removal tools. Know the specific functions and safety features.
A tool misused can become a source of injury, so understanding the mechanics is a layer of insurance.
Also, consider the environment where the PEX piping is installed. If it is in a confined space, assess the need for adequate ventilation to prevent inhaling any potential dust or fumes that could arise during the work. A respirator or mask can be an additional precaution in such scenarios.
Another often-overlooked element is body positioning. Ensure that one’s stance is stable and not strained.
Opt for a comfortable position that doesn’t put undue stress on the back or joints. Sudden movements in awkward poses can lead to muscle pulls or falls.
For those using a heat gun or any heat application to facilitate the removal, stay vigilant about the risks of burns.
Keep flammable materials away and employ any safety features on the heating tools to prevent overheating or fire hazards.
Lastly, if the PEX piping system is part of an active plumbing network, confirm that the water supply is turned off before proceeding.
An unintended jet of water not only can cause a mess but also might result in slipping hazards or tool damage.
By adhering to these safety measures, enthusiasts can navigate the removal of PEX crimp rings with confidence.
Remember, the cornerstone of any successful DIY endeavor is respect for the tools and processes, but above all, an uncompromising commitment to one’s safety.
Manual Removal Techniques (Without Tool)
Embarking on the task of removing a PEX crimp ring without the luxury of the specialized removal tool can be quite the challenge, but with patience and know-how, the do-it-yourself plumber can rise to the occasion.
First and foremost, safety is paramount—so eyes and hands must be shielded with the appropriate protective gear.
The first step is as basic as they come: secure the tubing by gripping it firmly without causing damage, facilitated by the use of a stable surface.
Steadiness is a virtue here. Once established, shining a keen eye on the crimp ring in question is a must.
Identify the seam of the crimp ring, as this is the weakest point and where the attack plan will focus.

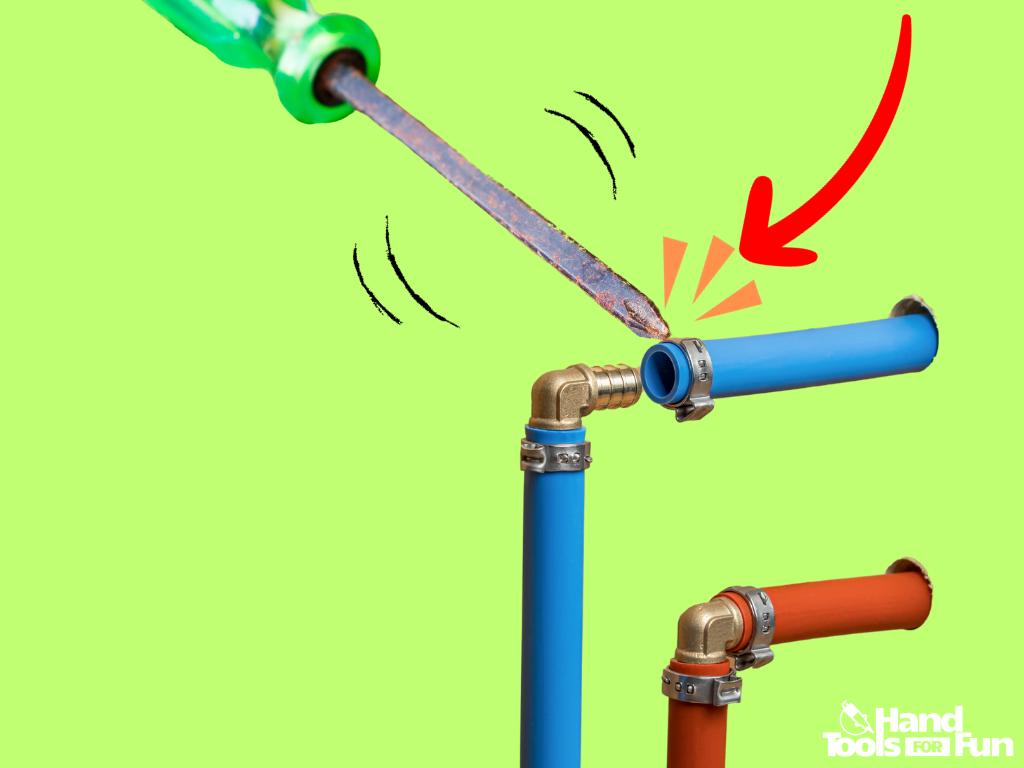
Now, the real work begins. Introducing a flat-head screwdriver—not too large as finesse is needed—maneuver the tool’s edge into the seam.
Work in a combination of a twisting and prying motion, applying just enough force to start the separation of the seam but not too much to avoid damage.
This requires a delicate balance of power and precision, because over-zealousness here can be the downfall of this entire operation—damaging the tubing or fitting is to be avoided at all costs.
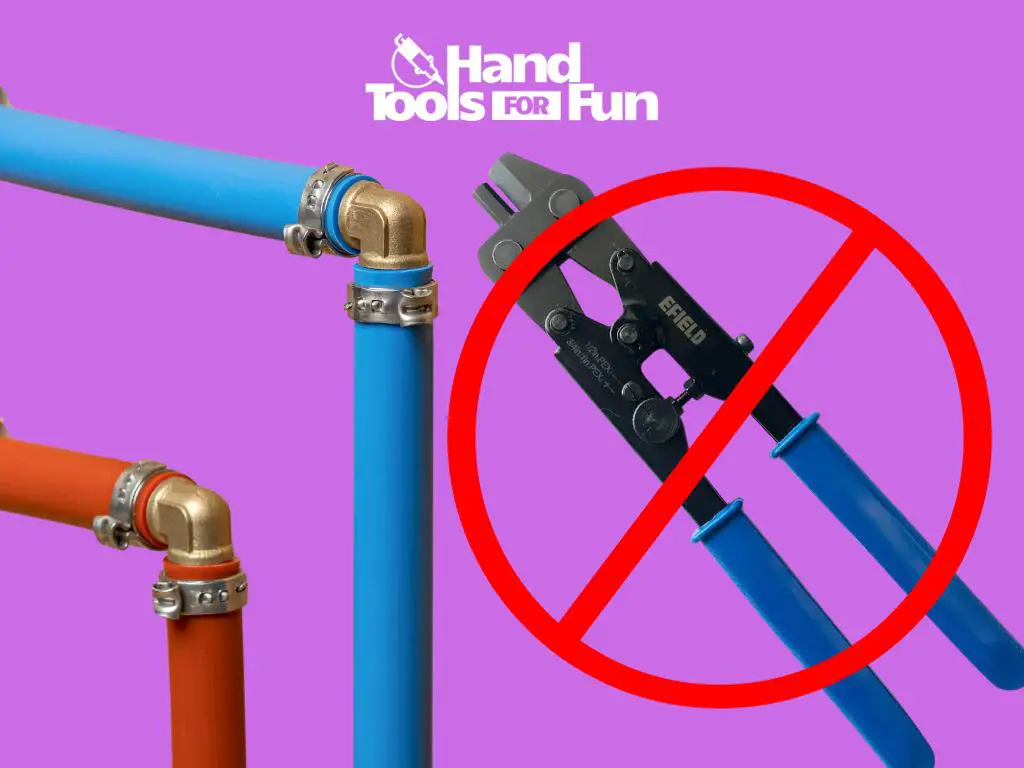
With the ‘no specialized tool’ regimen, proceed to use two pairs of locking pliers (commonly known as Vice Grips).
Lock one onto the ring near the seam and the second on the opposite side for balance. Now, exert a controlled but firm rotational force to twist the ring open along the seam previously worked upon.
Picture an operation needing the deftness of a locksmith combined with the intention of a sculptor.
Heat is sometimes heralded as a savior in such procedures, coaxing metal to expand and thereby simplifying removal tasks, but caution cannot be understated.
If the decision is made to employ a heat source, careful, consistent application around the crimp ring is key—but remember, this is not recommended for the inexperienced or those without a steady hand and a respect for the potential hazards.

Once the crimp ring has been loosened, or better yet, fully opened, remove it by sliding it over the end of the tubing.
Sometimes, a little wiggle or rotational motion can help coax the ring off its perch. At this stage, a triumphant sigh is appropriate as the hurdle has been cleared.
Finally, review the PEX tubing and fitting. Ensure that the herculean effort has not been in vain by compromising the structural integrity of what’s left behind.
The fitting should remain unscathed and the tubing free from nicks and undue wear.

There, with patience and a steady hand, the PEX crimp ring has been bested without the crutch of a specialized tool.
Once more, the path is clear for fresh fittings and tubes to weave their way into the intricate dance of PEX plumbing.
The art of PEX crimp ring removal, when devoid of specialized tools, certainly tests the ingenuity and versatility of any DIY enthusiast.
Employing the manual techniques we’ve discussed, such as using a hacksaw blade or leveraging the dual-action of a screwdriver and pliers, can often lead to success without incurring the cost of specialized equipment.
Remember, the key to a successful and safe removal lies in a steady hand, an understanding of the materials you’re working with, and the precautions necessary to protect oneself.
These methods not only hone your hands-on skills but also imbue your tool belt with invaluable experience for future plumbing endeavors.
As you continue to tackle DIY projects, keep in mind that the mastery of such techniques is not only a measure of one’s resourcefulness but also a badge of honor among home improvement enthusiasts.


