
Embarking on a journey that blends technical comprehension with hands-on skills, this process equips you with the knowledge and abilities to tackle the problems caused by a broken dryer heating element in need of repairs.
A fundamental understanding of the working mechanism lies at the heart of any successful repair – the understanding of electric coils and circuits, thermostats and temperature switches, fusible links or thermal fuses and timers is paramount.
A mastery over the utilization of testing tools like a continuity tester or multimeter for diagnosing the faults of the heating element can make the difference between a fruitful repair or a frustrated retry. Finally, familiarizing yourself with the process of safely removing and replacing the heating element completes this full-circle holistic approach to dryer repair.
Understanding the Mechanism of Dryer Heating Element
Enthusiasts Beware: This article will make you fall in love with the DIY Repairs! Who knew that an hour-long laundry chore could provide so much fascinating intrigue?
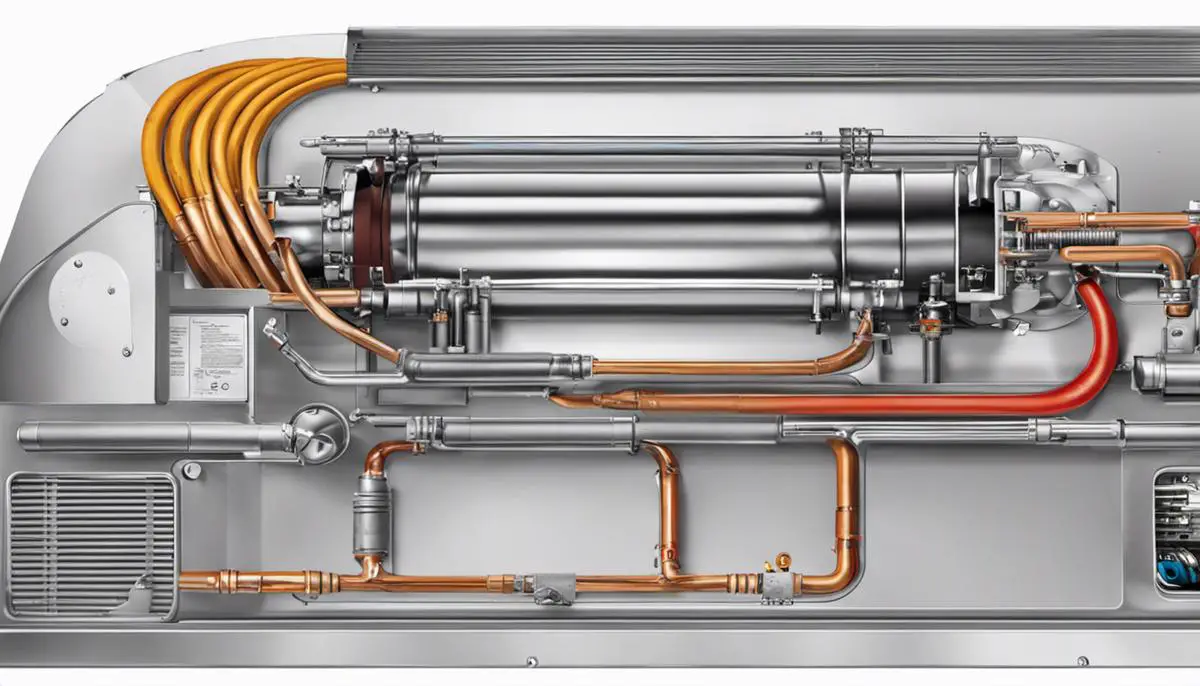
To start with, embarking on the journey of understanding the dryer’s marvelous features, the primary spotlight is on the significant part of the machine that is a master at retaining heat, the “Dryer Heating Element.” Alike to a convection oven, where the heat is supplied to the interior of heat chambers, the dryer works similarly, but with more sophistication and accuracy.
Contrary to what you might expect, the heating element doesn’t fire up continuously. Can you fathom the colossal amount of energy that would consume? More importantly, your favorite ‘Hello Kitty’ tee could end up akin to a toddler’s size!
Stopping us right there from turning into excessive energy consumers, thanks to the technicians’ genius minds and their scalable innovations. Our dryers have a flow control system. This ingenious design includes a thermostat and a set of series-connected switches.
The principle of this design is rather neat. When your dryer tumbles the damp clothes around, the drum’s air temperature is monitored, and the heat generated by the heating element is regulated. The heating element heats up the air which disperses uniformly throughout the drum, thanks to the fan. The damp air within the drum is evacuated through the exhaust vent, causing the clothes to dry.
Now, getting a tad technical, the heating element consists of a coiled wire made from a high-resistance alloy which, when subjected to electric current, causes the wire to heat. This heat, transferred to the air circulating in the dryer, ultimately dries your clothes. Isn’t that splendid?
Like a maestro conducting an orchestra, the thermostat directs the heating process. Being programmable and sensitive to heat, it’s designed to switch the heating element off when the temperature goes above a set point. As the dryer’s internal temperature fluctuates, the thermostat continues its role, ensuring the air inside the drum remains apt for drying clothes without scorching or shrinking them!
Great things in life demand patience, but no one said we couldn’t have fun learning while we wait for the laundry. Next time you pop in a load, give a nod of appreciation to your dryer heating element, this seemingly simple, yet strikingly sophisticated orchestra conductor of warmth. And remember to clean your lint trap regularly!

Diagnosing the Issue with your Dryer Heating Element
An In-Depth Guide To Troubleshooting Your Dryer Heating Element
Once the intricacies of the dryer heating element, its relationship with the flow control system, thermostat, and role in maintaining optimal temperature have been thoroughly understood, it’s time to delve into the specifics of troubleshooting problems related to it. This handy guide will steer you through the process to identify if the issue is indeed related to the dryer heating element.
Do a Preliminary Inspection
Before diving in, turn off the power to the dryer. Remember, safety first! Armed with a screwdriver, open the back panel of the dryer. Find the heating element, which is typically a coiled wire. Any visible damage, like breaks or burns, is a clear sign the heating element is the culprit.
Run a Continuity Test
Equipping oneself with a multimeter can prove invaluable and a continuity test can confirm whether the heating element is working as it should. A multimeter will indicate a zero reading if the element is in perfect working condition. If it exudes any other reading, a replacement may be necessary.
Check the Electrical Circuit
An overlooked yet crucial aspect is the electrical circuit delivering power to your dryer. Confirm if the circuit breakers or fuses related to the dryer are functioning properly, as it may be a simple case of restoring power rather than dealing with a faulty heating element.
Inspect the Thermal Fuse and Thermostats
The role of the thermal fuse and thermostats in safeguarding against overheating is critical to a dryer’s operation. An excessively warm or cold dryer may denote a problem with these parts instead of the heating element. Use the multimeter to check their continuity and ascertain if they are indeed causing the hiccup.
Assess Wiring Issues
At times, loose or broken wires around the heating element can be the root of the problem. A careful examination of the wiring and points of connection will justifiably rule out, or establish, this possibility.

Repairing or Replacing the Dryer Heating Element
Suppose the element or any component is defective beyond repair, don’t worry. Replacing the dryer heating element, though it may seem daunting at first, is achievable with careful attention and patience. Remember, always disconnect the dryer from the main power source before beginning any repair or replacement process. The new heating element should be compatible with the dryer model. Then, it’s a matter of loosening screws, removing the old element, inserting the new one, and securing screws back into place.
Thrilling, isn’t it? How a few mindful steps can make such a difference. Harness your curiosity and zeal, recognize the signs, keep your tools handy, and become the master of the mechanics in your own home. Let the journey of unmasking the mysteries of the dryer heating element continue.

In conclusion, troubleshooting a dryer’s heating element is an enriching test traversing the various aspects of appliance maintenance. Apart from learning more about the quintessential components of the dryer, it also enables you to take charge of the situation while possibly saving time and money that would otherwise be allocated towards professional repair services. Above all, it assimilates and reinforces the knowledge you’ve gained about this complex and remarkable machine.
Armed with the discussed skills and knowledge, anyone can transform from a hobbyist into a handyman capable of repairing or replacing a faulty dryer heating element. We’ve taken a holistic look at what makes these devices function, how to diagnose issues and even implement repairs safely and efficiently.
Remember that knowing the functionality and key parts of a dryer heating element, being able to precisely diagnose the underlying issue, and learning the step-wise procedure to repair or replace it, are essential steps to successfully undertake this task.
This journey that began with enthusiasm ends with the tangible accomplishment of being equipped to successfully repair a dryer heating element, no longer reliant on outside help. Let this vale of knowledge gained through procedure and caution empower future endeavors in the maintenance of household appliances and beyond.
Enjoy the process and happy troubleshooting!
