Electricity, a vital element in our day-to-day lives, often remains a mystery to those of us who don’t work directly in the field. For enthusiasts eager to delve deeper and unravel this mystery, understanding how 3-phase motors work and how to wire them to a 220V connection can be a fascinating and rewarding endeavor.
This is not a simple task; it requires a detailed understanding of not only the mechanics of 3 phase motors, but also knowledge of 220V electrical connections and their safety precautions. The following write-up details the intricacies of a 3-phase motor, discusses the operation and safety norms associated with 220V connections, and provides a comprehensive, step-by-step guide on wiring a 3-phase motor to a 220V supply.
Understanding 3-Phase Motors
Unraveling the Magic of 3-Phase Motors: A Detailed Expedition
3 Phase Motors: it’s an intoxicating dance of electrical energy that has transformed the industries it touches. This power-centric marvel is the backbone of heavy industrial machinery worldwide.
This article aims to shed light on the fundamental “how” and “why” of 3-Phase Motors—let’s strap in for this electrifying journey!
The Music of Three
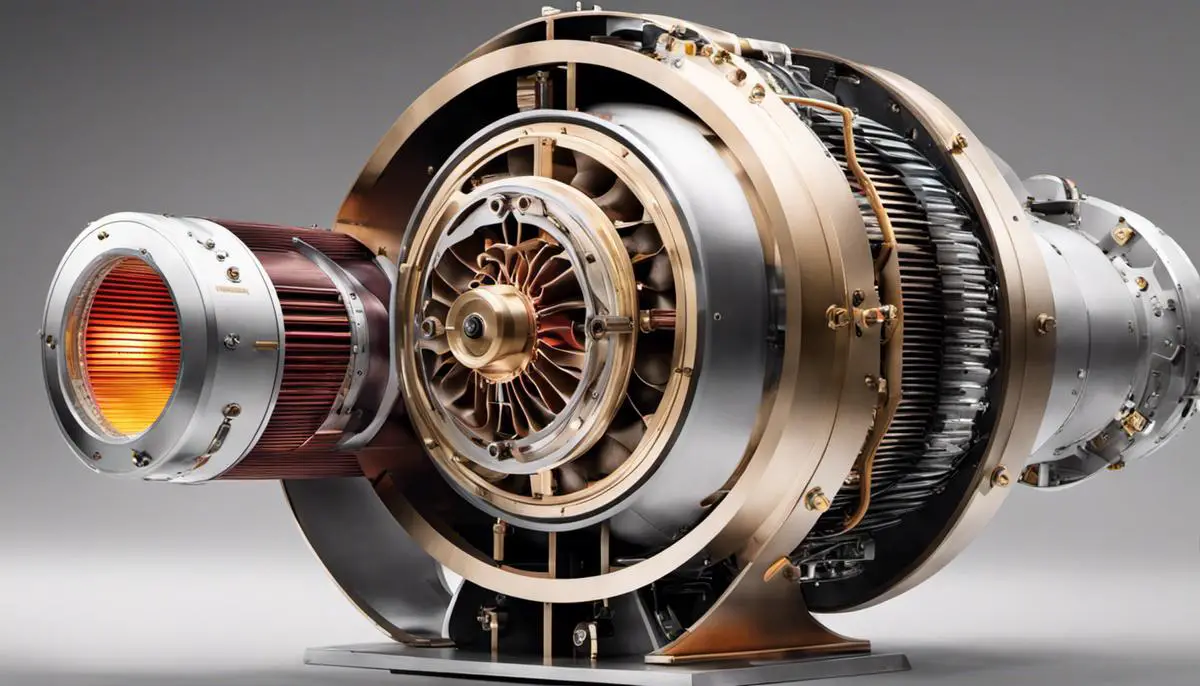
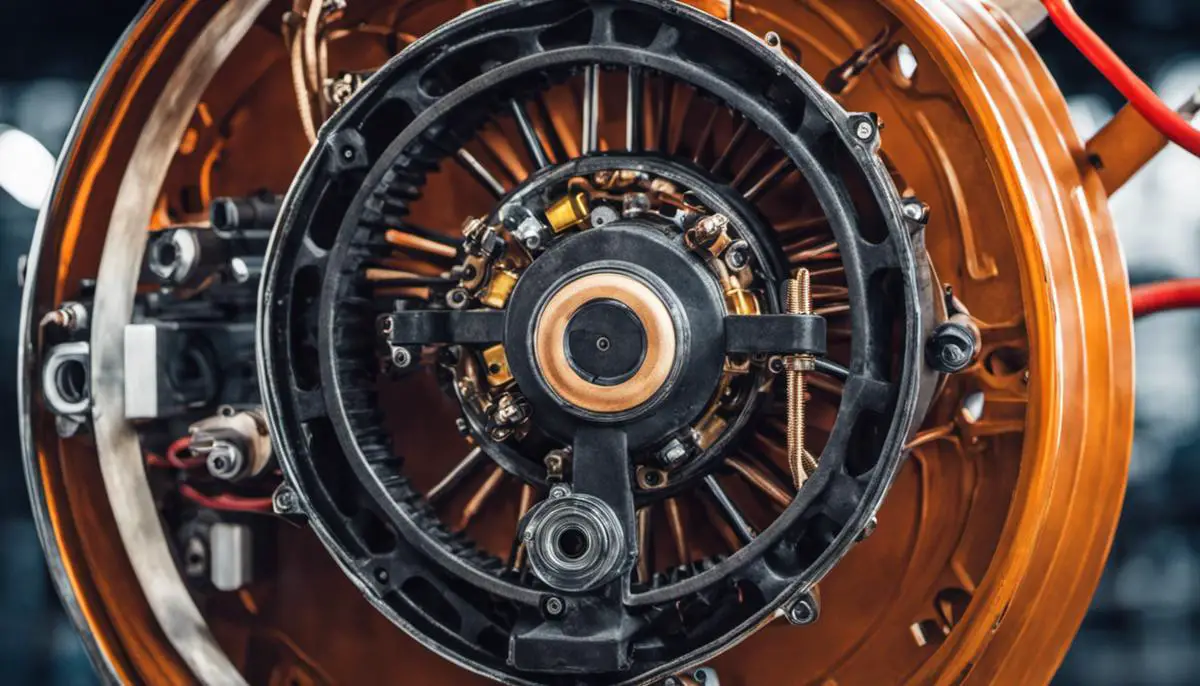
In essence, a 3-Phase Motor is a compelling piece of electrical engineering that functions on the principle of three waterways of power. It’s core structure is wrapped around three separate windings or circuits, ingeniously positioned 120 degrees apart.
This smart positioning creates a smooth threesome synchrony of electromagnetic waves, compared to the jagged output from a single-phase motor. An amazing feat of sophistication that results in vigorous rotation – an endearing characteristic of 3-Phase Motors!
The ‘Why’: Strength and Beauty combined
A single-phase motor can be likened to a lone drummer, producing a steady but relatively weak rhythm. However, step up to a 3-phase motor, and it’s like an entire drum ensemble resounding in perfect harmony!
The principle of a 3-phase motor is to allow the sharing of electrical load across three circuits, translating to a more powerful beat that can drive substantial machinery but with elegant synchronization. It’s a symphony and a power generator, rolled into one!
Conclusion…Not!
Referencing the ‘Why,’ another interesting tidbit is the high-efficiency tang of the 3-Phase Motor. The savory combination of lower power consumption and the longer lifespan get the industrialists drooling all over it like a generously stuffed pizza.
Combine that with its high torque-to-weight ratio, and you’ve got yourself an electrical workhorse that is the darling of heavy-duty industry applications. From powering a hefty HVAC system to turning the giant turbines of a hydroelectric plant, a 3-Phase Motor is an electrifying Picasso in the world of automated results.
Without any winding up lines, remember – understanding 3-Phase Motors can be an exhilarating voyage of fascinating knowledge. Just like appreciating good music or treasuring a delicious meal, this marvel stands as a testament to the enchanting symphony of electrical engineering!
Decoding its magic can truly light up one’s understanding of the vast electrical world that energizes the daily life of industries. The 3-Phase Motor – an orchestration of power, efficiency and durability – rings loud and clear even without a gong of a summary. Hear that? That’s the sound of progress; that’s the heartbeat of industry!

Familiarizing with 220V Connections
Your Guide to Understanding 220V Connections
Pivoting from our discussion on the marvel that is the 3-Phase Motor, let’s expand our enthusiastic hobbyist’s mind by unveiling the fundamentals of a fairly common yet intriguing concept – the 220V connection.
A 220V connection, often found in residences and some commercial spaces, is a higher voltage connection compared to its 120V counterpart. It’s predominant in international regions, but you’ll also find it in US homes, primarily powering large appliances like dryers, air conditioners, and stoves.
The magic behind a 220V connection lies in its working mechanism. At its core, a 220V connection is achieved by utilizing both 120V lines that are standard in American homes, instead of just one. Our power grids mostly supply in the format of 240V split-phase systems which are later divided into two 120V lines for typical domestic use.
Drawing from both these lines simultaneously — each carrying electricity at different phases — allows the voltage to add up, giving us the 220V output. This method, referred to as “double-pole” connection, can amazingly double the power capacity without substantially increasing the wire’s size or risk.
The secret sauce to ensuring a safe and sustainable 220V connection involves the use of an electrician’s best friend – a circuit breaker. Each of these 120V lines is connected to two distinct breakers.
These breakers are added with a special tie to act as one. When deployed correctly, this ensures that if one line interrupts, the other line isn’t left behind, providing an efficient safeguard mechanism keeping our devices and homes safe from electrical mishaps.
Why does it pay off for us hobbyists to understand the 220V connection? The answer is straightforward. Many power-hungry appliances at our homes work on this voltage.
Recognizing that most of our ovens, HVAC systems, and large workshop tools like table saws or welders vie for this particular voltage can supplement our relentless pursuit of knowledge about our everyday devices. Plus, knowing the ins and outs of these mechanisms empowers us to handle these substantial voltage appliances safely.
Joining the 3-Phase Motors’ comprehensive understanding with the 220V connection’s basics can unlock new dimensions in your electrical fascination, leading to a wholesome hobbyist journey. After all, mastering one’s hobby is all about peeling off layer after layer of knowledge! Happy exploring, fellow hobbyists!

Wiring 3 Phase Motor to a 220V Connection Step by Step
Alright, now that we have a decent understanding of 3-phase motors and 220V connections, let’s dive into bringing these two powerhouses together—wiring a 3-phase motor to a 220V supply.
While the process might appear daunting, with a careful procedure, correct equipment, and adequate safety measures, it’s not exactly rocket science!
Before we plunge into the step-by-step guide, it’s crucial to understand that this work calls for precision and adherence to safety standards—after all, messing around with electricity can have serious consequences if not handled correctly. So, it’s time to roll up those sleeves and get ready!
- Arrange Essential Tools: A good electrician is only as good as their tools. Essential instruments include wire strippers, a multimeter, a set of pliers, a flat head screwdriver, electrical tape, and safety equipment, including insulated gloves and goggles.
- Check Motor Wiring Diagram: Most 3 phase motors contain a diagram on the housing which indicates wiring, terminal connections corresponding to the motor windings. Pay attention to this as it’s your roadmap, guiding you on which wire goes where!
- Inspect the Power Supply: Before connecting, ensure the voltage corresponds with the motor’s specifications—using a 220V supply for a 3 phase motor specified for 220V.
- Identify Connections: Typically, there are nine leads from the 3 phase motor that need to be connected for 220V. Some motors may come with a Y-Delta switch, while others may not. These are usually labeled T1, T2, and T3 (for line connections) and T4, T5, T6, T7, T8, and T9 (for motor windings).
- Wire the Motor Windings: Connect motor windings for a Delta configuration (more common for 220V motors). This involves connecting T4, T5, and T6 together and taping them well.
- Prepare Supply Wires: Strip off the insulation at the ends of your supply wires—prepare to connect the L1, L2, and L3 terminals to a suitable power source.
- Connect Supply Wires to Motor: Connect the remaining leads T1, T2, and T3, to L1, L2, and L3 respectively. Ensure these connections are secure and properly insulated.
- Secure Connections with Electrical Tape: Always better to be safe than sorry. Securely wrap all connections using high-quality electrical tape to prevent any accidental short circuits.
- Test Run: After making sure all is well connected and safely secured, breathe life into the motor!
Remember, like any hobby, practice makes perfect. If this is your first time wiring a 3-phase motor, take your time and ensure your safety and that of those around you.
Pro tip—always engage the emergency disconnect switch or circuit breaker before commencing work to avoid dangerous surprises.
Happy wiring! Continue amplifying your electrical engineering prowess by exploring the many applications of these 3-phase motors—this is just the beginning!

Demystifying the complexity of electrical connections and motors can be an incredibly satisfying experience. A thorough understanding and respect for electricity, paired with precise knowledge and careful execution of the wiring process, can empower aspirants to successfully wire a 3-phase motor to a 220V connection.
This knowledge opens up a whole new world of possibilities, from being able to troubleshoot problems at home to pursuing a hobby in electrical engineering or a career in the electrical trade.
Remember, the key to success lies in safety and a keen understanding of the subject matter. Therefore, equip yourself with the right set of tools, adhere to the safety norms, study the theoretical concepts, and venture forth into the world of three-phase electrical motors with confidence.


