
A multimeter is a well- known tool for measuring examining amperage, voltage as well as the resistance of several electrical objects. So, how does a multimeter measure resistance, this is a question you might be asking yourself, and in this article, you will be taken through an in-depth guide on how this happens.
Resistance usually measures the existence of stubborn electrons as they make their way through an object. When testing for resistance, make sure you set your multimeter on ohms depending on its model, that is, either analog or digital, you need first to identify the appropriate settings. Moreover, there are other units to measure resistance, but knowing them is not essential since an ohm is the best and is the known SI unit that is widely used for primary measurement of resistance.
How do you measure resistance using digital and analog multimeters?
To measure resistance using an analog multimeter, you need to choose an element you are looking to measure its resistance and switch off its power from the circuit to enhance the accuracy of your measurement.
However, if you choose to test for resistance when the component you are examining is not plugged out of the circuit, you will, without a doubt, get a reading that is inaccurate. Place the probes of your multimeter in the needed sockets.
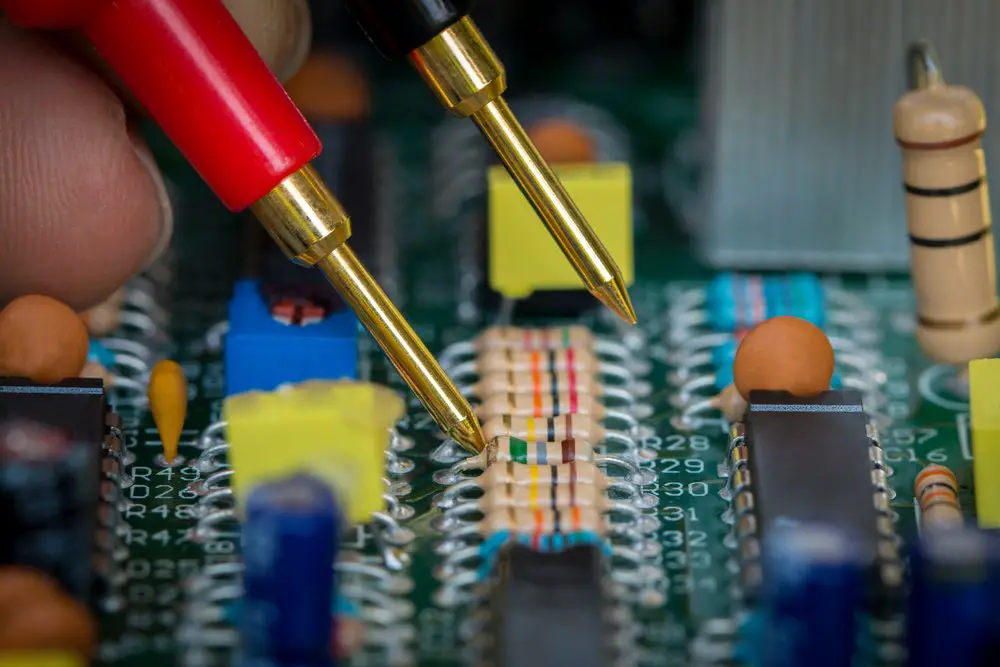
An analog multimeter is made up of a few ports, and you must place the leads into an appropriate port if you want to obtain an accurate value. Typically, there are two major ways of ensuring you get the correct reading, and this is either through proper labeling or coloring.
In case your ports have a label, it is appropriate that you insert the probes that correspond to each other. Therefore, the red lead usually goes to the positive port, which is red, while the black lead goes to the negative port, which is black. However, if there is absolutely no labeling, then place your red lead in a socket with ohm sign and the black lead in a common port (COM).
Find the range of the resistance
If you are not sure about the range, consider using the method mentioned above. This means, in case the needle hangs across the scale at a particular value as it swings, it probably means you have acquired the right range.
If the needle sways to the left, it means the setting of your range is too minimal. You should reset your multimeter and commence with a higher range. Check whether the needle if it is swinging on your right side, minimize your setting range, restart the multimeter, and try once more. Furthermore, anytime you are expecting a new reading value hold your leads end together.
Conduct the measurement
When you are running your measurement, use both leads to hold it in position the opposite ends of your component. Note that analog resistance weighs from the right as it goes to the left. On your right side, there is a zero indication, while on the left side, there is an indication of 2 kilo-ohms. Note that your multimeter has numerous reading values being displayed on its screen.
Read the results displayed
If you are pretty sure you have run your text effectively, then the needle of your multimeter will point at the appropriate reading value. So, in case you set your range at 100 ohms, and your needle happens to stop at 9, then the reading value of your resistance is 90 ohms. Therefore, this shows you how simple reading the displayed results can be, but if you use a confusing scale, it can be quite tricky for you.
Set your multimeter to a high voltage range.
After using your multimeter, ensure you set it on a maximum voltage scale. With this, you will be able to avoid damages in case anyone decides to run a test using the same multimeter without checking the settings that you had set before.
Measuring resistance with a digital multimeter
Choose an item you want to measure resistance
Just as you did while measuring resistance with an analog multimeter, so does it apply when it comes to the digital multimeter. However, after you have chosen the component to ensure you unplug it from its circuit since running the measurements while it is in the circuit, it is prone to interfering with your results by giving you an inappropriate reading value. Therefore, make sure that you power off your circuit before measuring the component.
Ensure you place your multimeter leads into an appropriate socket
In case you lack basic knowledge and skills, you are likely to plug this leads into any given ports. Digital multimeters usually have labeling on each port; red for positive port while black is for a negative port. With that in place, consider your results being perfect and accurate. If you don’t plug in your leads correctly, then you are prone to getting results that are corrupted.
Selecting the reading value range
For accuracy, it is appropriate that you select the correct range. Most modern multimeters have a range set automatically. If you, however, find one that is not automatically set, commence by setting a middle range as you refer to your manual script.
Touch each end of the element using a single lead; in case the reading displayed on your multimeter is zero, then you have a maximum range. If it is OL, the range is too minimal, but if it ranges around a figure above zero, consider the range set.
Confirm your results as displayed
Finding the appropriate range will determine your results. Place one lead at a single end and another one at the far end of the element you want to measure. Wait until the numbers stabilize and then check the reading value displayed on your multimeter screen as you put the scale you have set in mind.
Once you are done, switch off your multimeter for future use.
Conclusion
Measuring resistance using a multimeter is easy if you have the basic skills and knowledge. Therefore, the information above should guide you through the entire process of measuring resistance, in case you find it difficult, refer to your manual script or consult the experts.