
When you want the right tool for the job…
Soldering irons come in all sizes. That is because the jobs they do are not uniform nor handled in the same way by every person using a soldering iron. There are a lot of factors involved in the manufacture of these irons because if they don’t do the job right, they will be left in the toolbox.
To find out how soldering irons are made just continue to read our article. It has the information you need so you can make one yourself or find the perfect iron for your work.
The technical details in making a soldering iron
Different factors are involved in the construction of a soldering iron and one of the biggest ones is which industry will it be used in. Here are some other technical details that help in making a good soldering iron:
| Factor | Description |
|---|---|
| Size | There is no one size fits all soldering iron. The end purpose of the tool defines how large or small the iron will be made. Jewelry making doesn’t need a roofing soldering iron size |
| Wattage | 40 watts is generally the wattage used by non-temperature controlled irons. Smaller irons usually need to use only 15 to 25 watts and temperature-controlled models vary |
| Voltage | This will depend on the country that makes the soldering iron and its 115 for America, 230 for Britain and some countries make them run off of 12 volts |
| Temperature control | Some irons have none while there are those more expensive units where you stay in control of how hot the iron gets |
| Anti-static protection | This is for those applications that work with very vulnerable electronic circuitry |
| Stands | These have to endure the high temperatures most soldering irons reach |
| Maintenance | These irons do not have long lifespans so getting spare parts is essential |
How are soldering irons made
Soldering irons have been made and in use for over 4,000 years. It is not known which of the many ancient civilizations utilized this tool but they were simply made. A copper tip was attached to iron wires leading up to a wood or iron handle.
To get them to the right temperature the copper tips were placed in an open fire or in hot coals. It was around 1894 when the first modern soldering irons were mass-produced. Over the years different men applied their upgrades and expanded the styles and designs these irons were found.
In 1921 the first electronic soldering item made its appearance and it used copper wires, tip, holder, and handle. The components were assembled together and tested for the market.
Each style of soldering irons have their own assembling line to go through and the assembly depends on the few or many components that will be included in a particular design.
Soldering stations are complicated pieces of equipment as their interior works include circuitry that allows them to be programmable. It takes skill and knowledge to construct a good soldering iron no matter its level of design.

What to look for in a soldering iron
Out of all the factors we listed above, there are 4 key elements you should look at before you make your purchase.
#1. Wattage– for most applications around the home you only need the most common wattage available. That ranges between 25 and 60 watts. You can get by with a maximum of 50 watts for most home projects. The higher the wattage the more power you will have at your fingertips.
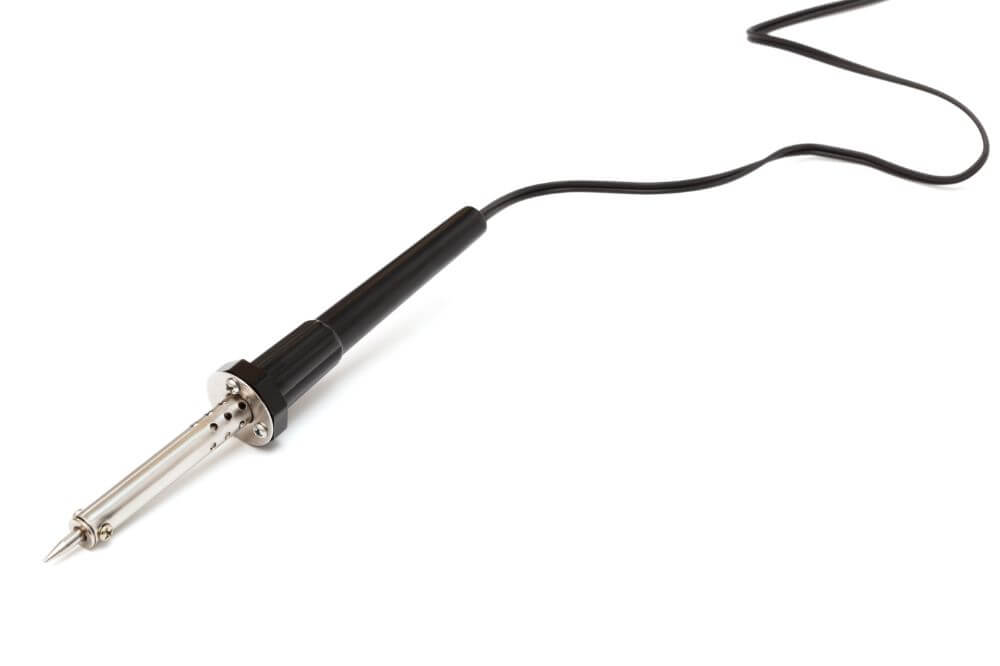
#2. Types of soldering irons– there are 4 main soldering irons you can buy and the one you choose needs to fit your purpose. There is the standard soldering iron you hold in your hand and called the soldering pencil.
Then there is the soldering station, soldering system, and the soldering gun. The last is probably the easiest to use and work with.
#3. Temperature control– if you like to be able to adjust the temperature you are working with, then a soldering iron with a temperature control feature is the one to buy. If you like the old fashion method of letting the iron heat up, then go for that option
#4. Tip size and shape– with lots of tips to choose from you need to make sure the soldering iron you buy comes with or is compatible with the tip design you want to use or will use most often.
Of course, the price will also be a factor in which one you will purchase, and for some applications, you do not need to use a very expensive model
How to make your own soldering iron
DIY has not lost its status as many people still like to build their own tools and other items. Here are the instructions to make one version of the soldering iron for yourself or your kids.
Step #1: use a utility knife to cut a line in the pencil and wide enough for you to remove the lead.
Step #2: cut off the point and the eraser and after that is done, place two AA batteries next to the pencil.
Step #3: Now cut 2-14 inch pieces of copper wire and twist the ends together. Then insert them into the pencil where the lead used to be.
Step #4: After that, attach one end of the wires to the negative side of the AA batteries and do the same with the other end of the wire going across both positive pots. Secure both ends with electrical tape.
Step #5: secure the batteries to the side of the pencil, again using electrical tape. When that is done, touch the solder with the copper wires to melt the solder.
Some final words
Making your own soldering iron can be done in a variety of ways. It is not that difficult if you are handy with tools and electrical wiring. You can also attach a power cord if you want to control the heat better.
How you do it is up to you or you can simply go to the store and buy the model you need for your work.
