
Watch the water…
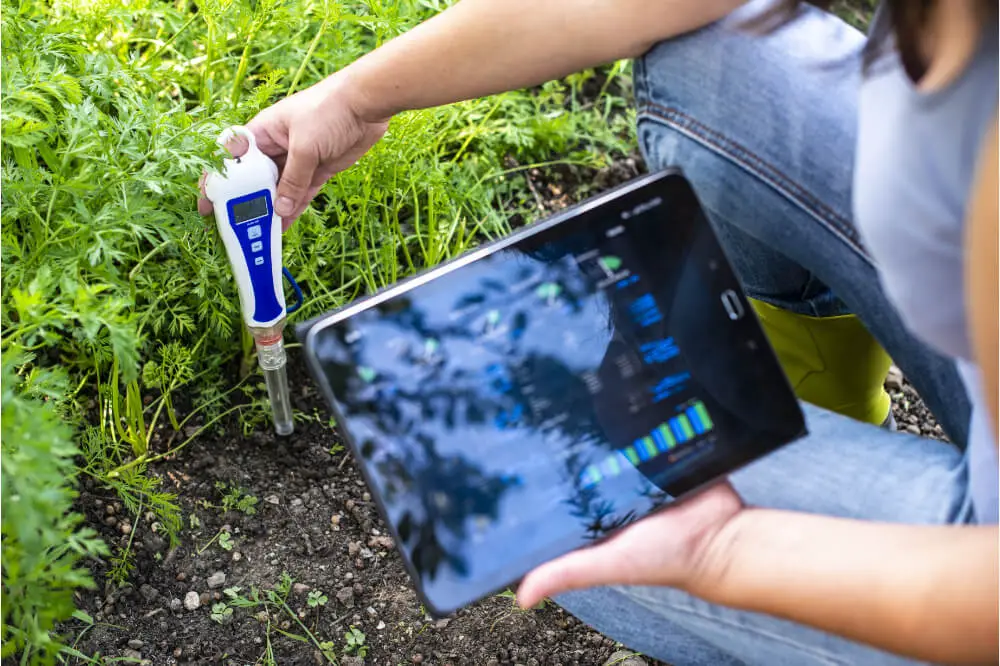
That is what you will be doing when you attach a PH sensor to a Rasberry Pi 3 instrument. This sensor’s job is to monitor the Ph levels in any body of water large or small and in either salt or fresh water.
The sensor used for these instructions is the Atlas Science PH sensor and it has the ability to be placed under water up to its BNC connector. Also, these instructions are connecting the sensor to a 12C interface on the Rasberry Pi
A Ph Balance Chart

This chart helps guide you to the right levels of Ph balanace you need in your swimming pools, hot tubs and other large amounts of water.
Going too far one way or the other and the use of that water may be harmful to you, your family’s or your pets’ health.
The wrong levels will also harm both fish and plants trying to live in that water. This is why you should have your PH sensor linked to a top quality and very accurate Raspberry Pi system.
You can stay on top of the Ph levels in your water and keep it safe for everyone.
Make Sure You Have All The Materials Needed
This ensures that your connection will go smoothly. Plus, if you have instructions keep them handy. Those guidelines are your most important tool and ensure that you can set the sensor up correctly or find where you went wrong if it doesn’t work.
Here are the supplies you will need:
- Raspberry Pi (2, 3 or 4)
- Micro SD Card
- Power Supply
- Atlas Scientific pH sensor kit
- Breadboard
- Jumper Wires
- Adafruit T-Cobbler Plus (Optional)
- Raspberry Pi Case (Optional)
How To Attach The Ph Sensor To The Raspberry Pi
Follow the instructions carefully to make sure you do not make a mistake. Leaving any step out will make you go back and find the problem then reconnect the two systems:
Step #1: Enable the 12C modules on your Raspberry Pi. You do this by:
- Pres option 5 which is your interfacing option
- Go to P5 -12C button and select it
- Next choose yes to all the questions
- Reboot your Raspberry Pi
Step #2: Once the reboot is completed, open the terminal and make sure all the Raspian packages are up to date. You will need to check or add the Raspbian i2c tools package.
Once you do your screen should be filled number and letters along the top line of the graph and 2 digit numbers on the left hand side. There should be — where those two measurement lines intersect
When you see that screen, it is okay to connect the sensor to the Raspberry Pi system
Step #3: To make the connection you have to change the ph’s UART serial mode to the 12C operation mode. This has to be done manually and when you are successful your ph code should be 99 (0 x 63)
To get this manual switch over done follow the following instructions:
- Turn off the power
- Disconnect any jumper wires from TX and RX going to your Pi
- Short the the PGND pin to the TX pin
- Power the device
- Wait till the LED changes color from green to blue
- Remove the PGND short to the TX pin
- Now power cycle the device
Step #4: At this point the device should be configured to the 12C mode and you are free to connect your Pi and the Ph sensor together. To do that, just follow the simple instructions:
- Connect the GND pin to the ground pin of your RPi
- Connect the TX (SDA) pin to the GPIO pin 2
- Connect the RX (SCL) pin to the GPIO pin 3
- Double check to make sure your PRB & PGND pins are connected through your breadboard in the center and shield pins of your BNC connector
- Power your ph sensor by attaching the Vcc pin to the +3.3V pin
- Do a test to make sure the connection is complete
One warning, do not use jumper cables to make these connections or you will not get accurate readings.
Also, if you have more than one sensor connected to your RPi the PH sensor should be indicated by the Hex 63 value. The factory reset value is 99 or 63 but if you have more than one ph sensor attached to your Raspberry Pi then you will need to add a new value for that sensor.
Just add some python code to your Raspberry Pi. Atlas Science should provide that python code for you. Import the python modules, add a class code to interface with the Ph sensor and you should be done.
Things To Remember About Ph Levels
- Ph levels differ across the country
- Natural and human processes determine the actual ph levels in bodies of water
- Pollution changes the ph level of any pool of water
- High ph levels give water a bitter taste
- High ph levels lower the effectiveness of chlorine thus more chlorine is needed
- Low ph levels in water corrode pipes, dissolve metals and other materials
- 7 is neutral not 0
- A ph level higher than 7 means the water is more alkaline
- A ph level lower than 7 means the water is more acid
Other Things To Remember
- if your Raspberry Pi is not working, litmus paper is always a good substitute until you get the meter and the sensor connected.
- calibrate your meter in a glass of water where you already know the ph level. Pure water should give you a neutral ph level
Some Final Words
It just takes a little patience and a little electronic know how to connect a ph sensor to your Raspberry Pi. Once it is done, you should have accurate readings and be able to properly adjust the ph levels in the right direction.
This should make that task a lot easier to do and help keep you and your family safe