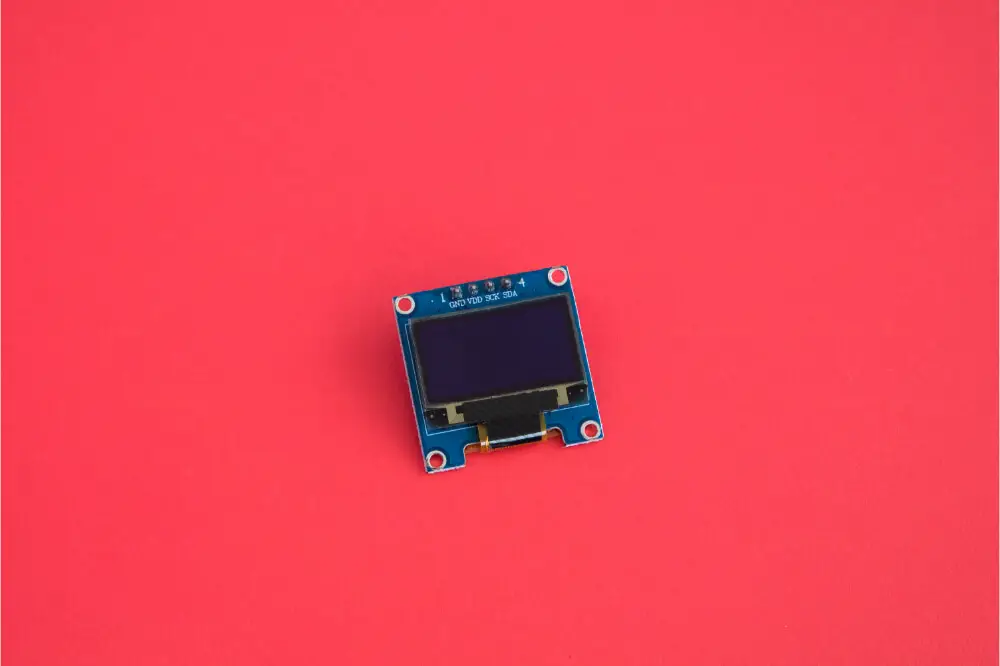
I2c (inter-integrated circuit) is a standard communication protocol that enables various chips to communicate. You can use it to connect multiple devices on your raspberry pi with a distinctive inscription that you can modify by modifying the module’s jumper settings.
As a result, it helps you monitor the devices connected to your pi to ensure that everything is working as required.
Raspberry pi contains some inbuilt features that support the i2c protocol to connect and communicate with several i2c cable circuits. There are several ways that you can use to link LCD with a raspberry pi using i2c.
The most straightforward way is by connecting using an i2c enabled LCD or the PCF8574. Keep reading to gain more insight.

Finish The Connection
If you want to connect your LCD using the i2c backpack, attach the pi’s serial data pin to the LCD and the pi’s serial clock pin to the one on the LCD. Remember also to join the VCC pins and the ground. Most LCDs operate on a 3.3V but can run up to 5v. Therefore connect it to the pi’s 5V pin when possible.
On the other hand, if your LCD lacks the l2c but has a PCF8574 chip, you can attach it to the liquid-crystal display with extra wiring. The raspberry will send data through i2c to the PCF8574. It then conveys a signal to the i2c, which passes it on to the LCD.
Enabling I2C On The Raspberry Pi
It’s worth noting that the i2c isn’t enabled by default, and you need to adjust the settings to configure it. You can use either of the following two methods. First, turn the raspberry pi then proceed to the start menu at the top left side. You will see a window with various tabs to adjust the settings.
Click on the preferences icon, then choose a raspberry pi configuration. At this point, another configuration program opens, and you can then click on the interface option then select the I²C option.
Select enable to allow various interfaces based on your project’s needs and click ok. It’s recommended that you restart your pi to ensure that your changes effectively take place. Proceed to the Start menu icon. At the bottom of the menu, the shutdown option appears, and since you want to restart, click ‘reboot’ in the dialogue box.
Also, you can use the raspi-config tool for configuration purposes. Run sudi raspi-config in your pi, and using the downward arrow and select advanced settings. Further, arrow down to p5 i2c to enable or disable automatic loading.
When you get a prompt of whether to enable l2c, click yes. Besides, if it asks about automatically loading the keener module, click yes. Proceed to the finish button using the right arrow and restart your raspberry pi to initialize the settings.
Install I2c Extra Packages
Once you finish updating your raspberry pi, you need to add some command-line utility programs to get an i2c working interface. The tools will help you know the LCD’s address once connected to the pi.
The primary command that you need to enter to install the i2c tools is a sudo apt-get install. Secondly, run python 3 SMBus to get the exact python library that you will use to access the i2c bus on the pi. Now run a sudo reboot and then login again to test the software.
Install The Library
The python i2c library has seemingly excellent sets of function that works pretty well for various projects. Copy the library’s code and save it in the I2C_LCD_driver.py file. Depending on the model of the raspberry pi that you have, there are various adjustments that you can make in the code. The older model uses port 0 for the i2C bus as the newest models use port 1.
Initialize The LCD
Now you need to write to the display and position the text appropriately. You can use the function ‘mylcd. Lcd _display string ()’, which lets you print the text on the screen and gives you the freedom to choose where you want it to appear. Include the text you wish to print, row, and column in the bracketed spaces. To clear the screen, use the function, mylcd—LCD _ clear ().
Additionally, use both clearing and display string functions to create continuous blinking effects in your text. The import time programs will also help you print the current date and time in the LCD. Further, the ‘time. sleep ()’ function allows you to change the time. Suppose you wish to end the program, press Ctrl –C. You can also print the IP address of your wifi connection by switching (eth0) to (wlan0).
Control The Text On Your LCD
Try changing things around by exploring a combination of codes to create exciting effects. Using the import I2c_LCD driver, you can scroll the text either from left to right continuously or once and stop, which leaves a cleared screen.
On the other hand, when you scroll it from left to right once while stopping, it leaves your text’s first sixteen characters on the screen. Moreover, you can use the custom character generator to create any pattern you wish and store them in the LCD memory.
Test Your I2C Connection
After enabling i2c on your device, you can now use the tools installed earlier to detect connectivity. With the LCD connected, run the command i2cdetect –y 1 to see if you have anything interconnected.
You should view a list of addresses for all I²C devices linked to your raspberry pi. For the original pi, use i2cdetect –y 0. If you notice some hyphens, then you need to check if you have wired the circuit appropriately. If it still doesn’t work, you might be using a faulty device.
Conclusion
The integrated circuit protocol allows multiple integrated circuits to communicate with more masters for improved efficiency. The raspberry pi supports i2c communications for both single and multi-master configurations. Hopefully, the above guide on how to install i2c on raspberry pi will help you get you started.


