
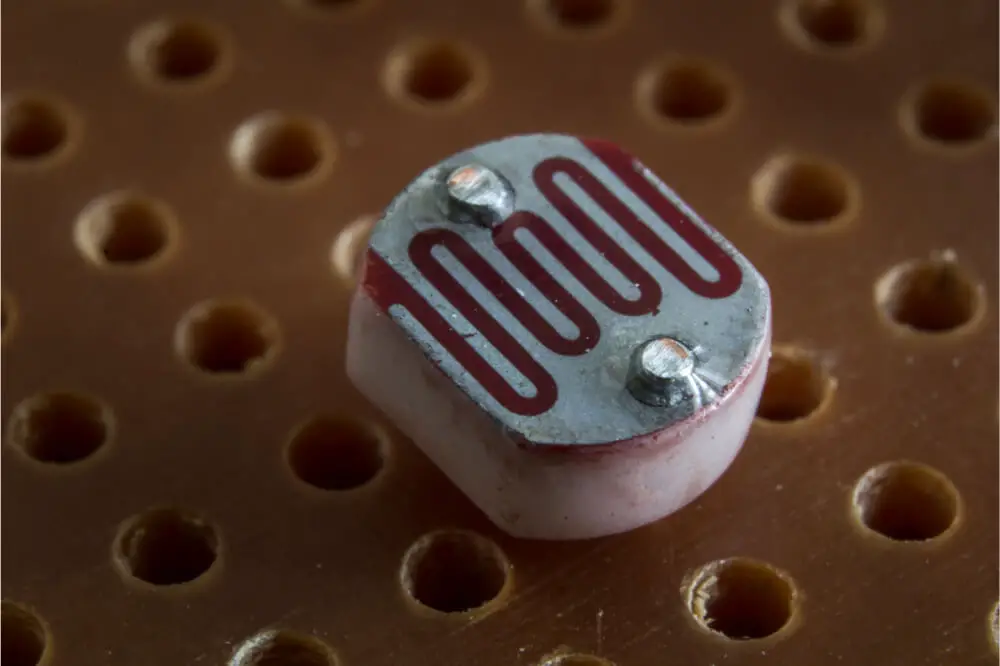
Light Dependent Resistor or LDR is also referred to as a Photoresistor. This simple device features an incredible characteristic whereby it changes its resistance in accordance with the light intensity, which hits it.
When light is shone on it, the LDR’s resistance becomes lower; on the other hand, the resistance becomes more significant when the light is removed.
You can use LDR in detecting night or day on some devices. This application is always used in several devices, such as turning off the fridge when the door closes.
LDR does not give an accurate reading on the amount of light; however, it will help you detect the transition between the light intensity or the amount of light present. Understanding how to connect LDR to Arduino is vital, and as a result, that will be our main topic of today.
Overview
The Light Dependent Resistor is a unique resistor that allows low voltage to pass through it during the dark and high voltage to pass through in the presence of high light intensity. We shall be using a 10KOhms resistor with an LDR in creating a voltage divider circuit. The different resistance of an LDR is usually converted to the varying voltage, which an analog pin of your Arduino will use in its logic.
In order to carry out this Arduino do-it-yourself project, you will require the following components:
- Breadboard
- LDR
- LED
- Arduino Nano or Uno depending on your preference
- 10 KOhms resistors that will help in creating a voltage divider along with a 220Ohms resistor for your LED
- Few connecting wires; ensure that they are breadboard friendly.
- USB cable for uploading the code to your Arduino

Connecting an LDR to Arduino
With the entire essential in place, you can go ahead and start connecting your LDR to Arduino. To connect your LDR to Arduino, you will have to adhere to these vital steps:
- Connect your 3.3-volt output of your Arduino to the positive rail of your breadboard.
- With that in place, you will go ahead and connect the ground to a negative rail of your breadboard.
- You should then place the LDR on a breadboard.
- Go ahead and attach your 10KOhms resistor to a leg of your LDR.
Once that is done, you will go ahead and connect the A0 pin of your Arduino to a column where you had your LDR and resistor connected. With the LDR giving out an analog voltage, you should consider connecting it to an analog input pin of your Arduino.
Arduino is equipped with an in-built ADC- Analog to Digital Converter; this helps convert analog voltage from 0 volts to 5 volts into a digital value in a range of 0 to 1023. You should then proceed to connect one end of your 10KOhm resistor to a negative rail, and the remaining leg of your LDR should be connected to the positive rail.
This is all you require for light sensing. Any basic circuit such as this will be achieved without an Arduino as well. Nevertheless, if you require logging all your values and using it in creating charts and running other logics, you should consider using an Arduino.
Since you will require your circuit to perform something in the real world in addition to displaying values on your computer screen, you will require attaching an LED to a circuit. When you do so, the LED will be able to turn on when there is darkness and then turns off when there is high light intensity. In order to achieve this, you will have to do the following:
- Take your LED and then place it on a breadboard.
- Go ahead and connect 220Ohms resistor to the positive leg of your LED; this is usually the longest one.
- You will connect the remaining leg of your resistor to pin 13, which is the digital pin of your Arduino.
- Shorter led to your LED should then be connected to a negative rail of your breadboard.
By following these steps, you will be able to connect your LDR to Arduino with the utmost ease.
Wiring your LDR to an Arduino board
When wiring your sensor to an Arduino, you will require your LDR and a pull resistor. You can use a 10KOhms pull-down resistor to achieve this, and wire up to 5 volts or 3.3 volts power pin on an Arduino. This means that the voltage output to an analog input when using 3.3-volt power will be lower.
Connect the components! 🙂

How does LDR work?
This system operates by sensing light intensity in the environment. It achieves this due to a unique sensor that is incorporated in it. This system is inexpensive, and you can always get it from an electrical store or an online shop. You can use it in constructing various interesting projects like a DIY enthusiast.
Final verdict
When using LDR, you will be able to read ambient light despite it being 100% accurate and less suitable for measurement. However, it works more as a detecting tool for ambient light. You can use a digital pin and analog pin, each for a unique application and purpose. When using an analog pin, you will have a range of 0 to 1023 for a measured result.
A measurement like this one will give you a range in which you can operate with; however, it is slightly slow, and in some situations such as Boblight, this application will not be that much fast for practical use.
However, the digital pin approach will be much faster and can be expanded by adding an LDR on the second pin and then fine-tuning your potentiometer of the second LDR to different sensitivity. In such a situation, you will have 3 values or levels of lights.
If you are a DIY enthusiast, understanding how to connect LDR to Arduino is vital. Therefore, to achieve this, you will need to adhere to the tips discussed in this article. As we come to a conclusion, we hope that you have found this article helpful.
