Printing has been around for centuries now. Woodblock printing, the first form of printing, appeared in China before 220 AD, according to recent studies. A movable type of printing technology, invented by Bi Sheng, was introduced into the market around 1040 AD. In the 15th century, the printing press was invented by Johannes Gutenberg.
With the man’s curiosity and the continuous development of technology, 3D printing has been available. With its potential benefits, many companies have embraced the newest technology. Studies reveal that 3D printing leads to faster production, the better quality of products, and effective design/product testing, creative designs, customization freedom, less waste production, and more.
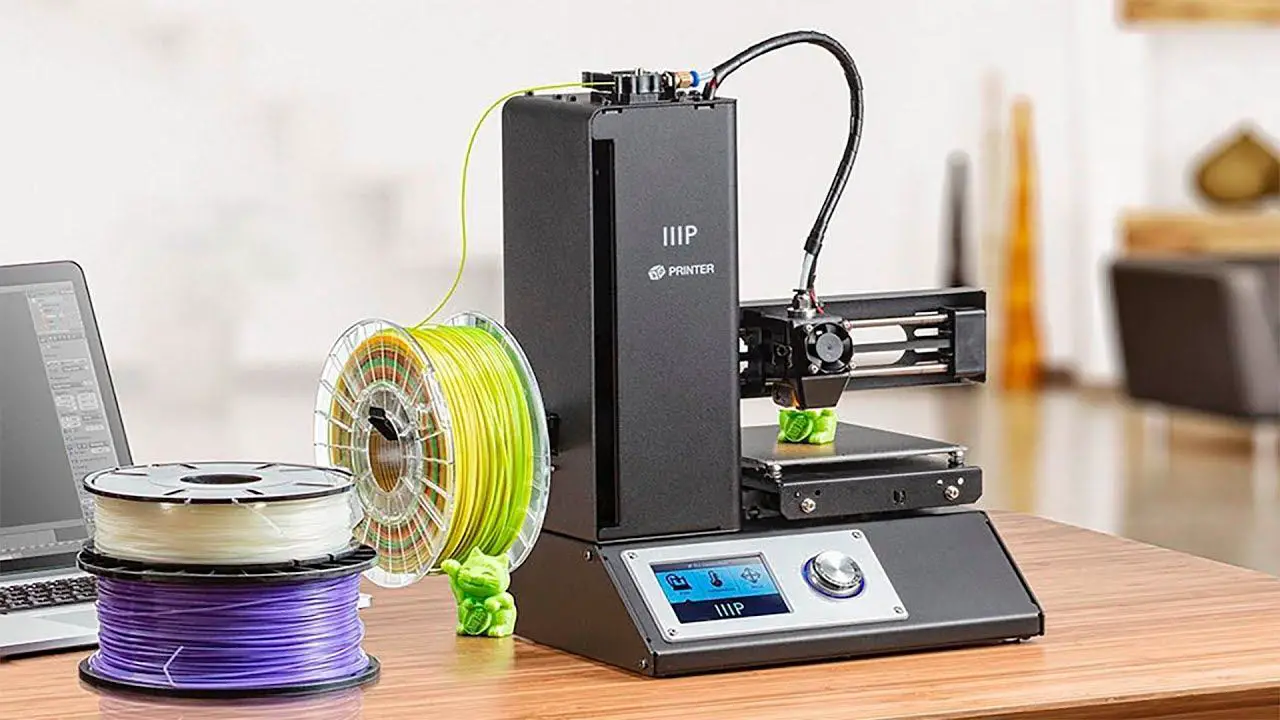
With the increasing popularity, 3D printing devices increase in great numbers. The Monoprice 3D printer stands out from the competition. What makes it different from other products? What are the cons? How to connect Monoprice 3D printer to Wi-Fi? Keep reading for more information.
Why Choose Monoprice 3D Printer?
Today’s market is fully loaded with 3D printing options. But the Monoprice 3D printer has been creating a buzz among customers. It’s no surprise as it is feature-packed. What makes it special is that it is available at a competitive price.
Customers also love the machine’s sturdy design. That’s not all! It is simple to operate and perfect for those who are less tech-savvy. While it works with any standard filament, it guarantees excellent results at low-speed prints.
Monoprice 3D Printer is compatible with a 2.4Ghz Wi-Fi network. Using your Android or iPhone tablet, you can print models of different sizes with peace of mind. Thanks to technological innovation, companies can experience optimal comfort throughout the printing process.
Some of the Drawbacks
When selecting a 3D printer, it is important to weigh the cons in mind. Monoprice 3D Printer can be tricky to use. That’s why the following instructions can play a critical role. The build plate is unprotected, which can be a headache to other users as well. Plus, the power brick is faulty sometimes.
Steps in Connecting the Monoprice 3D Printer to Wi-Fi
You perhaps have a Monoprice 3D printer at home or in the workplace. Now, how can you connect the technology to Wi-Fi? Well, it can be hard for some people. But the truth is that the process is easy and stress-free. While others ask help from an expert, why don’t you try it on your own? So, without further ado, let’s get started! Are you ready? Read on for more information!
- Download the MP 3D Printer Wi-Fi Connect App – There are many things to do to connect the MP 3D Printer to a Wi-Fi network. However, downloading the required application is a great start. Where to find the app? Visit iTunes or Google Play Store. But it depends on the type of smartphone you use. When problems arise, please feel free to ask for help from a qualified professional. Although it requires an extra cost, the results are worth it.
- Disconnect the USB cable from the Device – Monoprice 3D Printer has different features. It comes with Wi-Fi and USB connections. When you’re using the USB cable, disconnect it from the printer ahead of time. Remember that it is impossible to use the connections at the same time.
- Power on the Printer – After disconnecting the USB cable, turn on the printer. To know the right button to use, read the instructional manual for your comfort. Or visit the official website manufacturer to answer your queries and other concerns.
- Start the Monoprice 3D Printer Wi-Fi Connect Application – After turning on the printing device, it’s the right time to start the required application. Whether you are tech-savvy or not, you will find the process comfortable.
- The SSID of your Wi-Fi network will be Displayed on the Screen – When you successfully start the application, the SSID of your Wi-Fi network will appear on the screen of your mobile phone. What will you do when a different SSID is displayed? Don’t worry! All you have to do is to open the Wi-Fi settings of your device. From there, choose the right Wi-Fi network.
- Enter your Password – Entering your wireless password is easy. However, make sure it’s alphanumeric to protect your devices.
- Navigate the Move Menu – After entering your password, navigate the Move menu by using the Monoprice 3D Printer’s button. With just a click of a mouse, you can access the menu settings.
- Hold the Center Button for a Few Seconds – After 3 seconds of holding the button, make sure to release it. This is especially true when the screen displays the “Smart config started.” Sometimes, you might release the button even if the phrase “Smart config started” does not appear yet. Don’t worry. Just press the center button and hold it for 3 seconds again. Don’t be nervous. Just be calm and loose to get it done.
- Press the Connect to Wi-Fi Button – Now, press the Connect to Wi-Fi button in your IOS or Android tablets. After 10 or 60 seconds, the connection will be successful. “MP Select Mini is now connected to Wi-Fi” will appear on your phone’s screen. That’s not all! On top of the Monoprice 3D Printer’s screen, you can find the IP address.
Conclusion
Since you’re already aware of how to connect the Monoprice 3D Printer to a Wi-Fi network, what are you going to do next? Maximize the usage of your printing device today. When it doesn’t connect to your Wi-Fi even after many attempts, read the manual or contact the customer support of the official manufacturer. The company is more than willing to accommodate your problems.
So, what are you waiting for? Level up your printing experience with Monoprice 3D Printer today. Enjoy!

