When you purchase a Raspberry Pi that does not come equipped with pre-installed software in an SD card, you will need to figure out ways on which you can connect it to your Mac. If you own a Mac that runs on Mac OS X as the operating stem, then this article will be of great benefit.
By the time we conclude this article, you will have learnt how to connect Raspberry Pi to Mac without undergoing many problems. With that said, let’s go through the process involved in connecting a Raspberry PI to Mac.
Connecting Raspberry Pi to Mac
When connecting your Raspberry Pi to Mac, you will require the following materials to help with the entire process.
- Power Supply Micro USB
- Raspberry Pi
- Ethernet cable
- Modern Raspberry Pi Micro SD with more than 4GB
- SD card adapter will be essential for hooking your SD card to the computer
Before, you commence on the connection process, ensure that you have Raspbian installed in your Raspberry Pi. By doing so, you will have access to an Ethernet port. Despite the fact that Raspian tends to work perfectly with Raspberry Pi Zero, as a result of the absence of in-built ethernet on this board, you will be forced to use a USB Ethernet adapter.
This will help you to configure your Raspberry Pi with the utmost ease. You might as well consider using the Serial-to-UART cable. It would be best if you considered setting up your Raspberry Pi with one of these; however, the process involved in setting it up is relatively advanced and is not a part of today’s article.

How to connect Raspberry Pi to Mac
Once you have the right material required for connecting your Raspberry Pi to Mac, you will have to follow these simple steps:
Hooking the SD card
You should be ready to install the software by first hooking your SD card. The SD card has to be inserted in a card reader and then attached to the computer. Once this is done, you will launch the terminal in the Mac OS X. To do this, you will click application on your dock, and scroll down until you find the utility folder and then go ahead and click on a terminal.
When the terminal has been launched, you can locate the device name and then proceed to unmount the disk. To achieve this, you will go to the terminal and key in diskutil list. Once that is done, you will review the entire list and look for the device name of your SD card. You will then look for a device with the same size of your SD card. To unmount the disk, you will key in diskutil unmountDisk /dev/disk2.
Before proceeding, you need to confirm if you have picked the correct disk name. You should note that, if you had picked the wrong disk you might damage your computer.
Install Raspian
You will have to download and then install Raspian if you don’t have it. Visit the Raspian website and download the Raspian version that will best suit your needs. Usually, the Lite version is often considered the best when working on headless applications such as BrewPi. However, you can still go for the version you prefer. Once that is done, you will expand the downloaded file and then make a note on where the file has been expanded.
When done with downloading the Raspian version you prefer, you will go ahead and write it on the SD card. To do this, you will return to the terminal and then change the directory where the image file was extracted and run the right command that will help write your image file on the SD card.
Connecting your Raspberry Pi
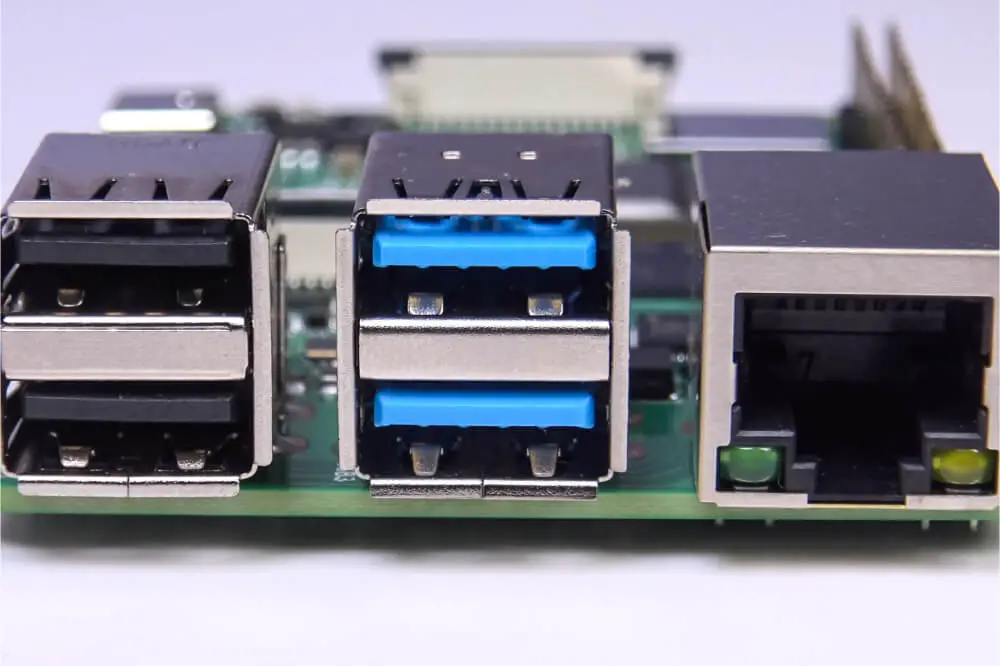
The next thing you should do is connect your Raspberry Pi and then Locate IP address. Go ahead and unplug your SD card from the computer and then plug it in your Pi. Once this is done, you will plug the Pi into an Ethernet and then plug power supply Micro USB in your Pi.
While doing so, you should ensure that your Ethernet connection is connected to the same network when connected to both the computer and the Raspberry Pi. When you have this done, you will go ahead and determine the IP address of your Raspberry Pi. Doing this on a Mac is relatively easy; you will have to key in these commands: arp -a | grep raspberry. Once the text has been returned, you can check for the IP address.
Updating your Raspberry Pi
The final thing to do is updating your Raspberry Pi before completing the setup. For your Raspberry Pi to be connected to your Mac, you will have to key in these commands in the terminal ssh pi@192.168.5.236. When doing so, you will have to replace the current IP address with the discovered one.
You should note that your default password will be raspberry if you have pi as your username. In addition to that, when updating the software of Raspberry Pi, you will go to the SSH session and then run this Sudo command apt-get update once that is done, you will go ahead and key in apt-get upgrade and select Y if prompted. The last command will be shutdown -r now. Your Raspberry Pi software will now be updated.
Final Thoughts
Connecting your Raspberry Pi to Mac is not a challenging task; with the right materials, you will be able to achieve this within no time. By adhering to the tips discussed in this article, you will come to learn that setting your Raspberry Pi to Mac is straightforward and it can be achieved by anyone irrespective of their skill level.
This means that, if you are a newbie, you should consider sticking to these tips to achieve the right connection. As come into conclusion, we hope that you have found this article helpful when it comes to understanding how to connect Raspberry Pi to Mac.

