
Arduino is one of the most all-rounded open-source platforms that give you software and hardware resources. For this reason, it is a preferred platform among hobbyists, where its simplicity also plays a role.
You can use Arduino in various settings, including programming, general robotics and automation. While Arduino is beginner-friendly, it will need some foundational knowledge in electronics and coding.
Talking about coding, you should know how to convert ASCII to char in Arduino as part of your basic knowledge when using this platform.
Before we look at this conversion practice, let us look at the two aspects of coding.
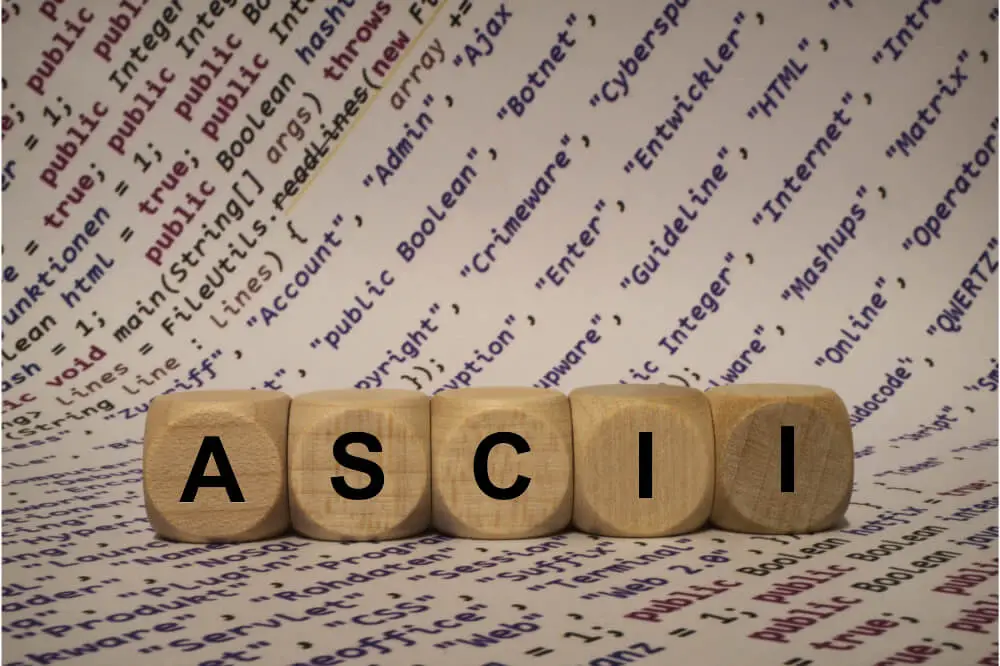
ASCII
ASCII is the abbreviation form of the American Standard Code for Information Interchange. It is an encoding system for electronic communication and represents texts and characters in telecommunication equipment such as computers.
The system originated from the telegraph code and has an internal organization, where all control and graphic codes are together for ease in identification.
ASCII has a unique character order, referred to in coding circles as the ASCII-betical order, where all uppercase characters come before the lowercase characters. Digits such as numbers and punctuation marks come before the letters.
When you learn more about the ASCII system, you understand that the first 32 codes, starting from 0 to 31, are control characters and do not represent printable characters. The general characters go from 0-127, making them 128.
This system is essential for the Arduino system as it allows it to store text information in the form of ASCII files and communicate with other computer systems.

Char
Char stores character value and store literals written in single quotes in numbers. This data type’s size is at least 8 bits. If unsigned, you can use the byte data type. The char has a relation with the ASCII code system, which allows you to get the characters’ arithmetic value.
Converting ASCII To Char
The primary purpose of converting ASCII to char is to decode the characters and understand the coded text. This comes in handy in several settings, such as when learning the basics of coding or troubleshooting in some systems.
In the Arduino platform, converting ASCII to char will help you create a robust system or project, especially if it’s under-recording. Here are the steps to follow on how to convert ASCII to char.
Step 1: Get Your ASCII Codes Right
Start by getting all your ASCII codes right, ensuring that they are in the correct order. You should copy the code exactly as it is as any hitch will lead to the wrong decoding and give you the incorrect results.
Step 2: Use the ASCII Chart
The ASCII chart is the tool that comes to your aid to help convert ASCII to char. The chart has been in existence for long since the 1960s and represents the numerical coding for texts. The chat will show you the numerals, the binary value, the hex, and octal representations as well as the char equivalent.
Step 3: Deducing the Meaning
Once you get the char equivalent of the ASCII code, you need to deduce the meaning of the characters. For example, 0 has a binary value of 0000 0000, which will translate as null. This means the function you are looking at is null.
If 0, the binary value is 0000 0001; the octal value will be 001, the hex 01, and char text is SOH. This means it is the start of heading. Knowing the meaning is essential, especially when it comes to troubleshooting as you easily understand where there is an issue.
A point to note is that when you convert the ASCII codes to char, you should always have the ASCII chart, especially if you are a beginner, as it gives you the right interpretation. With time, you can grasp the codes and text representations, and you won’t have to refer to the chart.
Trying to Print Using the ASCII Code
To improve your proficiency in the ASCII code, you should try using it through print. Before starting the printing procedure, you should have an updated Arduino system and the right equipment, such as a monitor, mouse, keyboard, and an Arduino board.
Open the integrated development environment (IDE), and put down the void loop setup. For example, if the void loop represents the word null, when you run it on Arduino and open the serial console, the word null should appear.
It is advisable to use the serial.write () command, rather than the serial.print () command. The former sends a raw byte while the latter will translate the coded number and print the number instead. Also, use the line feed control, 0X0A, which will act as the enter key in a keyboard and advance you to the next line.
What to Note When Converting ASCII To Char
During the conversion, your system should be running correctly with the Arduino system being up to date. The chart is one of the most vital tools in this conversion, and it will guide you to the right decoding structure.
As a beginner, you can go through the cart as you learn the basics of this system. You can perfect your skills via printing it on the Arduino platform by opening the integrated development environment.
Also, pay attention to the characterization in this system, taking note of the characters and what they represent.
Conclusion
The Arduino system is one of the best open-source platforms that you can have for various projects. As earlier hinted, it is ideal for beginner tasks, where you can easily understand its functionality.
This article touches on one of the essential areas of using the Arduino platform, which is how to convert ASCII to char. The two are coding systems, which you should understand to nail programming tasks.
ASCII is the standard coding system, which has been in use since the 1960s and the numerals involved. Char, on the other, hand stores character values. Understand the two and know how to make the right conversions, which is essential in using the Arduino platform.
