Are you worried about your Raspberry Pi 4 overheating? Well, don’t worry anymore since you can fix this problem by installing a fan. Installing a fan in your Raspberry Pi 4 is vital since it does not come equipped with one.
However, the best part is that the installation process is relatively easy and can be achieved by any individual irrespective of their skill level.
Cooling down your Raspberry Pi is vital since the high temperature will have a negative impact on its functionality. To help in solving this problem, in this article, we shall be discussing how to install fan Raspberry Pi 4.

Installing a fan in the Raspberry Pi 4
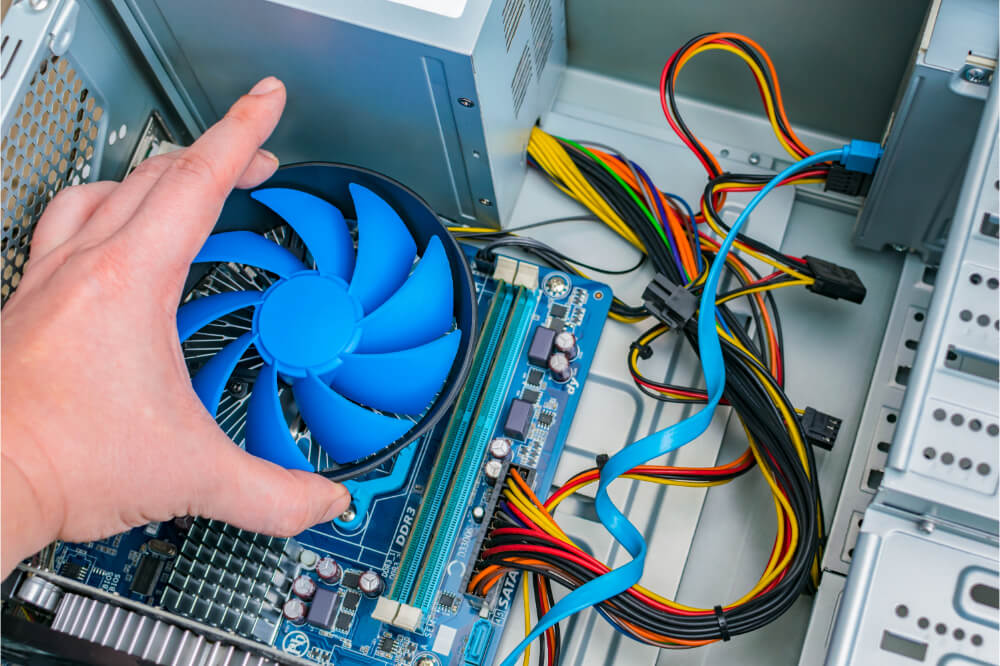
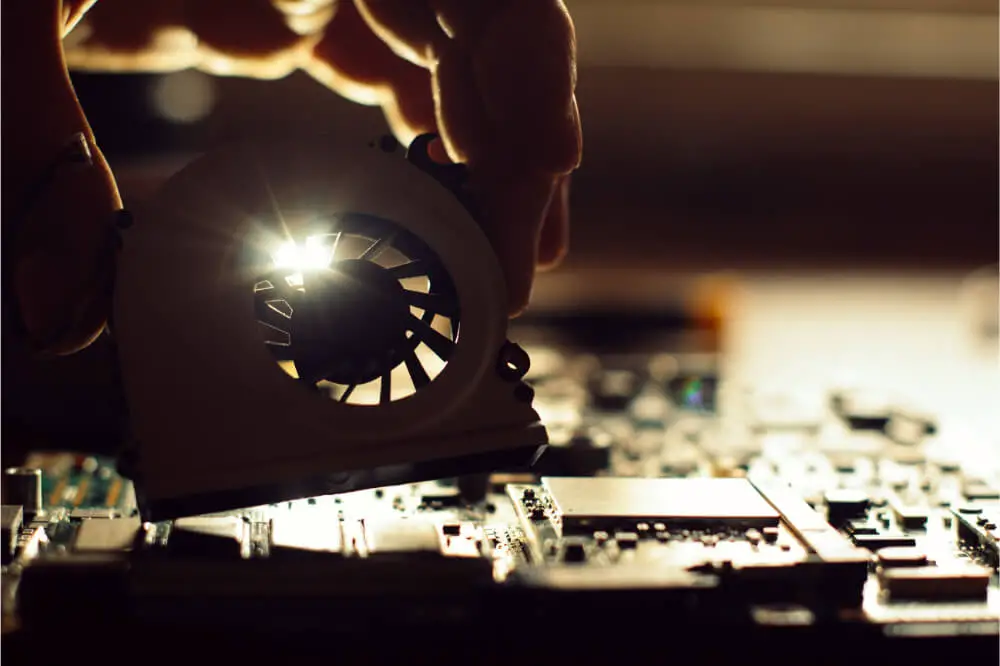
Without any ventilation present, it tends to be like a small plastic oven in your Raspberry Pi 4. A heat sink will help in a small way; however, the heat will not have a place to escape to; as a result, it is best that you install a fan in your Raspberry Pi 4. To do this, you will have to adhere t these essential steps:
- The first thing you will have to do is buy a high-quality Pi-fan. Look for a fan that can be plugged directly into your Raspberry Pi’s GPIO pins since it will not require any modification.
- Use 11/8’’ hole saw and drill slowly in your box. This is the easiest way.
- Go ahead and put a hole saw on the drill and then use a setting with low speed or hold gently on the trigger and then apply small pressure, drill and hold your Raspberry Pi steadily. When spinning the hole saw very fast, you might end up losing control and cause damage to the case of your Raspberry Pi or even burn plastic and make it look ugly.
- You should consider drilling directly over the center of a top case in the middle of the area that is opposite the Pi logo; ensure that your Pi isn’t installed while doing so; that way, your fan will not be hitting the network as well as USB jacks.
- Consider using sandpaper or file to smooth the cut once you are done drilling. Ensure that you use 600 grit to get an excellent finish.
- Take your fan and place it on the hole you had drilled at the top; ensure that you it is lined up close and then use a mechanical pencil to mark screw holes within the perimeter of your fan.
- It is best to use a 7/64’’ drill bit when drilling out screw holes you had marked earlier.
- With sandpaper, clear all the burrs from the screw holes from the inside.
- Take your fan and place it under the case’s top and then use screw and nuts and secure your fan on the case.
As you put your Raspberry Pi back into its case, you should consider installing it as normal and then connect the red wire from your pan to the 5-volt pin on the Raspberry Pi, which is pin number 4. Once that is done, you will go ahead and connect the black wire to pin number 6 on your Raspberry Pi, which is GND or ground pin.
The next time you will be plugging in your Raspberry Pi, the installed fan will start spinning if correctly installed. However, if it fails, there might be a physical blockage that prevents your fan from spinning, or you might have your fan plugged in the wrong GPIO pins. You will need to assess the problem and fix it.
Why you need to install a fan in your Raspberry Pi 4
Well, the first thing you will note when using the Pi 4 is that it is a different beast, and not only does its CPU get very hot even when handling the normal load, but also there are several numbers of parts on the board that can heat up pretty much which makes it uncomfortable to work with or touch.
Without a fan, the CPU/SoC tends to become very hot, reaching temperatures of approximately 60 degrees Celsius. However, its metal casing aids in spreading the heat around its perimeter very well, with the heat coming off at the top of your CPU is somehow masked with a reflective metal surface.
You will experience throttling when using the Raspberry Pi 4 due to two reasons; the first reason is that throttling will prevent you from accessing the full speed of your Raspberry Pi’s CPU. This means that you will take an extended period to complete a task.
The second reason is that it shows some parts in your Raspberry Pi, which is usually the CPU; however, it might include other parts that are becoming hot enough to attain their internal safety limits. When running computing hardware within its thermal capacity for an extended period, it will cause wear on parts compared to running them within their recommended limits.
However, carrying out very light computing activities such as reading Wikipedia or browsing your Raspberry Pi will not reach its throttle point.
Nonetheless, when watching videos, switching applications, or scrolling through some complex site, your Raspberry Pi will increase its temperature and might even reach 80 degrees Celsius within a short period. This tends to be common, particularly when the Raspberry Pi is closed in a plastic box without ventilation. This shows that ventilating or installing a fan in your Raspberry Pi 4 is vital.
Final thoughts
As an individual struggling with the heat problem, it is best to install a fan on your Raspberry Pi. The process involved in installing the fan is relatively easy, and you can achieve it without encountering any issue. As a newbie, you should consider adhering to the tips discussed in this article for a successful installation process.
You should note that installing a fan in your Raspberry Pi is vital, especially if you want to improve the functionality of your Raspberry Pi 4. As we conclude, we hope that this article has been of great benefit as you try to install a fan in your Raspberry Pi 4.


