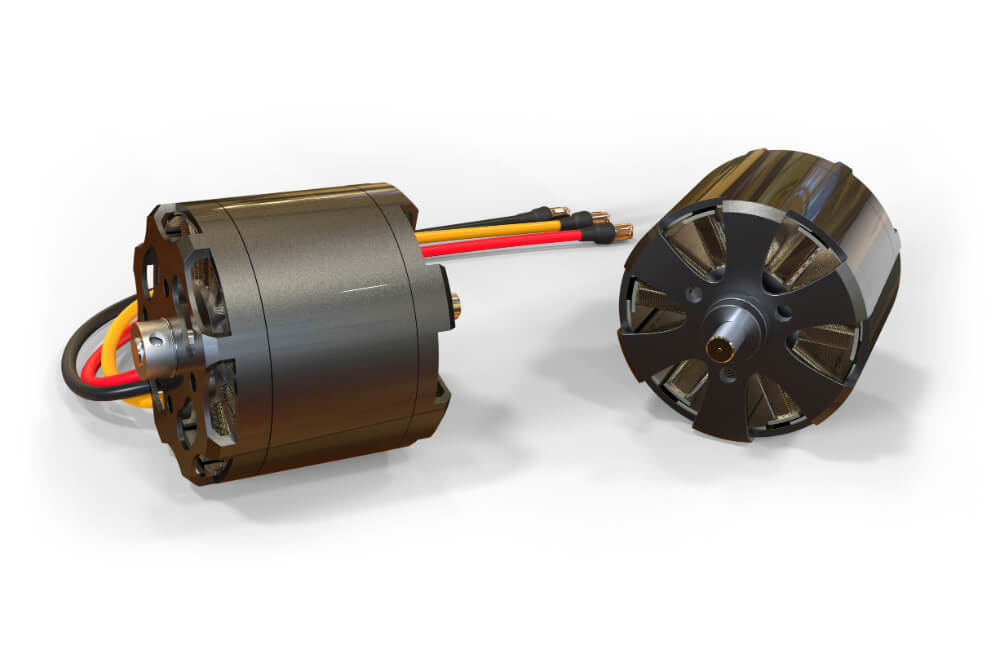
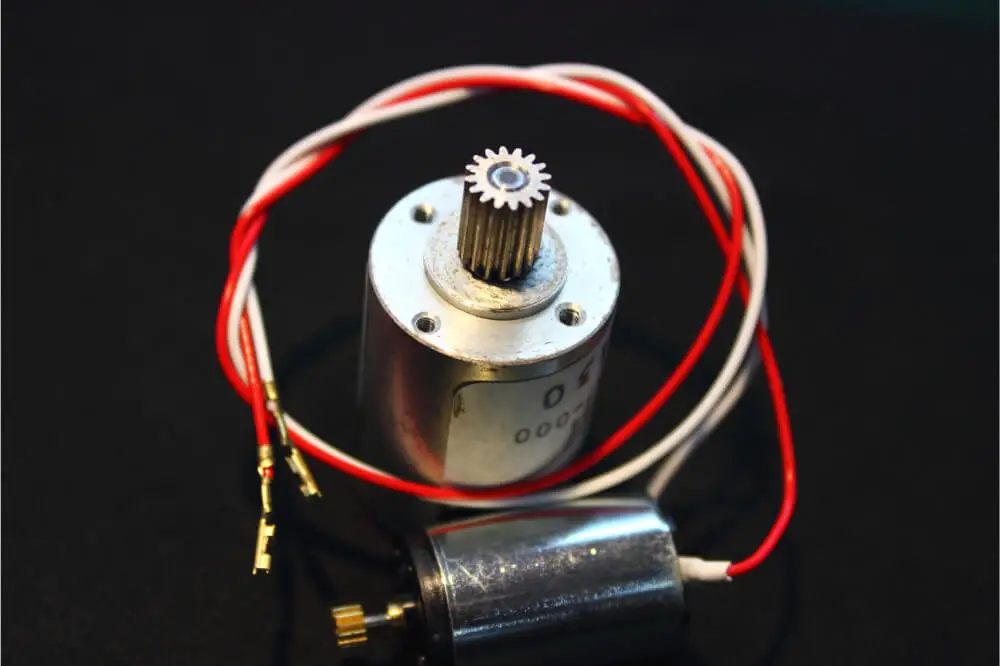
Connecting the motor driver to an Arduino Uno is relatively easy. To understand the whole process much better, we shall be using L298 bridge IC to connect to an Arduino Uno, allowing you to control your DC motor. Usually, DC motor or direct current motor is considered as the most commonly used type of motor.
A DC motor is equipped with two leads, one negative while the other one is positive. When you connect the two leads to a battery directly, your motor will start rotating.
In case you switch the leads, your motor will start spinning in the opposite direction. To better understand, we shall be discussing how to connect the motor driver to Arduino Uno in today’s article.

Overview
In order to control the direction of a spin of your DC motor without having to change the leads’ connection, you will consider using a circuit commonly referred to as the H-bridge. The H-bridge is a circuit that drives a motor in both directions.
An H-bridge is used in various applications, such as controlling robots (this is often its main application). It is referred to as an H-bridge since it utilizes four transistors connected so that a schematic diagram will look like the letter H.
You might consider using discrete transistors to create this circuit; however, we shall be using the L298 H-bridge IC in today’s article. This H-bridge circuit is capable of controlling the speed, direction of your DC motor as well as stepper motors.
Furthermore, it is capable of controlling two motors at the same time. It is equipped with a current rating of 2A for every motor. However, with these currents, you will be required to use heat sinks.
Requirements
When it comes to the connecting motor driver to an Arduino Uno, some of the things you will require include:
- A DC motor
- An Arduino Uno
- L298 bridge IC
- A breadboard
- 10 jumper wires
Connecting a motor driver to Arduino Uno
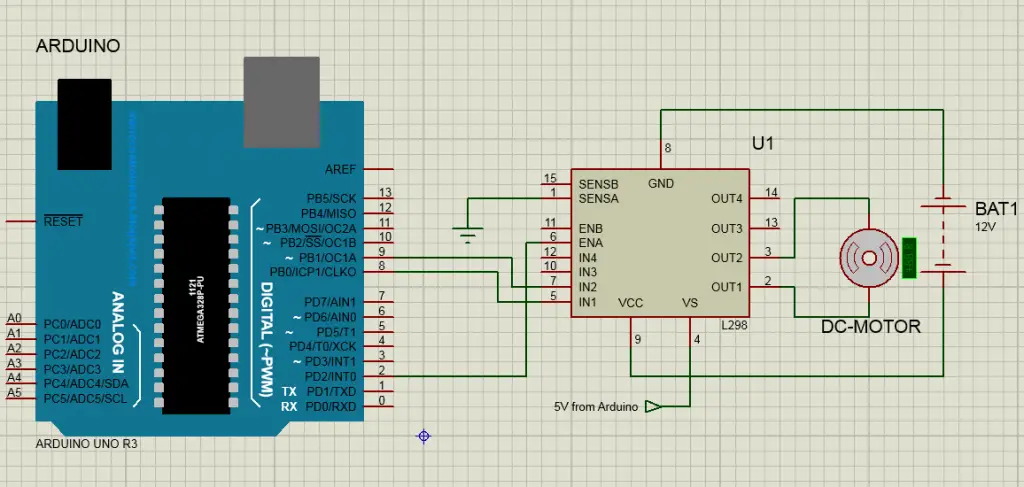
With all the requirements in place, you will go ahead and connect the motor driver to your Arduino Uno. In this tutorial, we shall be connecting one motor to an Arduino Uno. To do that, you will connect the Arduino to Input 1, which is pin 5, and then input 2, which is pin 7, and finally, Enable 1, which is pin 6 of your L298 H-bridge IC.
Pin 5 and pin 7 are meant for digital inputs; that is, both off and on inputs. On the other hand, pin 6 requires PWM or the pulse-width modulated signal, which aids in controlling motor speed.
Input 1 pin of your L298 H-bridge IC will be connected to pin 8 of your Arduino Uno while input 2 will be connected to pin-9. Both pins are digital pins of your Arduino Uno and help in controlling the direction of your motor.
Enabled A pin of the L298 IC will be connected to pulse-width modulated (PWM) pin 2 of your Arduino Uno. Pin 2 will help in controlling the speed of your motor. In order to set values of pin 8 and 9 of your Arduino, you will have to use a digitalWrite() function. Moreover, when it comes to the setting value of pin 2, you will have to use the analogWrite() function.
Connect the components! 🙂

Arduino Uno motor driver control setup
- You will first connect the 5-volt pin and the ground (GND) of your L298 H-bridge IC to the 5-volt and ground (GND) of your Arduino Uno.
- Go ahead and connect a motor driver to pin 3 and pin 2 of your L298 H-bridge IC.
- With that done, you will connect Input 1 of your L298 H-bridge IC to Arduino Uno’s pin 8.
- Input 2 of your L298 H-bridge IC will be connected to pin 9 of the Arduino Uno.
- You will then connect Enable 1 of your L298 H-bridge IC to Arduino Uno’s pin 2
- The Current Sensing A pin of the L298 H-bridge IC will be connected to GND
- Using an Arduino USB cable, you will connect your Arduino Uno and then upload the program to your Arduino with the use of Arduino web editor or Arduino IDE.
- Supply power to your Arduino Uno board with the use of a reliable power supply, USB cable, or battery.
Once this is done, your motor driver will be running in a clockwise direction for approximately 3 seconds in which it will then turn counter-clockwise for another 3 seconds.
Controlling the DC motor driver
For you to have full control over your DC motor driver, you will need to control speed as well as rotation. Usually, this is achieved by combining two vital technique:
- H-bridge. This is vital for controlling the rotation direction
- PWM. It is ideal for controlling your motor’s speed.
Usually, the speed of a DC motor driver is controlled using varying input voltage, and PWM is considered the common technique used in achieving this with the utmost ease. The PWM technique involves an average value of an input voltage is adjusted through sending a series of Off and On pulses.
On the other hand, H-bridge helps in controlling the spinning direction of a DC motor driver. This is achieved by changing the polarity of the input voltage. The H-bridge circuit is equipped with four switches and a motor at the center, forming an H-like arrangement.
Final thoughts
The L298 H-bridge IC is a dual bidirectional motor driver that is relatively easy to operate and connect to an Arduino Uno board. As a newbie, this H-bridge IC motor driver will allow you to independently and easily control two different motors, with both having up to 2 A in a different direction.
This module is best for use in robotic applications; in addition to that, it is suited for connecting to a microcontroller requiring a few control lines per motor.
By going through this article, you will find the whole process being relatively easy and can be achieved by any individual irrespective of their skill level.
As we come to a conclusion, we hope that you find this article very helpful as you try to connect a motor driver to an Arduino Uno board. All that is required of you is to have all the necessary tools to make it possible.


