
The Raspberry Pi Power over Ethernet (PoE) HAT is a vital and relatively small accessory used in a Raspberry Pi computer. A Raspberry Pi PoE Hat can be used in the Raspberry Pi3 Model B+ as well as the Raspberry Pi 4 Model B. In addition to that, the Raspberry Pi PoE Hat allows one to power a Raspberry Pi by using the PoE enabled networks.
Furthermore, the HAT uses a common standard 802.3af; this allows the delivery of up to 15 watts, meaning that this HAT is ideal for providing all the necessary power needed to run a Raspberry Pi. In this article, we shall be discussing how to install Raspberry Pi PoE Hat.
How To Connect Your Poe Hat To A Raspberry Pi
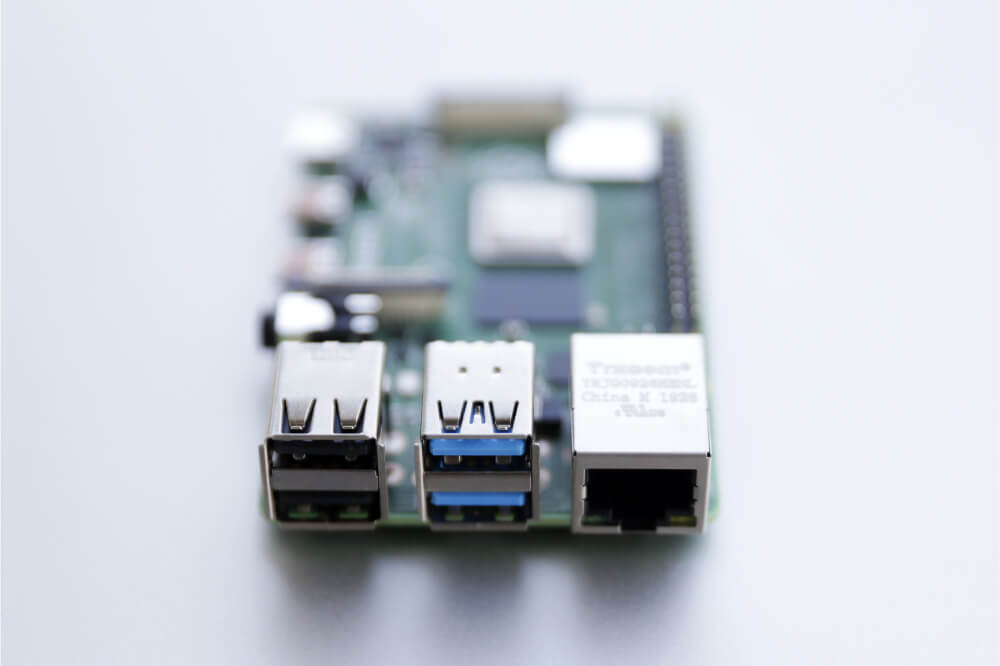
Installing a PoE HAT is relatively easy; however, before doing so, you will need to attach the supplied spacer onto the four corners of your board. Once that is done, you will connect your Raspberry Pi PoE HAT to the 0.1-inch headers (40+4) available on your Raspberry Pi. When you have the PoE HAT connected, you will power your Raspberry Pi via the RH45 network connector.
You should note that no modification will be required on the main Raspberry Pi board for the PoE HAT to work. However, you should ensure that the Raspberry Pi’s software is updated in order for all the functionality to be present. A PoE HAT is equipped with a relatively small fan, which is controlled by your Raspberry Pi through 12C. This fan turns off and on automatically depending on the temperature levels of your central processor on a Raspberry Pi.

Advantages of using PoE HAT on a Raspberry Pi
Using PoE HAT on your Raspberry Pi tends to have significant benefits, including:
Saving cost and time
With a PoE HAT, you will be able to reduce the amount of cost and time used in installation since it does not require a qualified electrician to help with the installation. You can do this as a DIY project. Compared to the traditional wiring, PoE installation is relatively affordable and can be done within no time.
Highly flexible
When you install a PoE HAT on the Raspberry Pi, you will be able to increase the number of devices that can be mounted. In addition to that, you move the PoE HAT around and can be reconnected quickly. Furthermore, the PoE is ideal for use when installing wireless access points as well as CCTV cameras.
Safe
A PoE is designed to help protect network equipment from overload, incorrect installation, and underpowering. This makes it best for use in a Raspberry Pi. In addition to that, PoE volts are approximately 15 watts to 90 watts, and conduits, as well as metal cladding, are often not required. You can easily install it using a Cat5e or Cat6 ethernet cable with utmost ease and without the need to have an electrician.
Centralized control
Since PoE comes from the central and universally compatible source, managing power to your Raspberry Pi from a centralized switch becomes relatively easy. In addition to that, you can as well back it up using an uninterruptible power source.
Using a PoE HAT with your Raspberry Pi
Raspberry Pi Power-over-Ethernet HAT
As previously stated, Raspberry Pi PoE Hat is a relatively small accessory used in a Raspberry Pi computer. It has been designed to help in allowing you to power the Raspberry Pi with a PoE that is network-enabled. With the flexibility of a PoE HAT, you can control the fan with more than 12C, which is added to help win enhancing the cooling effect. This is ideal in the events where your system might require to be constructed in a harsh environment.
Since the fan will be controlled with 12C, there will be no GPIO pins used; this means that you can add a second HAT on your connector using a 40-way and the 4-way connector that are equipped with PoE splitter.
With the Power-over-ethernet HAT, you will be able to power the Pi irrespective of its location. In addition to that, you will experience improved network boost, allowing you to dispense with your power supply as well as the SD card. This makes the deployment more affordable for the Raspberry Pi-based systems in a workplace or factory.
Using the power-over-ethernet HAT
In order for you to use this product, the network in which you will connect it to requires a piece of power-sourcing equipment fitted in it. Once that is done, you can use it with the utmost ease. To use this product, you will plug in your ethernet cable into the Power-over-Ethernet HAT for it to be powered.
Final thoughts
A power-over-ethernet HAT makes it relatively easy to wire your project. Instead of using two wires for data and power, you will only require one ethernet cable that will serve both purposes at the same time. The best part of using a PoE is that it does not have any effect on your data; therefore, you will not lose bandwidth while using PoE.
PoE is capable of providing power that is required for operating a Raspberry Pi. However, you will need a power sourcing equipment that will help in powering your Raspberry Pi. This can be provided either by a network switch or power injector on your ethernet cable.
A PoE HAT is a compact and single-sided board that is fitted within your Raspberry Pi’s footprint. The device will fit perfectly inside your Raspberry Pi. With a small fan pre-installed on your board, it is useful for individuals building systems in a challenging environment; the additional fan will help in offering an effective cooling process.
You can control the fan with utmost ease over a 12C via an ATMEL processor that allows it to be temperature controlled. When the raspberry attains a particular temperature, the fan will automatically turn on to help in cooling it down. However, you will require the latest firmware to assist in achieving this effect.
