In this guide, you’ll learn how to install and fully set up the Home Assistant on the Raspberry Pi. The Home Assistant is an open-source software made for home automation and was designed with certain devices in mind, including the Raspberry Pi. Once on your hand, you can ascertain that the Home Assistant was primarily designed for you to control and have protection over your privacy.
The software allows you to monitor the state of every electrical device or appliance in your home. Additionally, Home Assistance gives you the chance of setting up automation for interacting with the devices in your house. It’s a flexible application that delivers comfort and control in your hands, especially if you are a tech enthusiast living in a modern digital home.
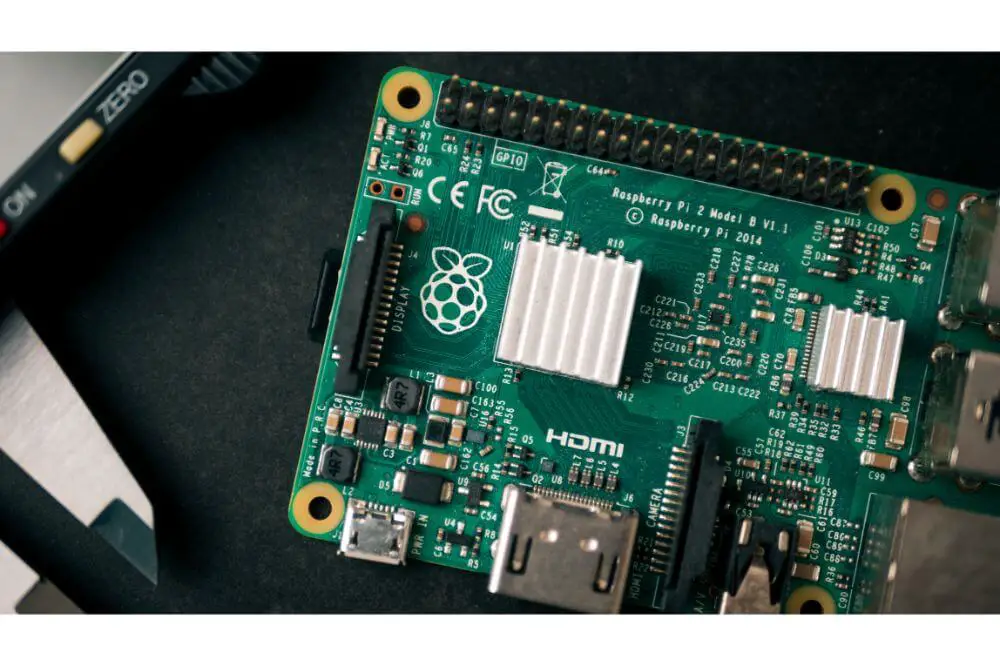
Now, adding the Raspberry Pi’s capabilities to the Home Assistant software further enhances its capabilities. The following features of the Raspberry Pi highly contribute to the process of installing Home Assistant on the Raspberry Pi:
- Compact
- Relatively cheap
- Vast connectivity options
- Consumes less power
As you can see, the Raspberry Pi is a very versatile device capable of integrating a lot of commands. It comes with a lot of benefits with affordability and flexibility being at the very top. So, let’s now learn how to install Home Assistant on Raspberry Pi.

Things Needed
- Raspberry Pi (Any version will do here)
- A fast Micro SD Memory Card
- Efficient power supply
- Ethernet or Wi-Fi (only if using the Raspberry Pi 1 and Pi 2, since the Pi 3 and Pi 4 have built-in Wi-Fi)
Install the Home Assistant Software
After assembling what’s required for the whole process, the initial step is to now install the software on the R-Pi.
First of all, connect and type the following command list for updating the system of your Raspberry Pi version:
sudo apt-get update
sudo apt-get upgrade –y
After updating your system using the above commands, you now have to install the dependencies. You’ll do this by entering the following:
sudo apt-get install python3 python3-dev python3-venv python3-pip libffi-dev libssl-dev autoconf build-essential
Next you’ll add a Home Assistant account called ‘homeassistant’. Enter the following:
sudo useradd -rm homeassistant -G dialout,gpio,i2cAfter successfully creating the account, you’ll then create the directory of the Home Assistant’s installation. Additionally, you need to modify to the ‘homeassistant’ account from the owner by entering the following:
cd /srv
sudo mkdir homeassistant
sudo chown homeassistant:homeassistant homeassistant
Moving on, creating and changing to the Home Assistant’s virtual environment is the next step. You’ll do this as the ‘homeassistant’ account and enter the following command list:
sudo -u homeassistant -H -s
cd /srv/homeassistant
python3 -m venv .
source bin/activate
After successfully activating the VE, you’ll immediately notice this change: (homeassistant) homeassistant@raspberrypi:/srv/homeassistant $. Now, what follows next is installing the Python required package using the command below:
python3 -m pip install wheelThe next step is to now install the Home Assistant. Use the command below:
pip3 install homeassistantOnce installed, starting the software will finalize your installation process and automatically create the configuration directory for the ‘homeassistant’.
Configuration of the VE – Virtual Environment
Once finished with installing the Home Assistant, proceed to configuring the .bashrc specifically for the VE. The Virtual Environment is the space you’ll use to run the testing of the Home Assistant’s configuration.
Here is the configuration process: enter the following command
vi /home/homeassistant/.bashrcMoving on, you should only copy and paste the command list below at the file’s footer:
source /srv/homeassistant/homeassistant_venv/bin/activateNow, save and enter the following commands to test the file:
exit
sudo su -s /bin/bash homeassistant
If successfully considered, this is what you’ll see: (homeassistant_venv) homeassistant@raspberrypi:/home/pi
Installing Home Assistant’s Program
After accessing the Home Assistant’s virtual environment, use the following commands to install the Home Assistant’s program:
(homeassistant_venv) homeassistant@raspberrypi:/home/pi $ cd /srv/homeassistant
(homeassistant_venv) homeassistant@raspberrypi:/srv/homeassistant/ $ pip3 install homeassistant
At this point, you have to employ patience as the program installs. The installation speed mainly depends on the memory card’s speed as well as the Raspberry Pi’s version.
After successful installation, entering the command list below will see you manually start the program:
(homeassistant_venv) homeassistant@raspberrypi:/home/pi $ hassRestart the Home Assistant Software
After configuring the Virtual Environment and installing the program, you should restart the Home Assistant to ascertain the state of the changes made.
The following command will help you test for any available errors in your configuration:
sudo su -s /bin/bash homeassistant
(homeassistant_venv) homeassistant@raspberrypi:/home/pi $ hass --script check_config
And if you followed the instructions carefully, there should be no errors in the check. Moving on, here’s how you should restart the software using the systemctl:
sudo systemctl stop home-assistant@pi
sudo systemctl start home-assistant@pi
Once through, you can now access your installation on the Raspberry Pi on ‘http://ipaddress:8123’. And at this point, you’ll surely notice the accessibility of the two LED’s.
Updating Instructions
Before concluding the guide, it would be best to first understand how you can update Home Assistant to the latest version. You can do it using the following list of commands:
sudo -u homeassistant -H -s
source /srv/homeassistant/bin/activate
pip3 install --upgrade homeassistant
When you do this, the latest command should be executed and restarting Home Assistant will automatically install the new updates fully.
Conclusion
Great! You’ve made it all the way here. Hopefully you were successfully able to install Home Assistant on your Raspberry Pi. The process takes some time but it’s all worth it in the end. Also, you need to pay close attention and adhere to the instructions if you want to see the right results.
Well, thanks to the many features and connectivity options available on the Raspberry Pi, you now have enhanced control with the Home Assistance software. It is not complicated to install a home assistant on your Raspberry Pi, and all you need to do is follow the above directions.
Note that you have to use an appropriate power supply with your Raspberry Pi. This is because USB ports on your host computer won’t supply enough of the required power, hence can’t be relied upon.

