
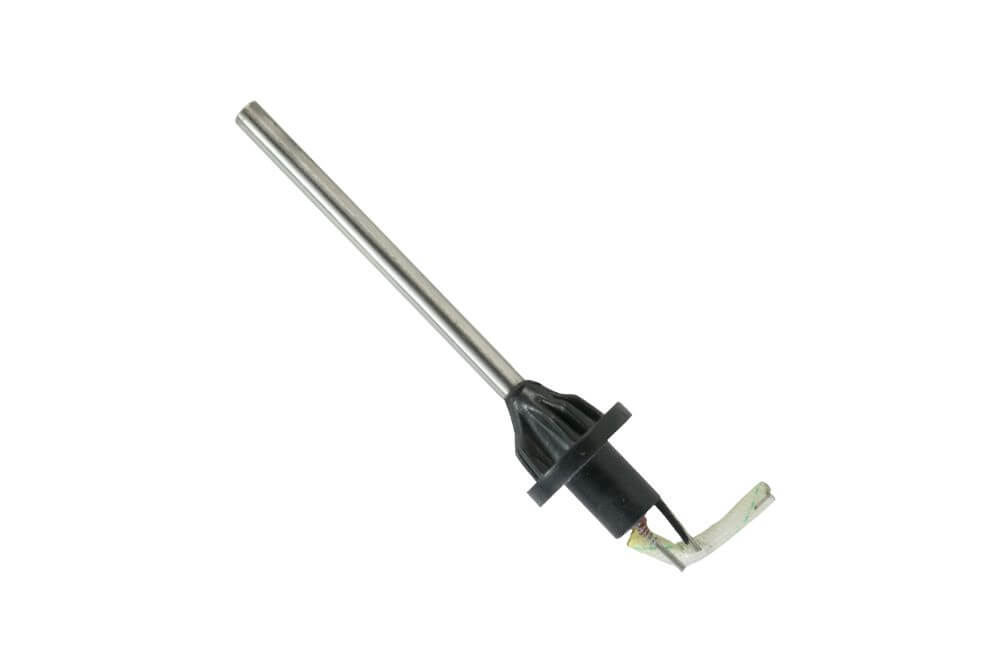
One of the most vital parts of the soldering iron is the heating element. This component is located at the tip of your soldering iron and comes with heat insulation. It’s usually either powered with a battery or the mains electricity.
- What’s A Heating Element
- How Do You Make A Heating Element For Your Soldering Iron?
- Step: Establish The Heat Voltage Required
- Step 2: Design The Nickel-chromium Wire To Your Wished Shaped
- Step 3: Cut Off One End of The Heating Coil If Needed
- Step 4: Join The Nickel-chromium Wire To A Source of Heat
- Step 5: Test The Heat Source
- Step 6: Secure The Heating Coil
- Step 7: Test The Heating Element
- Uses of The Soldering Iron
- Conclusion
The heating element usually functions through resistive material, which entails electrical current passing through it. This process is similar to that of the electric bar fire, albeit not being as hot or aggressive.
Now that it’s evident that the heating element does play a vital role, how do you make one? If this is a question you’ve been asking yourself, this article is meant for you. Here’s an in-depth guide on the steps on how to make a heating element for your soldering iron.
What’s A Heating Element
The heating element consists of tightly warped coils of resistive wires mounted into an electric furnace cabinet. Before you even get to learn how to make a heating element, it’s essential to understand what precisely this component is.
Heating elements are usually integrated into the soldering iron works by converting electrical energy into heat in a process known as Joule or resistive heating.
All this is possible due to the principle of resistance, which elaborates on how the heating element functions. This usually happens because as the electric current passes through the element, it meets resistance responsible for producing heat.
Heating elements are generally made from a strip of wire, ribbon, or coil that offers heat, such as a lamp filament. Most of these heating elements comprise an electric current that flows through the wire, ribbon, or coil, thereby making it very hot. Consequently, this electrical energy is converted into heat that’s spread in all the directions.
How Do You Make A Heating Element For Your Soldering Iron?
Now that you understand what exactly a heating element is and an overview of how they work, it’s time to learn how to make one. They’re essential for many appliances, including furnaces, dryers as well as coffee makers. Here’s an outline of the steps to follow when making a heating element for your soldering iron.
Step: Establish The Heat Voltage Required
The quantity of nickel-chromium alloy needed varies depending on the heating voltage your soldering iron requires to generate. If you wish to replace a destroyed heating element in your soldering iron, start by inspecting its voltage and resistance by going over the product’s old user manual.
You should also consider following the manufacturer’s nickel-chromium wire to confirm the voltage is suitable for your appliance. It wouldn’t be a bad idea to use a calculator to determine the correct amount of voltage needed when doing this.
Step 2: Design The Nickel-chromium Wire To Your Wished Shaped
Coil the wire slowly to create the desired shape. As you do this, make sure the designed shape fits the space of the soldering iron perfectly. When doing this, slowly coil the wire until it achieves your desired diameter or area, and having a measuring gadget would be ideal to confirm the requirements are as required.
Step 3: Cut Off One End of The Heating Coil If Needed
You should cut and then connect the wires as required for what’s needed. If you want to prevent any mistake while doing this, make sure to reach the proper size and shape before cutting the ends. By doing this, you’ll be sure that the new length of the wire is as needed.
Step 4: Join The Nickel-chromium Wire To A Source of Heat
This step involves connecting the power source and the nickel-chromium heating coil end, which you’ll be using. When doing this, drive in the screws loosely as required and confirm if there are any unattached ends that you’ll need to cover using electrical tape.
Step 5: Test The Heat Source
Connect your soldering iron to power to confirm whether the heating element has been installed correctly. If these wires don’t heat up, you need to disconnect the soldering iron and change all the power source connections.
Step 6: Secure The Heating Coil
After confirming every connection is working correctly, proceed to position the heating coil by fastening the surrounding screws. Subsequently, follow this up by installing it into the space allotted inside the soldering iron and get new covers if necessary.
Step 7: Test The Heating Element
You should now test to see whether your heating element can withstand working in the soldering iron. The way you can do this is by setting your soldering iron at its highest temperature and inspecting whether the heating coil does respond as expected. It’s best to leave your soldering iron for several minutes to confirm whether the heating element will be able to handle any future tasks it’s used in.
If it continues working without any glitch, you’ll comfortably know your heating element is in excellent condition. Therefore, you shouldn’t have any concerns when using your soldering iron.

Uses of The Soldering Iron
Once you’re done making the heating element and confirm it’s working as expected, you can start using your soldering iron. Here are some of the most common things you can use this handy tool for.
Carrying Out Plumbing Repairs
The soldering iron is a useful tool when performing other useful tasks that need you to carry out fast repairs to copper or any other metal pipe. You should ideally opt for a lead-free solder to prevent exposure to any harmful materials.
Doing Auto Repairs
The soldering iron is also useful when carrying out auto repairs. This is especially the case when fixing issues such as tightening joints, irregular cavities, or smoothing the rough edges.
When Doing Roofing Repairs
When carrying out roofing repairs, having a soldering iron will come very much in handy. The reason for this is you’ll use this tool in galvanizing metals for joining metal gutters sections to each other and connecting galvanized metals.
Conclusion
The heating element is among the most crucial parts that ensure the soldering iron functions properly. Therefore, knowing how to make one would be great, and if you didn’t know where to start reading this in-depth guide has offered you the needed Subsequently, you’ll be able to carry out your soldering duties.
