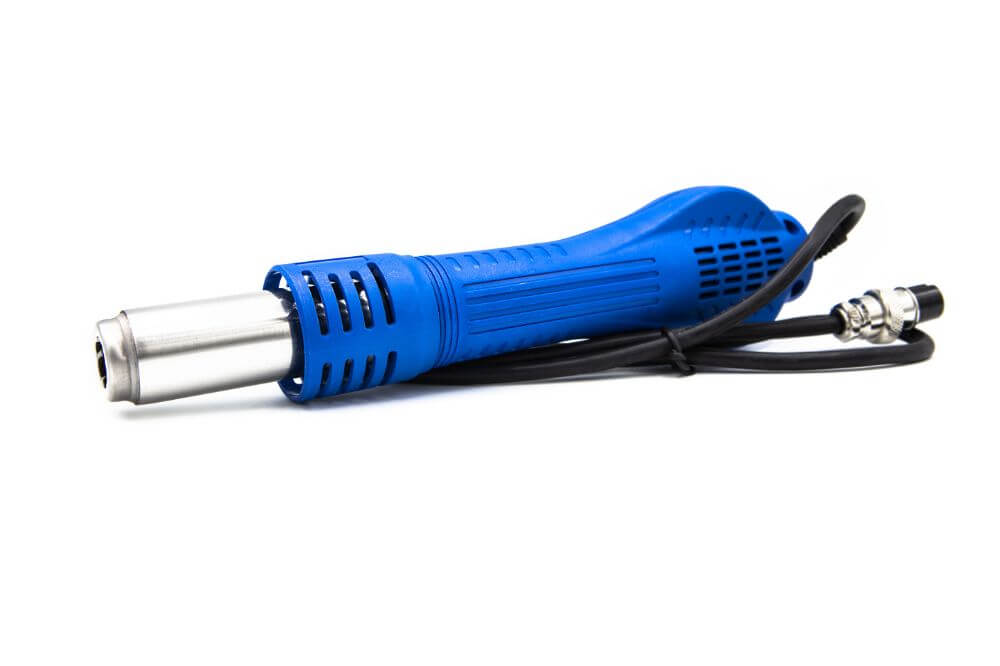
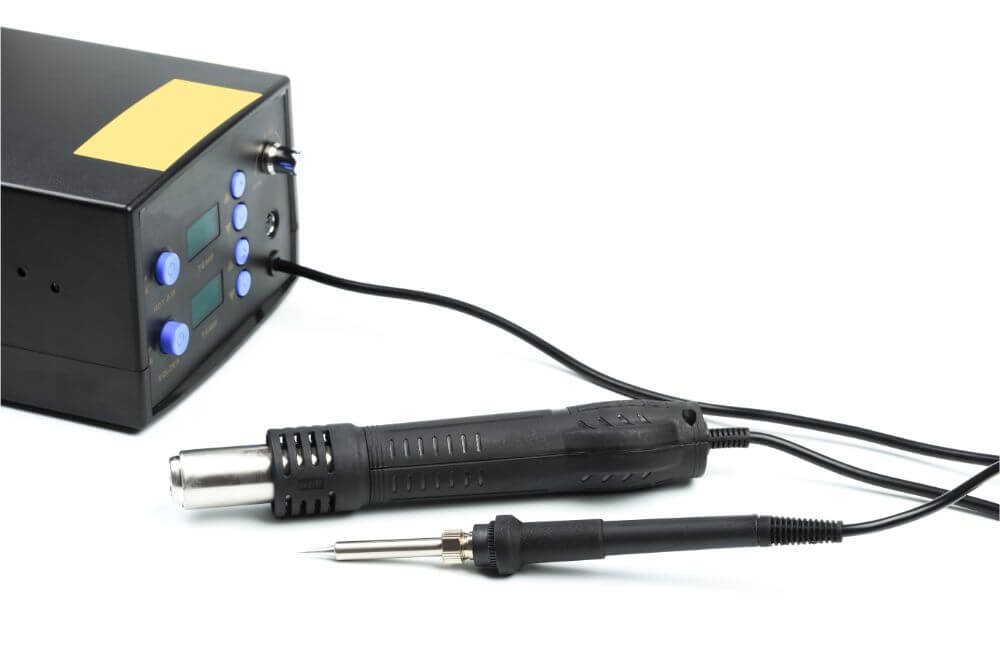
Do you want to do a spot of de-soldering (or soldering) but do not have a proper rework station? Worry not, with a few old parts; you can have a fully functional hot air soldering iron in no time. A DIY hot air rework station will ensure you get the job done efficiently and effectively.
Using a hot air iron, you can quickly melt the solder, enabling you to remove the required components from an old circuit board. A hot air soldering gun will not only save you a great deal of time in salvaging parts from the board; it also allows you to solder on new ones. That is great for a win-win!
So, let’s go into an in-depth exploration of how to make a hot air soldering iron.

1. Step One (The Parts)
- The very first thing we will need is a desoldering iron; whose prices range anywhere between US$3 and US$8. For our project here, we can use the most basic model. (Even better is when you have one lying around in your toolbox somewhere)
- A screw: (of roughly 6mm thickness and 30mm length). The basic idea is to drill a hole through it to allow a transmitting wire through.
- A plastic bottle cap: This cap will be useful in connecting the cylinder to the air pump.
- An air pump or vacuum: While a cheap air pump or compressor is relatively easy to find, it is essential to note that only one with variable speed control will do. We found one in an old aquarium that fits the bill perfectly.
- Rubber sleeve
2. Step Two: Safety First.
Now that you have put together the necessary parts to build your very own hot air soldering gun, it is essential to take note of the following tips for safe soldering and desoldering.
- Ensure your workspace is well ventilated to prevent inhalation of fumes. In the breathing zone, e.g., use in an open area with cross ventilation or with a fume extraction system.
- Always keep any soldering tool in its stand between operations. Also, ensuring that any of its cords or cables do not pose a tripping hazard.
- Ensure your hot air soldering gun’s tip is free from waste build-up and only use a damp cloth to clean it.
- Never leave a soldering iron unattended when turned on or still hot.
- Remember to inspect and replace any worn out parts on your soldering device. Do not plug in and turn on until the tip element has been inspected or replaced and tightened.
- Never touch the soldering tip.
- Always wear safety glasses. Smoke and hot particles can find their way into your eyes.
- Avoid prolonged use of the soldering gun as this could overheat the tip element causing it to malfunction.
- Always allow the soldering iron sufficient time to reach optimum temperature.
- Wash your hands after using solder as you may have come into contact with toxic materials.
- After completion, turn your hot air soldering off and wait until the tip element has completely cooled before storing it in a safe and appropriate place.
3. The Build
- Drill a hole into the plastic cap to fit a Hose Tee fitting.
- Locate an end of the rubber sleeve to allow your thumb to control the restricting and allowing of airflow.
- Seal up vents and seams where the metal tube joins the fabricated housing.
- Once you achieve a desirable thumb position, weld the tee into place.
- Grind the threads inside the cone. (This will ensure the lines can slip in easily).
- Use a thread seal to secure the open tip hole.
- Coat the threads with an appropriate coating and allow it to set.
- Unscrew the metal cone.; This is now your hot air tip.
- Roll some copper foil into the metal tube.
- Now put this coil into the desoldering iron shaft. This way, you ensure that the loop will release more heat as the air flows through it.
- Connect the pieces of hose to the pump and then connect the other end to the Valve.
- Attach the air hose to your shaft.
Now you have a working hot air soldering iron! Let’s give it a try;
4. On to Soldering
Keep your hot air soldering iron firmly in place as you plug into a power source. Both The heating element and blower should remain off until you hit the power switch. Once the power switch is in the ON position, the hot air soldering iron’s heating element will quickly begin to rise in temperature.
Please wait for the iron to heat up before attempting to use it. You may notice a little white smoke during its initial powering; this is normal and will dissipate. Adjust your airflow and temperature accordingly, bearing in mind that these should be higher than that of the solder itself.
A good idea is to test on a small non-essential component before working on any significant project. When you are confident that your settings are all accurate, carefully aim the nozzle at the area you are working on.
Moving the nozzle back and forth should cause the solder to begin flowing. A shiny, molten appearance will tell you that your solder is melting, and your hot air soldering gun has been worth the time. Move and adjust the components you desire to work on using a pair of tweezers.
5. Maintenance and Care
Knowing how to make a hot air soldering iron is one thing; however, taking care of it is essential. When using a soldering iron, there is always the danger of oxide build-up on your tips. An excellent way to significantly minimize the risk of heavy oxides making their home on your soldering tip is to check on heat transfer carefully.
Heating the tip to temperatures beyond 400°C runs the risk of oxides forming after the tip cools. As a rule of thumb, it is good practice to clean and apply new solder. Remember to check for tiny fragments that may have lodged themselves in any openings on the hot air soldering gun.
As always, make sure to turn the power off when not using the iron.
Final Thoughts
So there you have it, a fully operational hot air soldering iron does not require you to break the bank. With just a few scraps and less than 20$US, soldering and desoldering with a hot air solder iron becomes very achievable.


