
If you are on the quest to make a humanoid robot using Arduino and code, we’ve got you covered. Making a humanoid robot can be quite fascinating and Arduino plus code can make that happen if you efficiently carry out the process and ensure everything is done right.
- First Step: Design the Model through Trials and Errors
- Second Step: Come Up with an Algorithm and Model
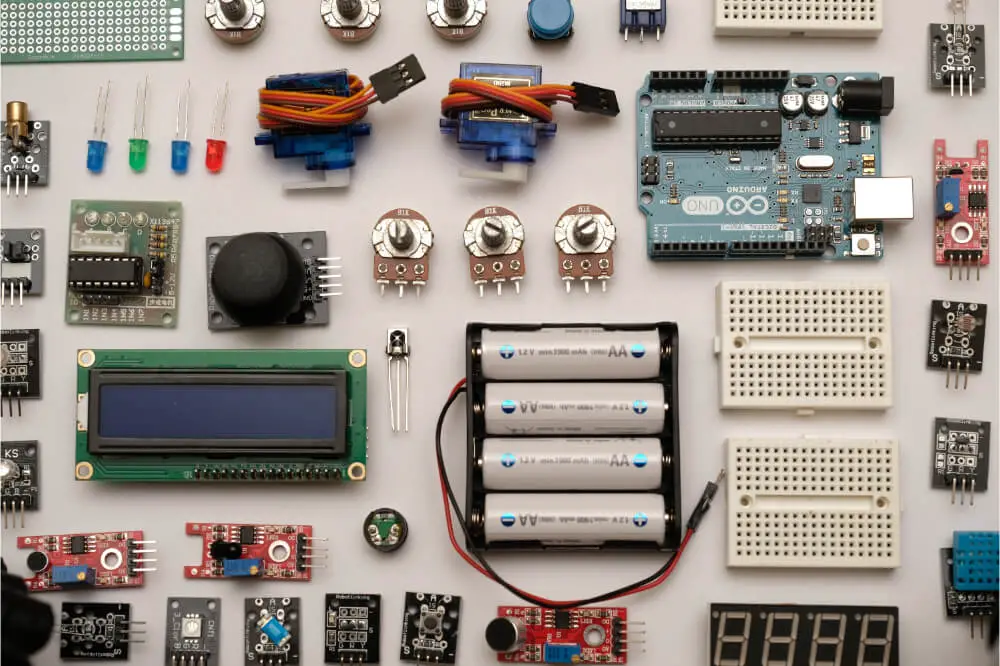
- Third Step: Know the Components that You Need
- Fourth Step: Begin to Build the Body of Your Robot
- Fifth Step: The Wiring Process
- Sixth Step: Power Increment
- Seventh Step: The Code
- Essential Tips to Consider
- Conclusion
The advantage of creating a humanoid robot using Arduino and code is that it will be cheaper compared to using other methods. In this post, we will use an example of creating a humanoid robot with PVC foam sheet. You can choose your preferred thickness from 0.5mm and above. The example is for a robot that can only walk when you switch it on.
First Step: Design the Model through Trials and Errors
The first step involves designing the model of your robot through trials and errors. Trials are good and also when you get errors, they help you to identify various weaknesses and where you can improve to make your robot better.
You can plan for the robot to have between 5 and 6 feet in size. Our trials and errors made us realize the maximum torque of a servo and we reduced it to 3 feet of its total height.
Second Step: Come Up with an Algorithm and Model
The second step requires you to come up with an algorithm and model of the robot you’re creating. However, before you move to this second step you need to decide the number of robots that you need and also where you want to fix them.
Once you’ve figured that out, you can go ahead and design the body of your robot depending on how you want it to look like.

Third Step: Know the Components that You Need
When you’re creating a humanoid robot using Arduino and code, there are various components that you need to get the work done. Check out these components below:
- Super glue
- Plastic sheet
- 6 volts battery – A maximum of five motors for every battery
- HC-05 Bluetooth module ideal for communication
- Up to 15 high-torque servo motors
- Other necessary basic stuff
Fourth Step: Begin to Build the Body of Your Robot
You can use wooden pieces to build the body of your robot, although you need to note that you’ll undergo some struggle due to the materials. However, a good alternative would be to use a plastic sheet which is really easy to fold and set the way that you want.
You can cut the materials into various shapes and paste them. We also recommend cutting holes in order for the servo motors to fit directly into the sheet that you are using. For this, you can apply the super glue.
Fifth Step: The Wiring Process
You don’t have to be an electrical major student to carry out this process properly because it is quite simple and easy to master. Also, if you don’t have the time to design proper wiring or PCB, you can do a simple wiring process to get things done.
All you have to do is to connect the wires appropriately and ensure everything is in the right order for the robot to start working. If you don’t have any idea about how you should conduct the wiring process, you can do thorough research on the web and try to find out if there are other simple ways to go about it.
Sixth Step: Power Increment
For the process in this sixth step, you can use even 11 servo motors. However, you are free to use the number of servo motors that you feel are ideal for the project depending on the capabilities. You can gradually increase servo motors at every joint of the legs in the robot.
Seventh Step: The Code
There is an Arduino code that you need to include which we will highlight below:
For(j=0;j<360;++) {
Servo.write(j);
}
The code you see above is the basic code for rotating a servo motor that is attached to the Arduino board. However, in order to calibrate the rotating degrees and also decide the motors that you want to run during your robot’s movement on each leg is quite challenging. This is the part of the code that requires you to be keen since it’s not easy.
There is a sketch known as the “Servo_Test that can do that but you have to test the degree of rotation of all the motors by using serial communication via the Arduino board. Therefore, this can help you to calibrate all the motors.
Once that has been done, the robot can now start walking, although you will still have to enter the “0” value in the serial monitor window.
Essential Tips to Consider
When you are making a humanoid robot using the Arduino and code, you have to consider various things, and one of them is the power source that you’re going to use. There is the option of powering your robot through USB power or 6 AA cells.
We wouldn’t recommend using a USB to power your robot because not only is it inconvenient, but may also cause disturbances. However, the power source choice remains yours and that means you are free to choose an option that you are comfortable with.
Using the USB power only requires you to use a printer cable for connection and you’ll get power. However, with AA cells, things are simpler.
Another thing to consider is whether you want to add feet to your robot. You can create feet through wooden pieces of sizes 6.2 x 4.6 cm. When making the feet, we highly recommend avoiding cardboards because they tend to be awful and floppy.
Conclusion
Making a humanoid robot using Arduino and code is quite simple as you have seen in this post. The process can take just a few hours and you will have your robot jumping up and down around your house. Therefore, be sure to try it out today. This article aims at explaining the process exhaustively such that it becomes easier for you.
