
Are you looking for the right information on how to make a quadcopter using Arduino Uno? You are in the right place. A quadcopter can be quite expensive and finding a way to create your own can really come in handy and help you save on costs.
If you’ve ever had the idea to build your own quadcopter, this post will provide you with the right information and insights to help you make that dream come true. Researching can be quite difficult and frustrating. Luckily, this post was specifically created to help ease the process of research and simplify things to help you create a quadcopter faster and efficiently.
However, you should note that it takes hours and effort to build your own quadcopter from scratch. Therefore, that means you need to be prepared and have patience if you lack the right programming skills.
The good news is that the project we are going to discuss here does not involve very serious building, since it’s more of a “putting parts together’ kind of project. This means that you can do it within 1 or 2 hours and you will be ready to take your quadcopter to test the skies.
Most hardcore drone enthusiasts love the whole process of building a quadcopter from scratch. The reason being, it gets you hooked with the entire process of building something from the ground up and seeing it hit the skies with much power and efficiency.

Required Materials
The first step is finding out some of the materials that are required to make the quadcopter using Arduino Uno. Check out these materials below.
- 30 AMP ESCs x 4pcs
- 1000KV brushless motors x 4pcs
- Perfboard/verroboard
- 1045 propeller x 4pcs
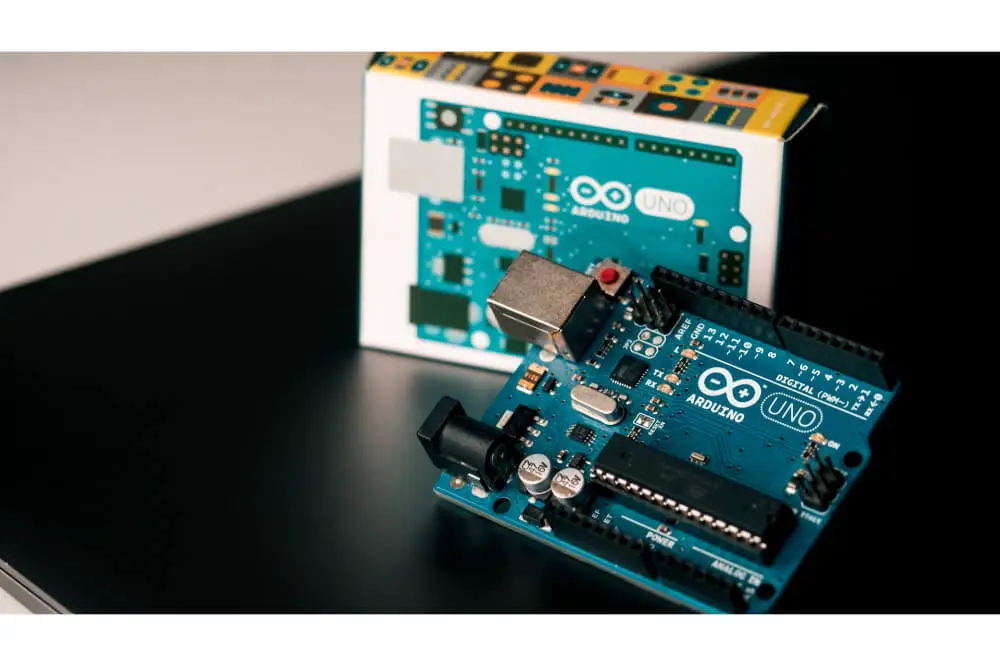
- Arduino Uno + MPU6050
- Heat shrink tube – You can also use an electrical insulation tape
- Plastic box specifically for electronics
- Double-sided tape, soldering wire and iron
- Receiver and transmitter
- A hollow aluminum bar, plate and soft wood
- 2200 mAh li-po battery or higher
- 1.5k, 1k & 300E resistors and 1 piece of LED
Mount the Motor
When you buy the motors, the motor mount and several screws also come with it. The second step involves mounting the aluminum motor with the use of screws. Ensure that you properly use the screws to mount the motor to avoid falling off and repeating the same thing more than once.
Making the Frame
The third step involves making the frame and for this you can use an old aluminum antenna, plate and soft wood. All you have to do is just cut four aluminum bar pieces with sizes 20cm each.
The dimension of the center plat should be 11x18cm, while the wooden motor mount is supposed to be approximately 10cm long with a diameter of 4.5cm where the motor has been mounted. You also have to ensure that you fix the aluminum bars with the center plate by using screws, and then slide the motor mount right under the aluminum bars. Once you have done, rest assured that the frame will be ready.
Mount Everything
After you have completed the above processes, the next thing you need to do is mount everything together. Take the motor and mount it to the wooden motor mount using nuts and screws, and then connect the ESC wire randomly and fix them using an electrical tape or zip ties. We would recommend using an electrical tape as it is much more convenient compared to using another option.
After you’ve connected all the ESCs and motors, go ahead and cut the positive and negative ESC wires and then connect them using PDB or wires. If you have limited space in your frame for ESCs, you can use wires.
Note: You need to remove any props that you have while setting up your quadcopter, and also avoid flying inside your house.
Create a Flight Controller
The fifth step involves creating a flight controller using the MPU6050 and Arduino Uno. You can base your flight controller on any idea that you have, you don’t have to limit yourself in terms of what needs to be done for your controller. This provides you with an opportunity to create a controller that fully meets your needs and works the way you want.
Connect the Receiver and ESCs to FC
Avoid connecting the ESCs BEC wire and only ensure that you connect the signal wire, plus power up the receiver through the use of an Arduino 5-volt supply. After you’ve done that, go ahead and connect the ESCs signal wires as shown below.
Connecting ESC
- Connect the digital pin 4 to the ESC 1
- Connect the digital pin 5 to the ESC 2
- Connect the digital pin 6 to the ESC 3
- Connect the digital pin 7 to the ESC 4
Connecting the receiver
- Connect the digital pin 8 to the receiver channel 1
- Connect the digital pin 9 to the receiver channel 2
- Connect the digital pin 10 to the receiver channel 3
- Connect the digital pin 11 to the receiver channel 4
Setup the Flight Controller
Setting up the flight controller is the seventh step in this process of making a quadcopter using Arduino Uno. In this step, you need to avoid connecting the flight battery. You can check out this sketch for a flight controller and upload the code to create the right controller for your quadcopter.
Although most people don’t know, when you follow the right procedure such as the simple one that we’ve outlined in this post, you are bound to get excellent results and come up with a quadcopter that you will be proud of in the end.
The process is not going to be easy but it will be worth the effort once you see the end results and you have a flying quadcopter.
Bottomline
This article strives to exhaustively elaborate how to make a quadcopter using Arduino Uno. It is a flawless guide that leaves no stone unturned. You should be having the right skills to get it done like a pro after reading this article.
