Soldering iron with a charger is convenient because you do not have to worry about running out of juice in the middle of a project. Purchasing one, can, however, turn out to be expensive. Nevertheless, you do not have to worry, we have you covered.
In our guide, we will take you through a step-by-step process on how to make a soldering iron with a charger. The steps are easy to follow and beginner-friendly. With a few simple tools and parts that you can find within the home, you can get down to building your own soldering iron.

Step-By-Step Process for Making a Soldering Iron with a Charger
The material you will require for the project include:
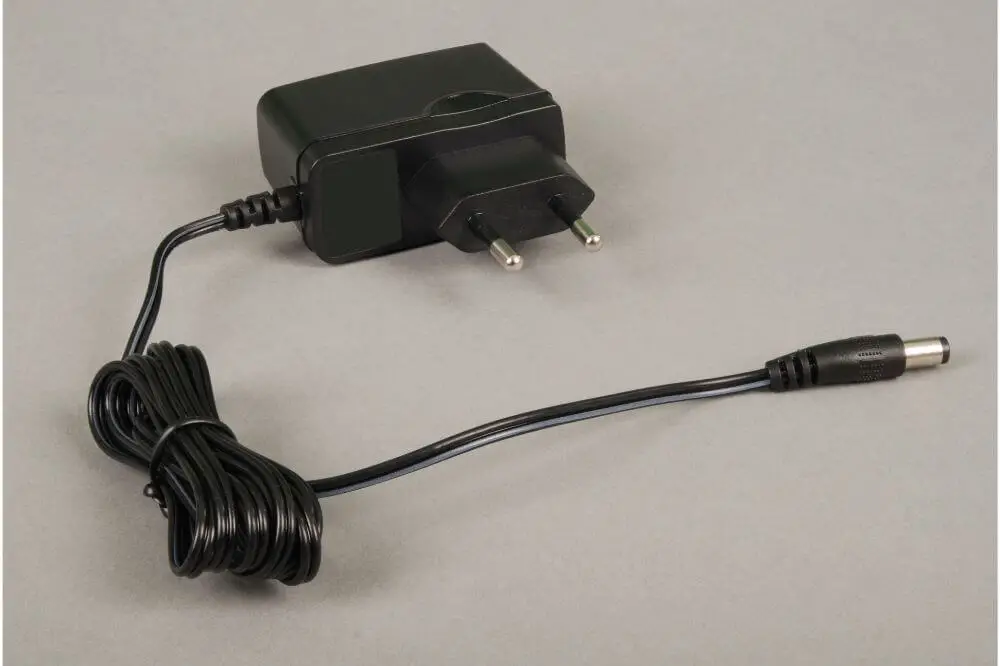
- A 12V charger
- 10 ohms resistor
- A tip, which you can purchase from the hardware
- Heat resistance tube
- Hollow aluminum tube
- Drill and bit
- Cabling wire
- A hollow piece of wood with a hole in the middle for the handle
- A small hollow piece of wood (you can use a round pencil for this). You must, however, ensure the diameter you choose will fit into the hole for the handle.
Once you collect all the material, follow the steps below:
- Bend the resistor wires so that it forms something like the letter V
- Turn the ends inwards so that you have a place to connect the red and black wire for the cabling.
- Insert the heat resistant tube to cover the exposed part of the red and white wires
- Insert the insulated wire into the tube
- Take a hollow aluminum tube and create heat breaks by drilling holes into the center. Use your drill bit for this.
- Wind the black and red wires around each other so that you can comfortably thread them into the heat resistant tube. Insert the tube right up to the hollow part of the tip, providing enough insulation for the cabling.
- You should not cover the whole length. Leave about 3 or 4 inches at the bottom for the rest of the setup.
- Insert the cables into the hollow aluminum tube and bring it up to the tip so that it forms the top part of your soldering iron.
Creating the handle
- The hollow piece of wood will create the handle for your soldering iron. When creating the hole, take into consideration the size of the hollow aluminum tube.
- Insert the cables into the piece of wood, bringing it right up to where the hollow aluminum tube is. It should fit in snugly.
- You can fit a hollow tube from the tip and hammer it down so that you enjoy a proper fit of all the components so far. Do not use too much force when hammering it down. You will need to remove the tube you are using as a buffer to protect the tip.
Assembling the charger
It is now time to secure your 12-volt charger wires. We will be using the second smaller piece of wood, which should be about 0.5 inches in length
- Thread the cables from your 12-volt charger through the hole in the smaller piece of wood
- Now connect the wires from your charger with those from the soldering unit you can put together above.
- Cover the open contact points with electrical tape to ensure that they do not touch. The alternative is to use tubes, which you will need to insert before you join the contact points.
- Move the small piece of wood until it reaches where the electrical tape or tubes are. To avoid unnecessary movement, you can use glue to keep it in position.
- Now push everything inside the large wooden handle and secure it with glue.
- Your unit is now complete. Plug it into the power source, and you should be able to use your soldering iron.
Troubleshooting a Soldering Iron
You may notice that your soldering iron is not working. It may, in some instances, not produce any heat at all. In other cases, it may be producing heat, but it is not melting the solder as it should. It is important to learn a few troubleshooting tips so that you always get the best out of your soldering iron. Let’s get into it.
Do not attempt any troubleshooting tips when it is still in the power source. Unplug the iron and allow it to cool down completely before attempting any repairs.
When you notice that your soldering iron is not producing any heat, the issue could be with the heating elements. You may need to replace them entirely to get the soldering iron working again.
There may be instances where you notice the soldering iron is producing heat. However, you may not be able to solder. You may need to change the tip or clean it. One critical element of maintaining your soldering iron is to ensure there is no build-up of dirt or oxides on the surface.
You must learn how to tin it, to keep it in good working condition at all times. The oxide will hinder heat transfer, rendering your soldering iron ineffective.
When your soldering iron does not come on, it may be a problem with the connections. You may need to disassemble your setup and check that you have connected them properly. Align the positive and negative wires correctly so that the flow of electricity happens as it should.
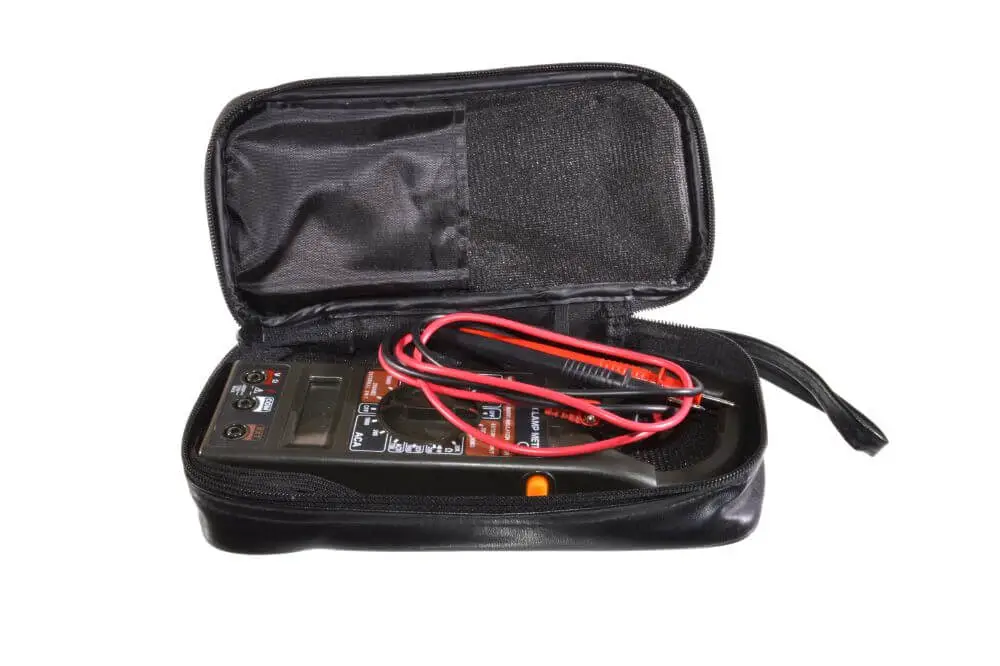
Problems could also be due to some of the components coming loose. Carrying out continuity tests for the whole setup will help you determine the problem and what you need to fix.
When there is a short circuit, it could mean that there are some wires touching that should actually not be. If, for example, you are creating coils, you must ensure that they do not touch. Use insulating tape or maintain enough distance between them to keep them apart.
Final Thoughts
Use our tips above on how to make a soldering iron with a charger for your DIY Project. The process is easy, and the materials are inexpensive. All you need to do is dedicate some time and have a tutorial such as this one to help you.
Good luck with building your charger powered soldering iron.

