
You can build yourself a syringe pump and save yourself thousands of dollars. For as little as $200 and a less time, you can take it on as a DIY project. You get to control your fluids’ flow rate, depending on the projects you are working on.
If, for example, you are working on 3D printing projects, you will need to pump fluids. You must have low volumes or low flow rates that you may not achieve with other pumps. Having a syringe pump will solve such issues for you.
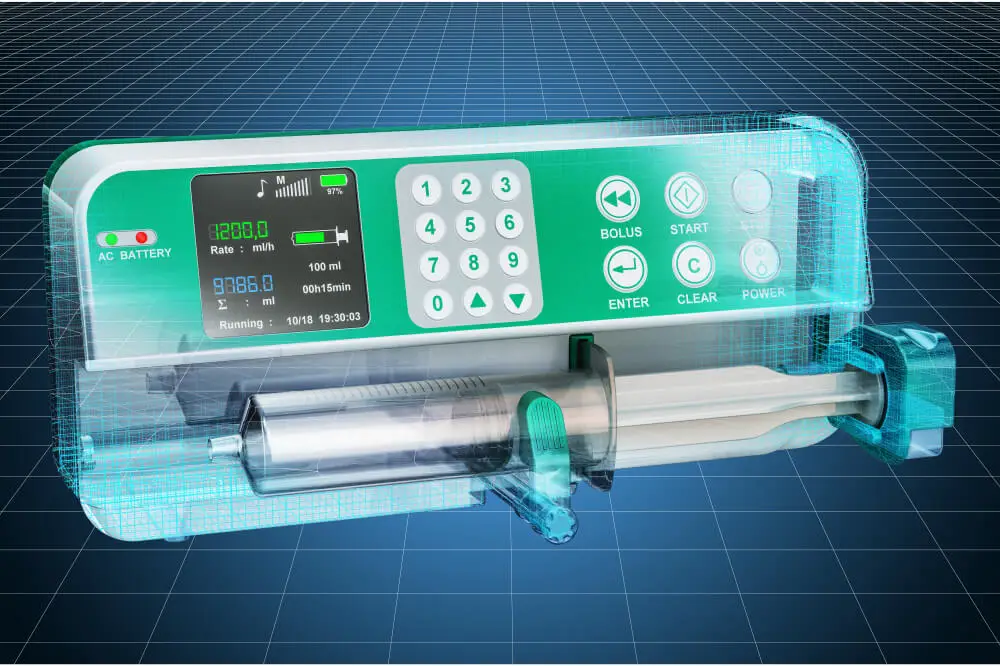
Some people confuse syringe pumps with infusion pumps, but they are different. The similarity is that they both deliver fluids, but infusion pumps deliver higher volumes of fluids.
In our article, we will take you through a step by step process of how to make a syringe pump Arduino. The steps are easy to follow, and in no time, you should have your syringe pump up and running. The best part is; you can buy everything you need from the local hardware.
Assembling the Arduino UNO Unit
What You Will Need

- Arduino UNO microcontroller
- CMC shield board
- Insulated wires
- Screwdriver
Steps to Follow

- Start by assembling the Arduino UNO and CMC shield board
- Plug the CMC shield into the Arduino UNO. Use the pins to help align the two units together. Push the two boards together once the pins are in place.
- You will need the CMC board to connect the motors to the Arduino. It eliminates the need for soldering, which will make it easier for you.
Micro-stepping for motors
- Place the jumpers on the CMC shield. Place the jumpers in front of the pins on the capacitor. Place the jumpers on the allocations on the CMC motor. Three jumpers will give you 30-second microstepping for the motor.
- Do the same for all the motors.
- Put a jumper on the enable pin on the CMC shield. Every time you run your software, you will automatically enable the motors. It improves efficiency by having automatic switches.
Putting the stepper drivers
- Check for the EN sign on the driver.
- Ensure you align it to the EN on the CMC shield. You run the risk of damages if they do not correspond appropriately.
- Plug them into the shield by slotting them into the corresponding position.
- Press them into place to ensure a proper fit.
- Repeat the process for all the drivers.
heatsinks
- heatsinks draw heat away from the chip. If you do not put them in, the unit may overheat when in use.
- Peel off the plastic on the heatsink.
- Place the heatsink on the CMC driver. Do the same for all three.
Power connector
- Screw the red wire into the plus side of the connector. You will need a flat head screwdriver for this.
- Do the same for the minus side, using the black wire.
- Now plug the wires into the CMC shield. Ensure you align the red with the plus side and the same for minus.
Plugging in the motor
- Plug the blue wire into the pins next to the driver. You can use up to 3 motors by plugging them into the appropriate pins.
- It is important to note that if your power supply is above 12 volts, you may also need to invest in a buck converter.

Your microcontroller unit is now ready. Set it aside, and let’s get into the syringe pump assembly process.

How to Build the Syringe Pump
You will need the following materials:
- 3D printed chassis
- 3D printed push block
- Stepper motor like the Nema 17
- Linear shafts and bearings
- Flex coupler
- ¼” by 28 threaded rod
- ¼” by 28 nut
- 8mm bearings
- T-nuts and screws
- 200 mm Linear rod
- M3 flat head screws
- 2mm Allen wrench
- Syringe -You can buy a syringe in the kitchen supply stores or some hardware. Those sold in drugstores may not have a large enough output tube that you will need for attaching the tubing. The drug stores may also not sell them to you without a prescription.
Step by Step Process
- Start by cleaning the push block using a spatula or screwdriver to remove any filler
- In the rectangular slot at the bottom, insert the Hex nut. Push it in until the hole aligns with the center hole on the push block
- Insert the linear bearing on the two holes on either side of the push block
- Repeat the cleaning procedure on the chassis
- Insert the linear rods on the small holes on either side of the large middle hole (go about 1/3 of the way)
- Insert the push block into the chassis and continue to thread the linear rods through the holes on the push block
- You will notice that the push block may move about a little and does not fit in firmly. Don’t worry about this; the motor will secure it into place.
Drive train assembly
- Connect the motor to the coupler through the shaft
- Insert the threaded rod to the other end
- Thread the rod through the large hole in the chassis and the hex nut at the bottom of the push block
- Do not extend it very far ( a few centimeters should do); otherwise, you will inhibit the alignment of the push block with the chassis
Attaching the motor
- Use flat head screws to attach the motor to the chassis
- Place the syringe adapter at the notch right in front of the chassis
- Mount your syringe, and your pump unit is complete.
Now, connect the Arduino to the syringe pump, power it on, and the unit will be ready for use.
Final Thoughts
We have looked at how to make a syringe pump Arduino above. The step-by-step tutorial is easy to follow. You get to save a lot of money that you would otherwise use if you were buying the commercial syringe pumps.
Take the time to learn the steps well to avoid any mistake. A mistake when assembling the controller unit, for example, may make it burn or dysfunction. You will end up spending money only to have to purchase the unit again, resulting in losses for you.
