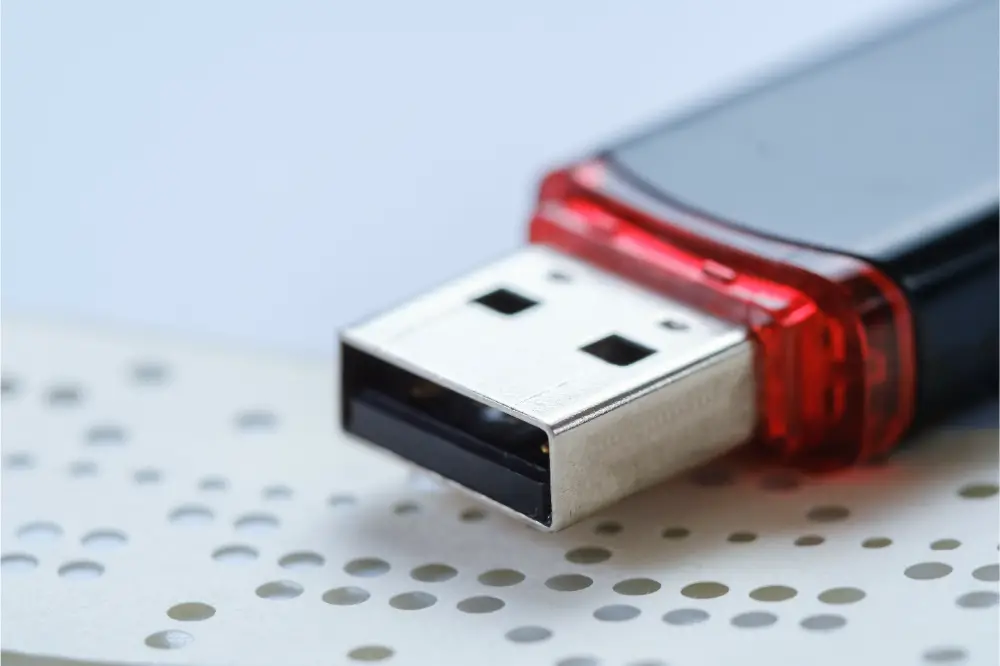
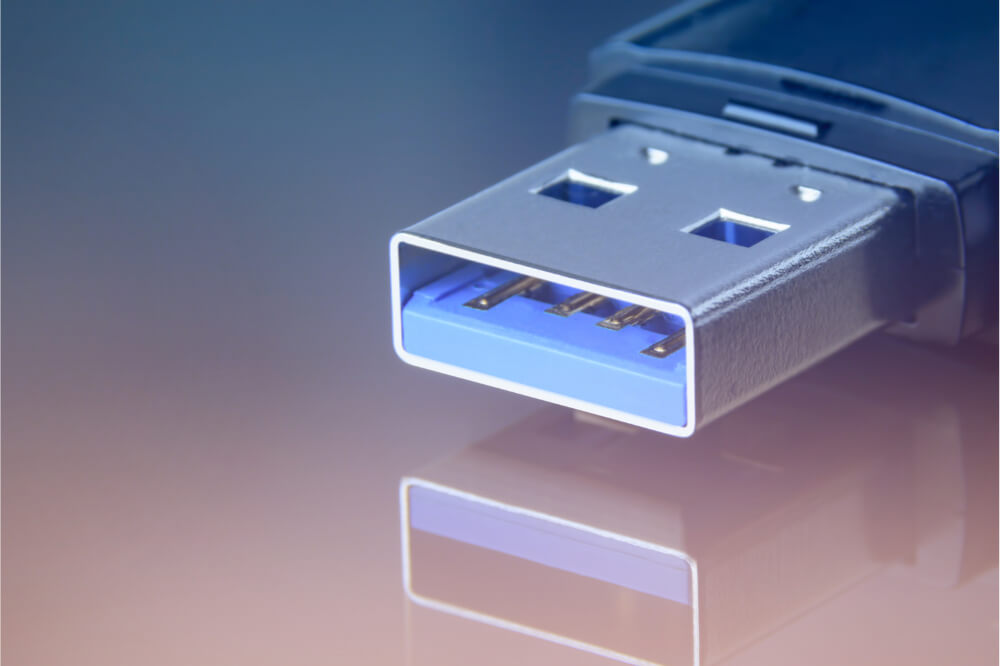
With a USB drive, you can easily connect it to you to any of the USB ports available on your Raspberry Pi. This allows you to have access to the files system and data available on your USB drive.
The process is relatively easy, and by default, your Raspberry Pi will automatically mount some popular file systems like NTFS, FAT, and the HFS+ in /media/pi/.
However, you can still set your device to store your data in a specific location that you prefer the most; you will have to do this manually. In this article, we’ll be discussing how to mount a USB Drive onto your Raspberry Pi. It would be best if you kept in mind that this process is relatively easy and will not take much of your time.

Mounting USB Drive Raspberry Pi
If you are using Raspbian lite, you need to note that it has not been designed to mount your drives automatically. This means that you will have to install or manually a Raspbian version that will automatically help you do the whole process.
There is no doubt that mounting drives is a vital skill you need when working on hard drives along with file structure in Linux. When you have general knowledge, the process becomes relatively easy to perform.
It would be best if you considered understanding Linux file permission to make the whole process easier. To set up your Raspberry Pi mount USB drive, you will require the following essential equipment:
- Micro SD card with more than 8GB
- A Raspberry Pi
- Wi-Fi dongle to Ethernet wire
- USB Drive or External Hard Drive
You should note that you will require a powered USB hub if you are planning on using External Hard Drive. It is vital since Raspberry Pi cannot output sufficient power through a USB port to power your drive.
Automatically mounting USB Drive on your Raspberry Pi
When using the Stretch Raspbian, USB drives will be mounted automatically once you have it connected to the Raspberry Pi. You should note that, when upgrading your Raspbian to the Stretch version from Jessie, you might encounter some compatibility issues with your older projects and tutorials.
In order to check whether or not your USB drive is mounted successfully, you will have to key in a sudo command. When you key in this command, a text will pop up, and your USB drive should appear on the lowermost part of that particular text. You will be able to see your USB drive location once it is automatically mounted.
Auto-mounting by your Raspian is ideal for use on numerous projects as well as regular use. The drive will retain the mounted location even after removing and re-inserting your drive.
This is because it operates with the UUID of your drive as the name to your mount folder. You can use commands to help look for UUID. When you allow your drive to a particular user, which is not your default user, you might encounter problems when trying to access it.
Manually mounting USB Drive on your Raspberry Pi
When using the Raspbian Lite, you will be forced to mount your USB drive manually. In addition to that, when mounting your USB drive permanently on the Raspberry Pi, you will be forced to manually set it in a fstab. When mounting your drivers manually, you will need to identify the disk you will be mounting. To do this, you will have to:
- Find the name to your filesystem’s drive you will be mounting on your Raspberry Pi. You will use a df command to do this. DF refers to disk-free, afterwards you will use it to show disk space that is available for your file system. In addition to that, it helps in displaying the filesystem’s name.
- Once you key in the command, a pop-up will appear showing a list of every connected storage device along with their filesystem name. In addition to that, you will see where the devices are mounted as well.
- You will use the result in identifying the drive that will be required to be mounted.
When you follow these steps to the letter, the whole process becomes relatively easy.
Retrieve UUID along with the type
You will have to retrieve the UUID before mounting your drives. To find more about your drive file system, you will have to use a blkid tool. You will have to run a command that will help in retrieving information about the drive. Key in sudo blkid/filesystem name; once you key in sudo blkid/, it should be followed by the file system name you will require.
By doing so, you will be able to retrieve the result as required. You will have to install extra drivers; however, this will highly depend on your filesystem. For instance, to use an NTFS format, you will require installing the driver for NTFS-3g.
Mounting your drivers on a Raspberry Pi
Once you have UUID as well as the type of your drive in place, you can now go ahead and mount your drive. In order for you to commence, you will require to create a directory in which you will mount your drives. To do this, you will run a command sudo command. To give your Raspberry Pi the ownership to this particular folder, you will run another sudo command
Once that is done, you will run this command sudo nano /etc/fstab in order to modify your fstab. Before progressing, you will have to identify the UUID and type you are working on. Once that is done, you will key in command and then replace UUID and Type with their values. Go ahead and press ctrl+x and then y and enter to save.
Final Word
Mounting USB Drive Raspberry Pi is relatively easy; by adhering to the tips discussed in this article, you will be able to do it without any problem. As we conclude, we hope that this article has been of great benefit when it comes to mounting USB drives on your Raspberry Pi.

